
Hanging pictures on a wall should be simple, but getting them perfectly aligned often leads to frustration. Most people reach for a measuring tape, pencil, and level—tools that can slow the process and still result in misalignment. What if you could skip the math and measuring entirely? There’s a reliable visual trick used by interior designers and experienced DIYers that ensures your artwork, photo frames, or mirrors appear balanced and professionally hung—all without a single measurement.
This method relies on human perception, symmetry, and a little-known principle about how our eyes interpret spacing. It’s fast, accurate, and works whether you're hanging one frame or creating a gallery wall with multiple pieces. Once mastered, this technique becomes second nature and eliminates the need for complex calculations or tools beyond a hammer and nail.
The Problem with Traditional Measuring
Most homeowners follow the standard advice: measure from the floor, mark the wall, use a level, and hope everything lines up. But even small errors in measurement or slight tilts in the frame become glaringly obvious once the picture is on the wall. The issue isn’t just precision—it’s efficiency. By the time you’ve measured, remeasured, adjusted, and re-leveled, what should take minutes turns into an hour-long chore.
Moreover, measuring doesn’t account for variations in frame size, hook placement, or wall imperfections. If your picture hooks aren’t centered exactly on the back of the frame, or if your ceiling isn’t perfectly level, your measurements can lead you astray. This is where visual alignment shines—it adapts in real time to what your eye sees as “even,” which is ultimately what matters most in home decor.
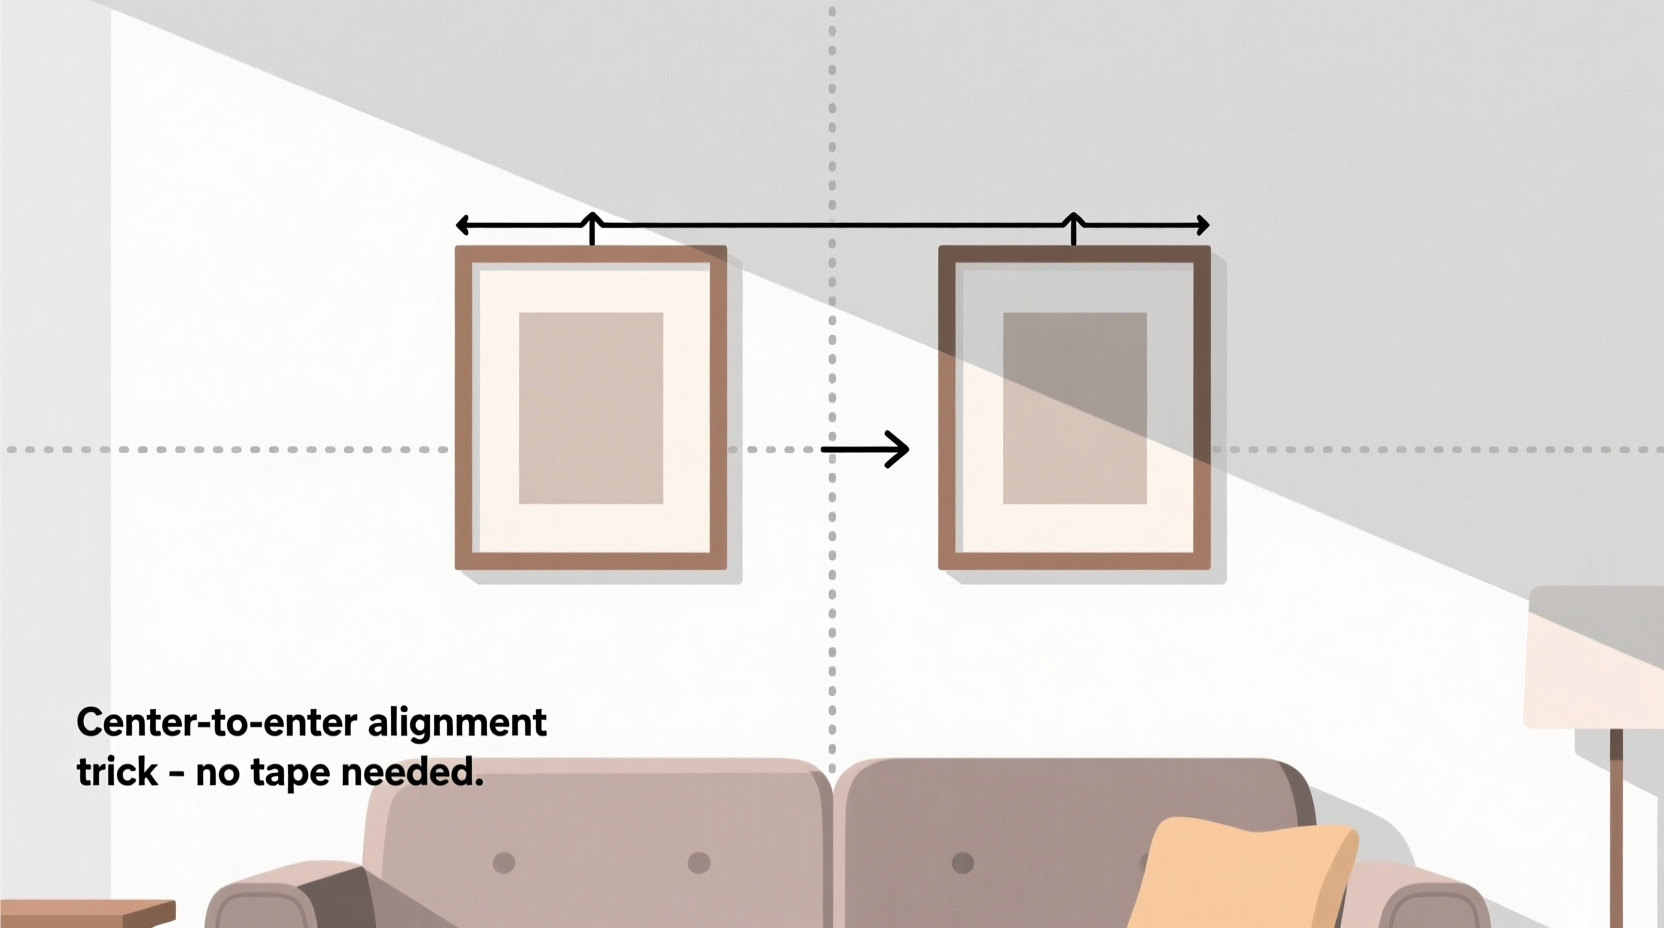
The Visual Alignment Trick Explained
The core idea behind the no-measure method is simple: instead of relying on numbers, use your body and vision as tools. Stand directly in front of where the picture will go, hold the frame against the wall at roughly the right height, and step back slowly while keeping your head still. As you move backward, your peripheral vision narrows, and your brain naturally focuses on alignment and balance.
Here’s why it works: when you’re close to the wall, small misalignments are hard to detect. But from a distance—about 6 to 10 feet away—your eyes perceive spatial relationships more accurately. You’ll instantly notice if a frame looks too high, too low, or crooked relative to nearby furniture or other artwork. This visual feedback loop allows you to make micro-adjustments until the placement feels harmonious.
This method is especially effective for grouping multiple frames. Rather than calculating exact spacing between each piece, you can hold them up temporarily, step back, and adjust their positions based on visual flow. The result is a naturally balanced arrangement that feels intentional, not mechanical.
Step-by-Step: Hanging a Single Picture Without Measuring
- Hold the frame against the wall at the approximate height you want it (center around 57–60 inches).
- Stand back 6–10 feet, keeping your gaze fixed on the frame. Make sure your line of sight is level.
- Observe the space above and below the frame. Does it look centered vertically? Adjust slightly up or down if needed.
- Check horizontal alignment relative to furniture (like a sofa or console table). The bottom third of the frame should generally align with the top of the furniture.
- Mark the nail position by holding the frame steady and lightly tapping the nail through the wire or hanger onto the wall surface.
- Hang the picture and step back again to confirm alignment. Make tiny adjustments if necessary.
Creating a Gallery Wall Using Visual Spacing
Gallery walls are where the measuring tape often fails. Too much precision can make the display feel rigid; too little, and it looks chaotic. The visual trick excels here because it allows for organic spacing while maintaining cohesion.
Start by laying out your frames on the floor in the order you envision them on the wall. Then, hold each one against the wall in sequence, using the same “step-back” method to judge placement. Focus on negative space—the gaps between frames—as much as the frames themselves. Your goal is consistent visual weight, not uniform measurements.
Interior designer Laura Bennett explains:
“People get caught up in exact inch counts, but the eye doesn’t see inches—it sees balance. A 2-inch gap might look tight in one context and wide in another. Trust your vision.” — Laura Bennett, Interior Stylist & Home Organization Expert
To maintain rhythm in a gallery layout:
- Keep spacing between frames consistent—visually, not numerically.
- Align the centers of larger frames along an invisible vertical axis.
- Use smaller frames to fill gaps without overcrowding.
- Step back frequently during placement to assess the overall composition.
Do’s and Don’ts of Visual Picture Hanging
| Do’s | Don’ts |
|---|---|
| Step back frequently to assess alignment from a distance | Rely solely on close-up judgment |
| Use furniture edges as visual guides | Ignore the relationship between art and surrounding objects |
| Temporarily tape frames to test layouts | Nail frames directly without previewing placement |
| Center groupings on focal points (e.g., a sofa or bed) | Center individual frames on architectural features like outlets or baseboards |
| Adjust for eye level, not ceiling or floor lines | Assume all rooms have perfectly level ceilings or floors |
Real-World Example: Hanging Art in a Living Room
Sarah, a homeowner in Portland, wanted to hang a large canvas above her sectional sofa. She’d tried measuring before—using the 57-inch rule—but the painting still looked “off.” After reading about the visual method, she held the canvas against the wall, stepped back to the opposite side of the room, and noticed it appeared slightly too high. She lowered it by two inches, and suddenly it felt grounded and proportional to the furniture.
Next, she added two smaller prints on either side. Instead of measuring 8 inches from the main canvas, she held each frame in place, stepped back, and adjusted until the spacing “felt right.” From a distance, the trio formed a cohesive unit, even though the actual gaps varied by nearly an inch. Her guests later commented on how “professionally styled” the wall looked—proof that visual harmony trumps mathematical perfection.
Frequently Asked Questions
Can this method work for heavy mirrors or shelves?
Yes, but with caution. Use the visual method to determine placement, then switch to a stud finder and level for secure mounting. The alignment principle still applies—just verify structural support before final installation.
What if I’m hanging pictures in a hallway with uneven walls?
In spaces with irregular architecture, focus on alignment relative to eye level and adjacent fixtures (like door frames). Stepping back helps your brain compensate for wall distortions. Avoid aligning pictures with crown molding or baseboards if they’re not level.
Is this trick suitable for renters or people avoiding wall damage?
Absolutely. Use removable adhesive strips or hooks in combination with the visual method. Hold the frame in place, step back, adjust, and only apply the adhesive once you’re satisfied with the look.
Final Tips for Flawless Picture Hanging
- Lighting matters: View your arrangement under normal room lighting. Shadows can distort perception of alignment.
- Use a helper: Have someone else view the setup from different angles. A second perspective often catches subtle imbalances.
- Work from the center outward: In multi-frame displays, start with the central piece and build symmetrically.
- Consider frame thickness: Thicker frames draw more visual weight—compensate by giving them slightly more breathing room.
- Reassess after 24 hours: Sometimes a placement feels right initially but looks awkward later. Live with it briefly before making permanent adjustments.
Conclusion: Hang with Confidence, Not Math
You don’t need a degree in geometry to hang pictures well. The visual trick of stepping back and trusting your eye is faster, more intuitive, and often more accurate than traditional measuring. It embraces the way humans naturally perceive balance and space, leading to results that feel authentic and polished.
Whether you’re decorating a new apartment, refreshing your living room, or assembling a family photo wall, this method saves time and reduces stress. Try it the next time you’re holding a hammer and staring at a blank wall. You might be surprised at how quickly you can achieve a look that seems professionally done—because, in a way, it is.


 浙公网安备
33010002000092号
浙公网安备
33010002000092号 浙B2-20120091-4
Comments
No comments yet. Why don't you start the discussion?