
As holiday decor becomes more elaborate, so does the need for smart organization—especially when it comes to managing cords, power strips, and control units for Christmas lights. While outdoor setups often get attention, indoor management of light controllers is just as critical. Poorly managed controllers can be unsightly, pose tripping hazards, or even overheat if improperly enclosed. The key lies in balancing aesthetics with functionality: hiding the equipment while ensuring it remains accessible for adjustments and well-ventilated to prevent overheating.
Modern Christmas light systems often include multiple components—dimmer switches, timers, Wi-Fi-enabled hubs, extension cords, and plug-in adapters. These devices generate heat during extended use and require airflow to operate safely. Simply stuffing them behind furniture or into closed cabinets can lead to performance issues or fire risks. A thoughtful approach ensures both visual cleanliness and operational safety.
Why Proper Controller Placement Matters
The location of your Christmas light controllers affects not only the appearance of your space but also its safety and usability. Controllers regulate power delivery to strands of lights, often running continuously for several hours a day over weeks. This constant load produces residual heat, especially in models with built-in transformers or wireless receivers.
According to the National Fire Protection Association (NFPA), electrical distribution and lighting equipment are involved in an estimated 34,000 home structure fires annually. Overheated power strips and poorly ventilated electronics contribute significantly to this statistic during the holiday season. Concealing controllers without adequate airflow increases the risk of component failure, short circuits, or even fire.
Beyond safety, accessibility plays a major role. If you can’t easily reach the controller to reset a timer, adjust brightness, or troubleshoot flickering lights, the convenience of smart lighting diminishes. The ideal solution hides clutter while allowing quick interaction when needed.
Best Locations for Indoor Controller Placement
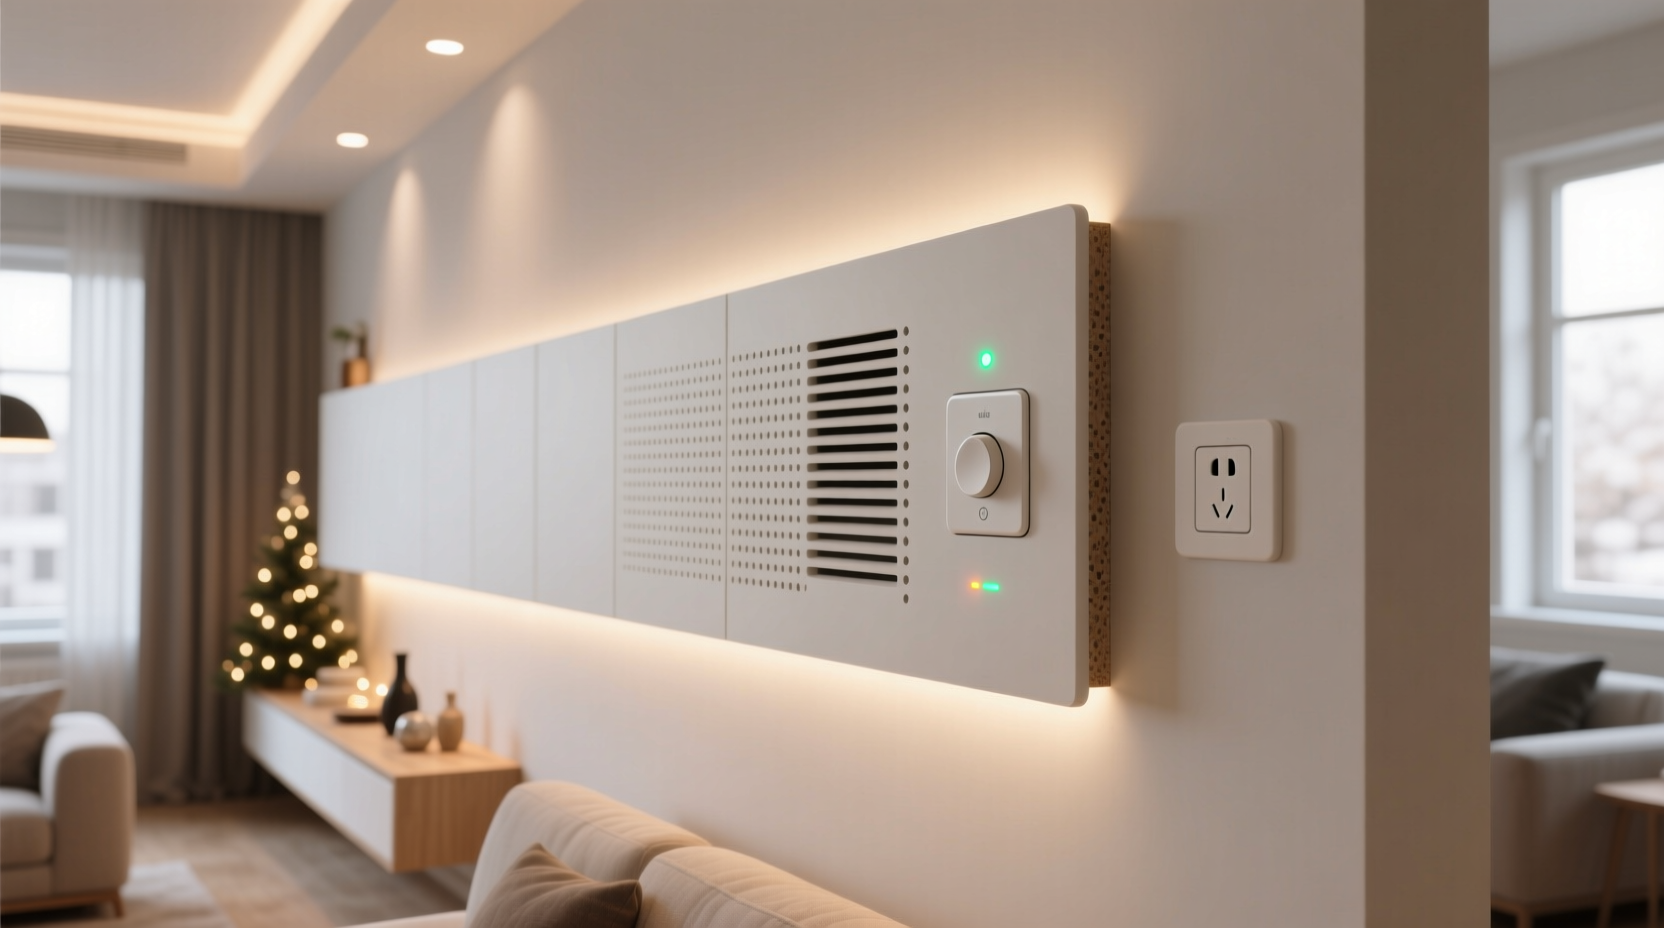
Choosing the right spot begins with identifying areas that naturally lend themselves to concealment yet allow airflow and access. Consider these practical options:
- Behind entertainment centers: TVs and media consoles often have open-back designs or cable management cutouts. Use the rear space to mount controllers on adhesive-backed clips or small shelves.
- Inside open shelving units: Bookshelves or display cabinets with partial backing provide visual screening while permitting air circulation.
- Under staircases or benches: Low-traffic zones under stairs or window seats offer concealed floor-level spots where cords can route neatly from nearby outlets.
- Near baseboard outlets: Wall-mounted enclosures or shallow baskets near floor level keep gear out of sight but within arm’s reach.
- Closet interiors (with caution): Only suitable if the closet door remains open part-time or has ventilation slats; never seal electronics inside a fully enclosed space.
Avoid placing controllers inside metal cabinets, plastic storage bins, or behind heavy drapes unless specifically designed for electronic housing. These materials restrict airflow and may reflect or amplify heat buildup.
Step-by-Step Guide to Safe and Smart Installation
Follow this sequence to install your Christmas light controllers indoors in a way that prioritizes safety, access, and neatness:
- Map your lighting circuit: Identify how many strings connect to each controller and trace their path from outlet to display area. Note which outlets will serve as power sources.
- Select a central hub location: Choose a semi-concealed spot near one of the main outlets, ideally within 3–5 feet of where most light strands originate.
- Test heat output beforehand: Plug in the controller for at least 30 minutes before final placement. Feel the casing—if it becomes warm, prioritize open-air solutions over enclosed spaces.
- Use mounting aids: Attach small adhesive hooks, Velcro strips, or zip ties to secure controllers to the back of furniture or wall surfaces. Avoid nails or screws near electrical components.
- Group related devices: Bundle timers, dimmers, and hubs together using labeled cord organizers. Keep high-heat items slightly separated from others.
- Ensure ventilation gaps: Leave at least 2 inches of clearance around all sides of the unit. Do not press against walls or stack objects on top.
- Create access points: If using a cabinet or shelf, leave the front open or install a removable panel for weekly checks.
- Label everything: Use tags or colored tape to mark which controller runs which set of lights—this speeds up troubleshooting.
This methodical setup prevents last-minute scrambling and reduces stress during the busiest time of year.
Do’s and Don’ts: Managing Heat and Access
| Do’s | Don’ts |
|---|---|
| Use ventilated plastic enclosures rated for electronics | Seal controllers in airtight boxes or drawers |
| Mount units vertically to promote natural convection | Lay devices flat on carpeted or insulated floors |
| Check temperature weekly during peak usage | Ignore buzzing, flickering, or unusual odors |
| Use surge protectors with indicator lights | Daisy-chain multiple power strips or extension cords |
| Keep remote controls stored nearby in labeled pouches | Bury remotes under decorations or in hard-to-reach drawers |
This comparison highlights common pitfalls and reinforces best practices for long-term reliability.
Real Example: A Family Room Makeover
The Thompson family installed a new synchronized LED light system across their living room mantel, staircase railing, and ceiling beams. Initially, they placed all four controllers behind the TV stand, tucked into a closed compartment. Within three days, two lights began flickering intermittently. Upon inspection, they found the primary hub was hot to the touch and had automatically shut down due to thermal overload.
They reconfigured the setup by moving the largest transformer to a wire basket mounted under a side table, leaving the back open for airflow. Smaller controllers were attached with adhesive mounts to the rear of a floating shelf, spaced apart and labeled. A small magnetic tool holder secured spare fuses and remotes. Now, the system runs smoothly for six hours nightly, and adjustments take seconds. The entire arrangement is invisible from standing height, yet fully functional.
“Proper ventilation isn’t optional—it’s part of the design. Electronics need to breathe just like any mechanical system.” — David Lin, Electrical Safety Consultant at HomeSafe Labs
Tips for Long-Term Usability and Seasonal Storage
Your indoor controller strategy shouldn’t end when the holidays do. Planning ahead makes next year easier and safer:
- Use modular enclosures: Invest in stackable, vented project boxes that snap together. Label each compartment by zone (e.g., “Tree,” “Stairs,” “Exterior Window”).
- Color-code cords: Wrap different circuits with colored heat-shrink tubing or tape at both ends so identification takes seconds.
- Store upright: When packing away, avoid coiling cords too tightly around controllers. Instead, loosely wrap them and place in breathable cloth bags.
- Inspect annually: Before reuse, check for cracked casings, frayed wires, or corrosion on plugs. Replace outdated or damaged units immediately.
By treating your controller setup as a permanent fixture—albeit seasonal—you reduce setup time and improve consistency year after year.
Frequently Asked Questions
Can I use a regular cabinet to hide my Christmas light controllers?
You can, provided the cabinet has ventilation slots or remains partially open. Solid doors should be propped open or removed during operation. Never use particleboard or MDF enclosures near electronics—they absorb moisture and degrade faster under heat exposure.
How do I know if my controller is overheating?
Signs include a strong plastic smell, visible discoloration on the casing, automatic shutdowns, or inconsistent light behavior. Use an infrared thermometer (or carefully touch the surface) after an hour of operation. If it exceeds 110°F (43°C), relocate it to a better-ventilated area.
Are smart controllers safer than traditional ones?
Smart controllers often run cooler because they use efficient switching mechanisms and include thermal protection. However, their reliance on Wi-Fi and software means they still require stable power and physical access for resets. Always follow manufacturer spacing guidelines.
Final Checklist: Your Hidden Controller Setup
Before turning on your lights, verify the following:
- ✅ All controllers are located in areas with at least 2 inches of surrounding clearance
- ✅ No flammable materials (curtains, paper, upholstery) are within 6 inches
- ✅ Each device is securely mounted and won’t shift or fall
- ✅ Labels clearly identify function and corresponding light zones
- ✅ Power strips are grounded and not overloaded beyond rated capacity
- ✅ Remote controls or apps are tested and responsive
- ✅ Emergency shutoff point (like a master switch or breaker) is known and accessible
Conclusion
Hiding Christmas light controllers indoors doesn’t mean sacrificing safety or convenience. With careful planning, the right tools, and attention to airflow and access, you can maintain a clean, professional look without compromising performance. The goal isn’t invisibility at any cost—it’s intelligent integration. When done right, your lighting system operates seamlessly, stays cool, and enhances the joy of the season rather than complicating it.


 浙公网安备
33010002000092号
浙公网安备
33010002000092号 浙B2-20120091-4
Comments
No comments yet. Why don't you start the discussion?