
Decorating for the holidays should bring joy, not frustration. Yet one of the most common challenges homeowners face is managing the unsightly mess of Christmas light cords—especially when dealing with architectural features like vaulted ceilings and stair railings. These areas add visual drama to a home but complicate cord concealment due to height, angles, and limited access. The good news? With the right tools, planning, and technique, you can create a magical lighting display where the lights appear to float effortlessly, with no visible cords marring the effect.
This guide covers proven strategies used by professional decorators to tuck away cords on sloped ceilings and winding staircases. From adhesive clips and paint-matching tricks to smart routing and cable management systems, you’ll learn how to achieve a seamless look that impresses guests and simplifies both setup and storage year after year.
Understanding the Challenge: Why Vaulted Ceilings and Stair Railings Are Difficult
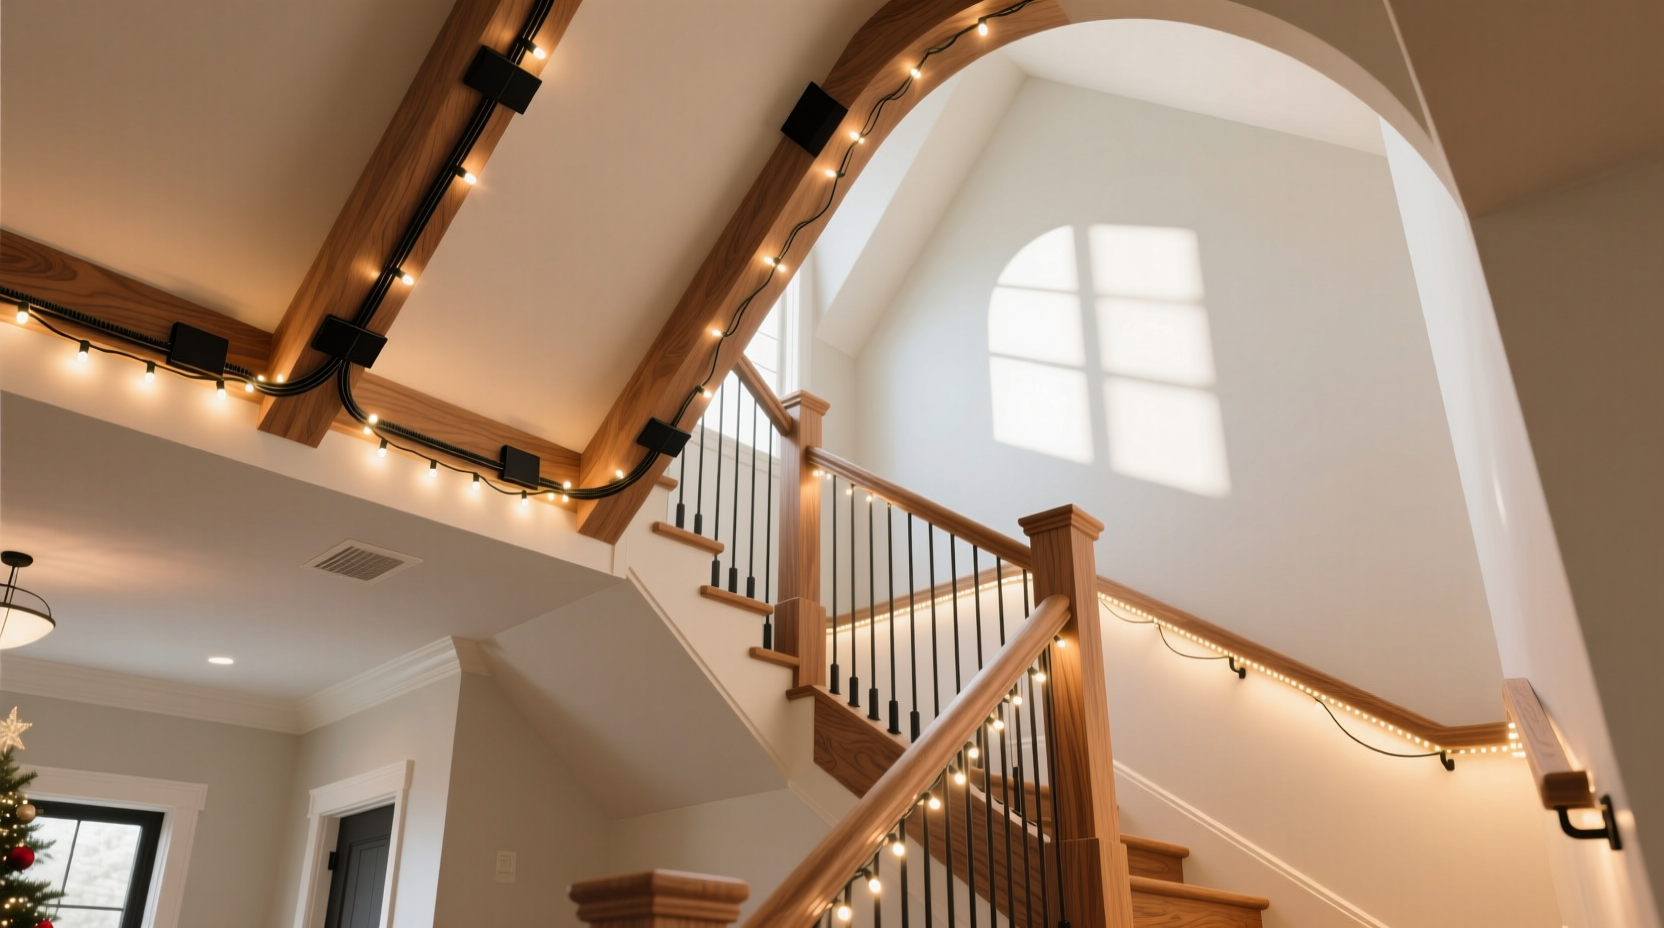
Vaulted ceilings and stair railings present unique obstacles when installing Christmas lights. Unlike flat walls or straight eaves, these spaces often require cords to travel across uneven surfaces, sharp angles, and vertical drops. On vaulted ceilings, cords must follow the incline, making them highly visible from below. On stair railings, cords run parallel to walking paths, drawing attention unless carefully hidden.
The primary goal isn’t just safety—it’s aesthetics. A tangled or exposed cord breaks the illusion of a professionally decorated space. Moreover, poorly managed cords can pose tripping hazards on stairs or become damaged from foot traffic or furniture movement.
Before selecting a method, assess your space:
- Height and angle: Steeper vaults require longer runs and more secure fastening.
- Surface material: Drywall, wood, stucco, or metal each respond differently to adhesives and fasteners.
- Access: Can you reach the area safely with a ladder, or do you need extension tools?
- Permanence: Are you looking for temporary solutions (seasonal) or semi-permanent installations?
Step-by-Step Guide: Hiding Cords on Vaulted Ceilings
Vaulted ceilings are focal points in living rooms and entryways, making cord visibility especially noticeable. The key is to route cords along natural shadow lines or architectural edges where they blend into the background.
- Plan Your Route
Start at the outlet and trace the path your cord will take to the highest point of the ceiling. Use a laser level or chalk line to mark an inconspicuous path—such as along a seam, crown molding, or high-angle corner. Avoid center spans where cords cross open space. - Choose the Right Fasteners
For drywall or plaster, use removable adhesive hooks rated for outdoor use (e.g., 3M Command Hooks). For wooden beams, small U-nails or insulated staple guns work well. Ensure all fasteners are rated for the cord’s weight and local weather if near windows or doors. - Clip and Conceal
Install clips every 12–18 inches along the route. Feed the cord through each clip, pressing it snugly against the surface. For painted ceilings, select white or off-white clips to reduce contrast. - Paint-Match Trick (Semi-Permanent)
If you decorate annually, consider painting a thin plastic raceway or baseboard to match your ceiling. Adhere it along the planned route, then snap the cord inside. This creates a built-in channel that disappears visually. - Use Ceiling Beams Strategically
If your vault includes exposed beams, run cords along the top edge or backside, where shadows naturally hide them. Secure with zip ties wrapped tightly and trimmed flush.
Hiding Light Cords on Stair Railings: Techniques That Work
Stair railings are high-traffic zones where exposed cords are not only unattractive but potentially dangerous. The challenge is twofold: securing the cord along a curved or angled railing while keeping it out of reach.
The most effective approach combines mechanical fasteners with strategic positioning.
Option 1: Under-Railing Installation
Flip the script—install lights underneath the railing rather than on top. This places cords close to the support structure, where they’re shielded from view. Use under-rail light strips or flexible LED rope lights with low-profile clips. Attach clips to the bottom edge of balusters or the underside of the handrail.
Option 2: Cord Covers and Raceways
Plastic cord covers (available in white, brown, or clear) adhere directly to the railing and encase the cord. Choose split-back models for easy installation over existing cords. Paintable versions can be tinted to match wood stain or railing color.
Option 3: Magnetic or Clip-Based Systems
For metal railings, magnetic cord holders provide a no-damage solution. Slide the cord into the holder and attach it to the side or back of the railing. On wooden railings, use discreet clip mounts screwed into less visible areas, such as between balusters.
| Method | Best For | Visibility | Installation Time |
|---|---|---|---|
| Adhesive Clips | Temporary, painted railings | Moderate (if color-matched) | 15 min/10 ft |
| Cord Raceways | Semi-permanent setups | Low (when painted) | 30 min/10 ft |
| Under-Rail Lighting | Wood/metal railings | Very Low | 45 min/10 ft |
| Magnetic Holders | Metal railings only | Low | 10 min/10 ft |
“Most people focus on where the lights go, but pros know the real magic is in hiding what connects them.” — Daniel Ruiz, Residential Lighting Designer, Holiday Illuminations Inc.
Mini Case Study: Transforming a Two-Story Foyer
The Thompson family wanted to wrap their two-story foyer staircase and vaulted ceiling with warm white lights for their annual Christmas party. The 20-foot ceiling and curved oak railing made cord management daunting. Initial attempts with basic clips left cords zigzagging across open wall space, drawing stares instead of compliments.
They revised their plan using three key strategies:
- Ran cords up the backside of wooden ceiling beams using insulated staples, emerging only at light nodes.
- Installed paintable PVC raceways along the top edge of the stair railing, tinted to match the oak finish.
- Used under-rail LED strips for the lower section, powered by a concealed outlet in the adjacent closet.
The result was a clean, floating-light effect. Guests assumed the display was professionally installed. The system took six hours to set up the first year but now takes under two, thanks to labeled anchor points and stored templates.
Checklist: Preparing for a Cord-Free-Look Installation
Follow this checklist before and during installation to ensure efficiency and safety:
- Measure total cord length needed, adding 15% for slack and routing.
- Identify nearest GFCI outlets and test circuit load capacity.
- Gather tools: ladder, stud finder, drill, wire cutters, level, painter’s tape.
- Select fasteners based on surface type (adhesive, nail, screw, magnetic).
- Test light strands before installation to avoid mid-process failures.
- Route cords along seams, shadows, or structural elements whenever possible.
- Secure cords every 12–18 inches; more frequently on vertical drops.
- Label plugs and corresponding circuits for easy troubleshooting.
- Inspect for pinch points or abrasion risks near edges.
- Take photos of the finished layout for next year’s reference.
Frequently Asked Questions
Can I use tape to hide Christmas light cords?
Duct tape and standard packing tape are not recommended. They lose adhesion over time, leave residue, and can damage paint. Instead, use specialty adhesive products like 3M Command Strips or outdoor-rated mounting tapes designed for cables.
How do I prevent cords from sagging on vaulted ceilings?
Sagging occurs when cords are spaced too far between supports. Install clips or fasteners every 12 inches on horizontal runs and every 8–10 inches on inclines. For long spans, consider running cords through a monofilament fishing line anchored at both ends to provide tension support.
Are there wireless options for Christmas lights on stairs?
Yes, battery-operated LED strip lights or puck lights eliminate cords entirely. While ideal for short runs, they require regular battery changes and may not provide the brightness of plug-in sets. Solar-powered options are emerging but depend on daylight exposure, making them unreliable indoors or under cover.
Final Tips for a Polished, Professional Finish
Achieving a flawless holiday lighting display comes down to preparation and attention to detail. Always work from the power source outward, minimizing cord crossings. Use zip ties to bundle excess cord neatly behind fixtures or inside closets. If using multiple strands, connect them end-to-end rather than daisy-chaining side-by-side, which creates bulk.
For homes with recurring decor themes, consider installing recessed outlets or low-voltage junction boxes during renovations. These allow cords to disappear into walls, offering a permanent solution that pays off over time.
Finally, document your setup. Take notes or photos showing clip locations, cord paths, and outlet assignments. Store this with your decorations so next year’s installation becomes faster and more accurate.
Conclusion
Hiding Christmas light cords on vaulted ceilings and stair railings doesn’t require expensive gear or professional training—just smart planning and the right techniques. Whether you're using adhesive clips, paint-matched raceways, or under-rail routing, the goal remains the same: let the lights shine without distraction. With the methods outlined here, you can transform even the most challenging spaces into elegant, festive displays that feel intentional and refined.


 浙公网安备
33010002000092号
浙公网安备
33010002000092号 浙B2-20120091-4
Comments
No comments yet. Why don't you start the discussion?