
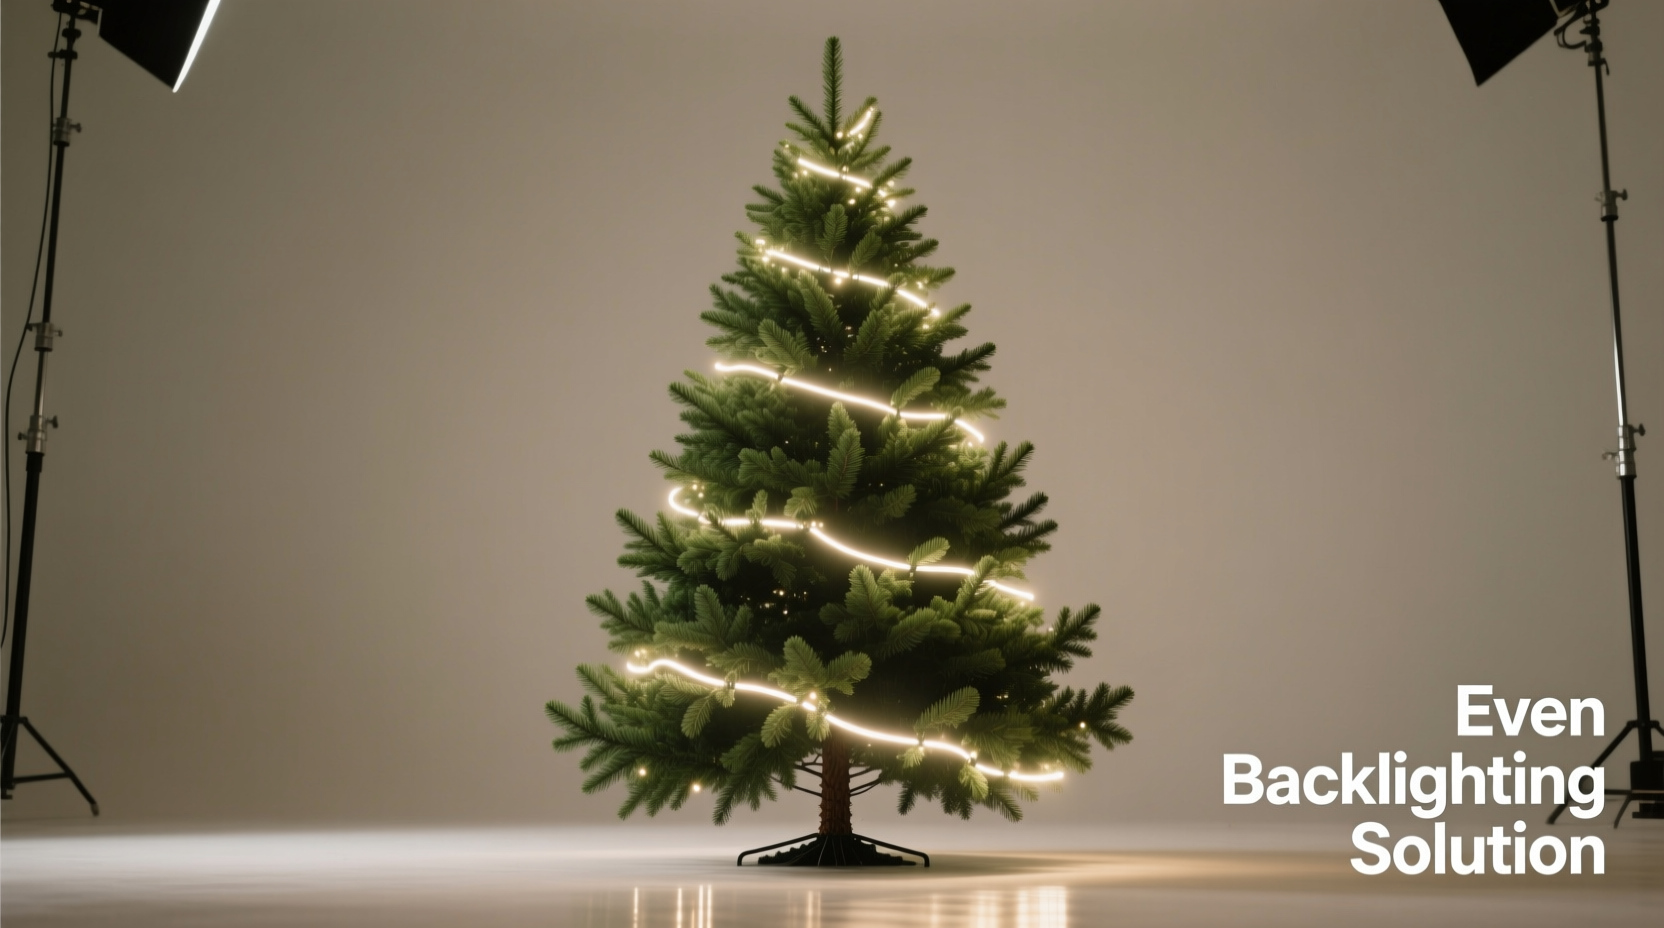
Backlighting a Christmas tree with LED strip lights transforms it from festive to luminous—creating a soft, radiant halo that glows through branches rather than competing with them. Unlike traditional string lights that wrap *around* the tree, backlighting places strips *behind* or *within* the foliage to diffuse light outward, producing depth, dimension, and a warm, cinematic glow. But achieving true evenness—no hotspots, no dark gaps, no visible strips—is rarely accidental. It demands thoughtful planning, deliberate placement, and electrical awareness. This guide distills field-tested techniques used by professional holiday installers and lighting designers into a practical, replicable process. No assumptions about prior experience. Just clear logic, real-world constraints, and results you can trust.
Why Even Backlighting Matters (and Why Most Attempts Fall Short)
Most DIY backlighting fails not from lack of effort—but from misaligned priorities. People focus on brightness over diffusion, coverage over continuity, or convenience over circuit integrity. The result? A tree that looks washed out at the top, shadowed at the base, or worse—flashing mid-evening due to overloaded drivers. Even backlighting isn’t about uniform wattage; it’s about consistent luminance per square foot of visible surface area. That requires matching light output to branch density, accounting for needle opacity (real vs. PVC), and managing voltage drop across long runs.
Real trees absorb and scatter light differently than artificial ones: dense Douglas fir needles require higher lumen density behind them than sparse pre-lit PVC branches. And while RGB strips offer flexibility, white-tuned LEDs (2700K–3000K) deliver superior warmth and cohesion for backlighting—especially when layered behind greenery. As lighting designer Marcus Bell explains in his 2023 holiday installation handbook:
“Even backlighting is optical engineering disguised as decoration. You’re not just adding light—you’re sculpting how light travels *through* the tree. One unbroken layer of diffused source, correctly spaced and powered, eliminates visual noise. Everything else is compromise.” — Marcus Bell, Principal Designer, Lumina Holidays
Pre-Installation Planning: Measure, Map, and Select
Begin before the tree stands. Gather these measurements:
- Tree height (from base to tip)
- Base diameter (at widest point, ~18–24” up from floor)
- Mid-height circumference (at ~⅔ height)
- Tip circumference (just below the top 12”)
Use those numbers to calculate total linear footage needed—not just vertical runs, but spiral wraps if layering around the trunk or interior supports. For true evenness, plan for three distinct zones:
| Zone | Height Range | Recommended Strip Density | Primary Purpose |
|---|---|---|---|
| Base Zone | 0–24” from floor | 1.5x standard density (e.g., 60 LEDs/m instead of 30) | Compensates for ground-level light absorption and shadows cast by furniture |
| Mid-Zone | 24”–75% of total height | Standard density (30–60 LEDs/m) | Main luminance layer—most visible from seated/standing eye level |
| Tip Zone | Top 25% | 1.2x standard density + optional accent strip | Prevents “fading out” effect; maintains visual weight at apex |
Select strips with key specs:
- IP rating: IP65 minimum (dust-tight, water-jet resistant) for indoor safety and longevity—even indoors, humidity and incidental spills occur.
- Color temperature: 2700K–3000K (warm white). Avoid 4000K+—it creates clinical glare against greenery.
- LED density: 60 LEDs per meter for high-output evenness; 30 LEDs/m works only on small trees (<6’) with sparse branches.
- Power input: Prefer 24V DC over 12V. Higher voltage reduces current draw, minimizing voltage drop over distance—a critical factor for multi-zone setups.
The Step-by-Step Integration Process
Follow this sequence precisely. Skipping steps causes cascading issues—especially in power distribution and thermal management.
- Prepare the tree stand and trunk support: Ensure the tree is plumb and stable. If using an artificial tree, verify internal metal frame is grounded and free of sharp edges that could pierce insulation.
- Install primary mounting channels: Attach thin, flexible plastic or aluminum L-track (10mm wide) vertically every 12–18” around the trunk—starting 6” above base, ending 12” below tip. Use non-damaging zip ties or Velcro straps. These tracks hold strips securely without piercing branches.
- Lay the Base Zone strips first: Starting at the lowest track, affix strip with 3M VHB tape (not included with most kits—buy separately). Press firmly every 2”. Bend gently around trunk curvature; avoid kinking. Connect to driver only after all Base Zone strips are mounted and tested.
- Add Mid-Zone strips with staggered offsets: Mount on second set of tracks, but offset horizontally by 90° from Base Zone strips. This prevents vertical “strip lines” and forces light to intermix between layers.
- Install Tip Zone last—with intentional overlap: Place final strip 6” below tip, then add a short 12–18” segment running vertically up the very center of the top 12”. This “crown accent” fills the natural void where branches taper.
- Test each zone independently before final connections. Use a multimeter to verify voltage at farthest point in each run—should be ≥23.5V for 24V strips. If below 23V, shorten run or add local booster.
- Conceal wiring with foliage: Gently tuck exposed wires *under* inner branches—not over them. Outer branches will naturally fall into place, hiding infrastructure while allowing light to bleed outward.
Power Management & Thermal Safety
Overheating and voltage sag are the silent killers of even backlighting. A 24V strip drawing 1.2A/m over 10 meters pulls 12A—beyond safe limits for most 16AWG extension cables. Worse, undervoltage causes LEDs at the end of long runs to dim or flicker, breaking visual continuity.
Solution: Use distributed power injection. Instead of one driver feeding 30 feet of strip, use three 10-foot segments—each powered locally. This ensures full voltage at every point and keeps current under 5A per circuit (well within safety margins).
Thermal reality check: LED strips generate heat. Trapping them against wood trunks or inside tight PVC sleeves causes premature lumen decay. Always maintain ≥2mm air gap between strip and any solid surface. Use thermally conductive double-sided tape (not standard acrylic tape) for better heat dissipation.
Real-world example: When Sarah K., a Portland-based event stylist, installed backlighting for a 9’ Fraser fir in her client’s great room, she initially ran one continuous 30m strip from a single 24V/15A driver. At dusk, the bottom third glowed warmly—but the top 24” was barely visible. She diagnosed 2.8V drop at the terminus. Her fix: added two additional 24V/5A drivers at 10m and 20m points, injecting power mid-run. Result? Uniform glow across all zones, confirmed with a lux meter reading variation of <8% top-to-bottom.
Troubleshooting Common Unevenness Issues
Even with perfect planning, variables emerge. Here’s how to diagnose and resolve them:
- Hotspot near driver, fading toward end: Voltage drop. Cut strip at nearest cut-mark before the dim section and inject power there. Never splice without soldering and heat-shrink tubing—cold joints cause intermittent failure.
- Dark band at mid-height: Usually caused by a dense branch cluster blocking light path. Lift the branch gently and reposition the underlying strip 1–2” outward—or add a micro-strip (6–12”) perpendicular to the main run behind that cluster.
- Flickering across multiple zones: Ground loop or shared neutral. Plug all drivers into the same outlet circuit (not separate rooms). If flickering persists, install a single-point grounding block where all driver negatives terminate.
- Yellowish tint in warm white strips: Not a defect—it’s phosphor degradation from overheating. Replace affected segments and improve airflow. Never enclose strips in foam or fabric sleeves.
FAQ
Can I use battery-powered LED strips for backlighting?
No—battery packs lack the sustained current delivery needed for even backlighting beyond 2–3 feet. They also introduce voltage instability as batteries deplete, causing visible dimming over time. Stick with hardwired, regulated DC power supplies.
Do I need a controller for even backlighting?
Not for basic white backlighting. A simple on/off switch or wall dimmer compatible with low-voltage DC works fine. Reserve controllers for color-changing effects or dynamic scenes—which inherently sacrifice evenness for motion.
How do I clean dust off installed LED strips without damaging them?
Power off and unplug. Use a clean, dry microfiber cloth—never compressed air (moisture risk) or liquid cleaners. Gently wipe along the strip length. If dust is stubborn, lightly dampen cloth with distilled water only—then dry immediately with second cloth. Avoid touching LED chips directly.
Conclusion: Light With Intention
Integrating LED strip lights for even backlighting isn’t about covering more surface area—it’s about illuminating with purpose. Every decision, from voltage selection to track spacing, serves one goal: making the light feel like it belongs *in* the tree, not on it. When done right, the result is quiet magic: a tree that breathes light, casting gentle gradients instead of harsh lines, glowing with presence rather than glare. It takes marginally more time upfront—but saves hours of rework, eliminates seasonal frustration, and delivers a heirloom-quality display year after year. Your tree deserves that intentionality. So measure twice, mount once, power wisely, and let the light speak for itself.


 浙公网安备
33010002000092号
浙公网安备
33010002000092号 浙B2-20120091-4
Comments
No comments yet. Why don't you start the discussion?