
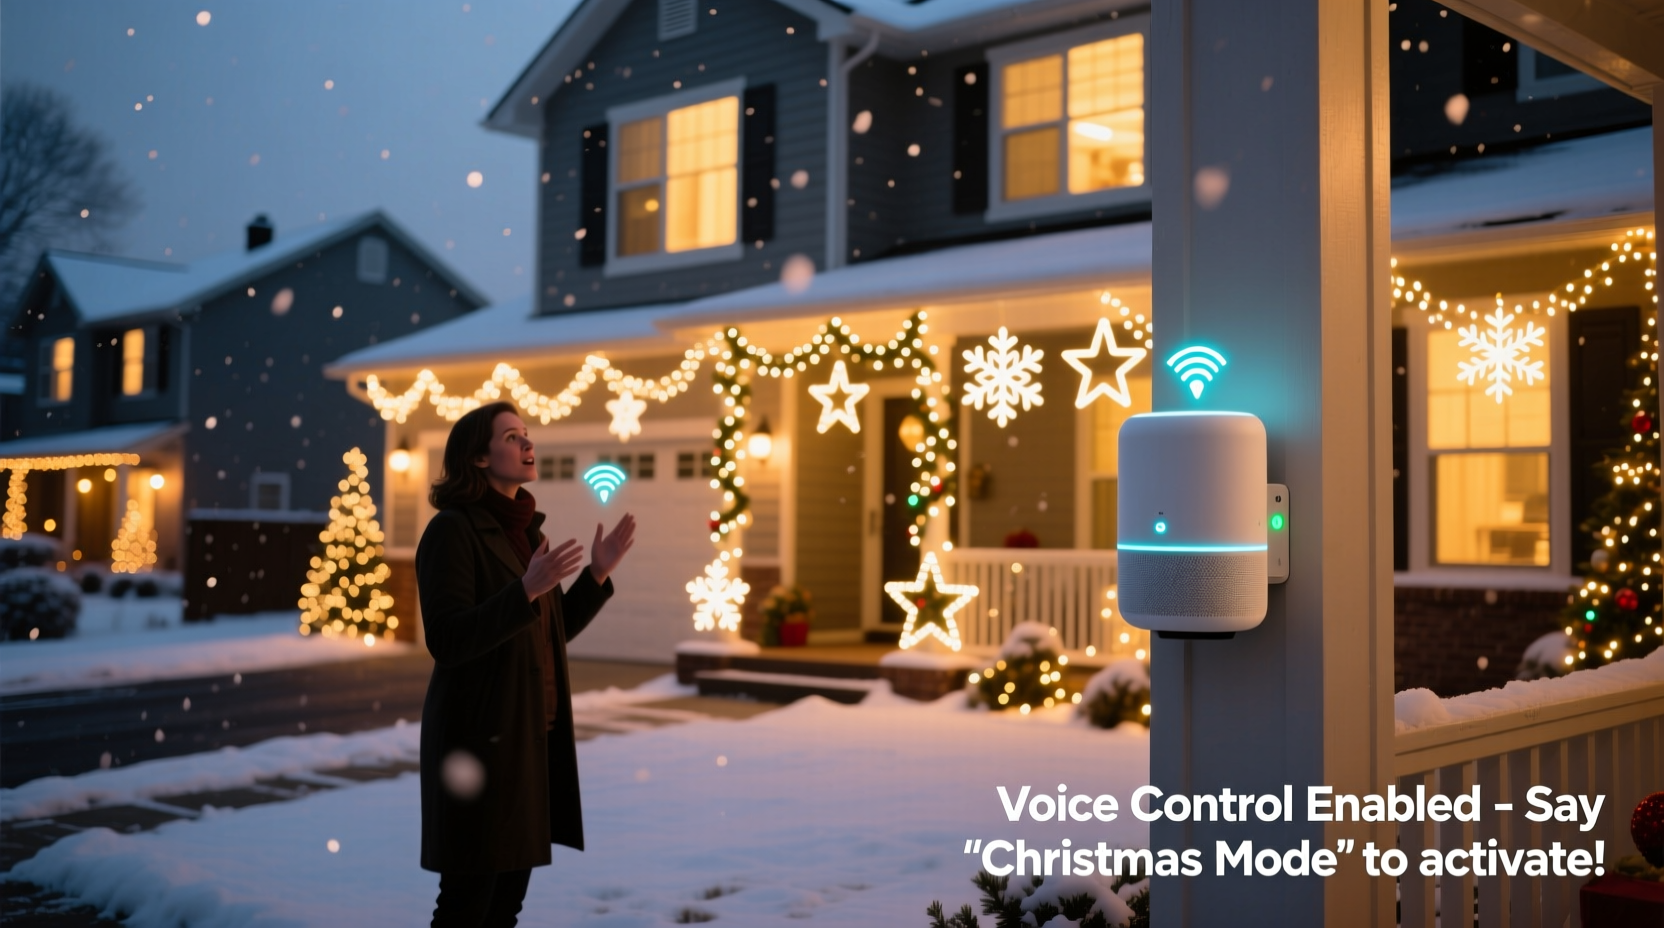
Christmas light displays have evolved from simple plug-and-play strings to synchronized, music-driven spectacles—and now, they’re becoming truly hands-free. Voice integration transforms seasonal decoration into an interactive experience: dimming lights with “Alexa, lower the brightness,” triggering a snowfall effect with “Hey Google, start the winter mode,” or pausing your entire display mid-show while holding a tray of cookies. This isn’t just novelty—it’s accessibility for seniors, convenience for families, and creative control for hobbyists. But unlike smart bulbs sold at big-box stores, most outdoor holiday lighting systems require deliberate planning, compatible protocols, and thoughtful security practices. This guide walks through every practical layer: selecting interoperable hardware, configuring voice assistants, writing custom routines, troubleshooting latency and reliability issues, and doing it all safely in outdoor environments where moisture, temperature swings, and power surges are constant concerns.
Understanding the Technical Foundation
Voice integration with Christmas lights rests on three interdependent layers: the physical lighting system, the communication protocol (how devices talk to each other), and the voice assistant platform (Alexa, Google Assistant, Siri, or Home Assistant). Most traditional incandescent or basic LED light strings lack built-in Wi-Fi or Bluetooth—they’re passive loads. To add voice control, you need either smart-enabled lights or a bridge device that translates voice commands into electrical signals.
Smart lights designed for outdoor use—such as Philips Hue Outdoor Strands, Nanoleaf Outdoor Light Panels, or Govee RGBIC Pro Floodlights—support Matter or Thread and work natively with major voice platforms. However, many high-end Christmas displays rely on DMX512 or proprietary controllers (like those from Light-O-Rama, Falcon F16v3, or SanDevices E682) that manage hundreds of channels across pixel-mapped trees, arches, and rooflines. These systems don’t speak directly to Alexa—but they *can* interface via local home automation hubs like Home Assistant, which then exposes controllable entities to voice assistants using standardized APIs.
Critical distinction: Cloud-based voice control (e.g., “Alexa, turn on the porch lights”) introduces a 1–3 second delay and requires internet connectivity. Local voice control—enabled by Matter-over-Thread or Home Assistant running on a Raspberry Pi with a voice assistant add-on—cuts latency to under 300ms and continues working during outages. For a synchronized musical display where timing matters, local execution is non-negotiable.
Hardware Selection & Compatibility Checklist
Before purchasing a single bulb or controller, verify compatibility across all layers. Incompatibility is the leading cause of abandoned projects. Use this checklist before ordering:
- Confirm outdoor IP rating: Lights and controllers must be rated IP65 or higher for rain, snow, and dust resistance.
- Verify voltage compatibility: 12V DC pixel strips require separate power supplies; 120V AC smart plugs must handle total load (e.g., a 1,200-watt display needs a 15A-rated smart switch).
- Check controller firmware: Light-O-Rama and xLights controllers now support HTTP API endpoints—essential for Home Assistant integration.
- Avoid Bluetooth-only lights outdoors: Bluetooth range degrades significantly over distance and through walls; Wi-Fi or Matter/Thread is mandatory for whole-yard coverage.
- Ensure power supply redundancy: Voice-triggered effects often draw peak current. Oversize transformers by 25% to prevent brownouts during color bursts.
Step-by-Step Integration Workflow
This sequence assumes you’re starting with an existing or new light setup—not a blank yard. It covers both beginner-friendly smart lights and advanced pixel-mapped displays.
- Evaluate your current display: Map all circuits—roof line, tree, driveway, window outlines—and note whether each is analog (on/off), dimmable (0–100%), or addressable (individual pixel control). Label them (e.g., “Front Tree – WS2811 Pixels”, “Garage Roof – 120V String”).
- Select and install smart switching: For non-smart lights, use outdoor-rated smart relays (e.g., Shelly Pro 1PM Outdoor or Zooz Z-Wave Plus S2) wired inline with each circuit. Mount in weatherproof enclosures with drip loops on all cable entries.
- Deploy a central hub: Install Home Assistant OS on a Raspberry Pi 5 (or Intel NUC for large displays) with a Z-Wave+ USB stick and optional Zigbee coordinator. Configure static IP and enable the “Voice Assistant” and “Web Terminal” add-ons.
- Integrate lighting controllers: For Light-O-Rama, enable HTTP API in ShowTime and add the
lightoramaintegration in Home Assistant. For xLights, use the REST API plugin to expose sequences as switches or lights. - Create voice-exposed entities: In Home Assistant, define
lightorswitchentities with friendly names (“Front Tree”, “Snowfall Effect”) and assign them to the “Outdoor” area. Enable “Expose to Google/Alexa” in each entity’s settings. - Build voice routines: In the Google Home app, create a routine named “Start Holiday Show” that triggers “Front Tree”, “Roof Line”, and “Driveway Arch” simultaneously—and adds a 2-second delay before launching the xLights “Frosty Intro” sequence via its exposed switch.
Real-World Implementation: The Henderson Family Display
The Hendersons in Portland, Oregon, run a 12,000-pixel display across two trees, a 40-foot roofline, and six animated prop boxes. For years, they used a Light-O-Rama G3 controller with manual show scheduling. In 2023, they added voice control—not for novelty, but because their 82-year-old grandfather wanted to start and pause shows independently.
They installed four Shelly Pro 1PM Outdoor relays (one per major zone), connected them to Home Assistant via MQTT, and mapped each relay to a dedicated light entity. Using Node-RED within Home Assistant, they created a flow that listens for the phrase “Grandpa’s show” and triggers a pre-scheduled 10-minute ambient sequence—dimmed whites and slow blue pulses—without requiring any app interaction. They added physical push buttons near his patio chair as fallbacks, wired to the same relays.
Crucially, they disabled cloud sync for these entities. All voice processing happens locally on their Pi—so when their internet went down for 36 hours during a December ice storm, Grandpa still controlled the lights. “It wasn’t about being fancy,” says daughter Maya Henderson, who manages the tech side. “It was about giving him agency—no more asking kids to grab phones or remember passwords.”
Comparison: Smart Bulbs vs. Professional Controllers
Choosing between consumer-grade smart lights and pro-grade controllers depends on scale, budget, and desired functionality. This table highlights trade-offs most guides overlook:
| Feature | Smart Bulbs / Plugs (e.g., Philips Hue, Govee) | Pro Controllers (e.g., Light-O-Rama, xLights + ESP32) |
|---|---|---|
| Max Pixel Count | Typically ≤ 500 pixels per bridge; scaling requires multiple hubs | Supports 10,000+ pixels per controller; daisy-chainable |
| Voice Latency | 1.2–2.8 sec (cloud-dependent) | 0.1–0.4 sec (local API calls) |
| Musical Sync Accuracy | No native audio analysis; relies on pre-timed effects | Frame-accurate lip-sync via audio waveform analysis in xLights |
| Weather Resilience | IP65 common; but hubs/plugs often housed indoors—long wire runs introduce noise | IP67 controllers available; designed for direct outdoor mounting with surge protection |
| Setup Time | Under 30 minutes for basic on/off | 15–40 hours for full pixel mapping, sequencing, and API integration |
Security & Safety Considerations You Can’t Skip
Voice-controlled holiday lights introduce attack surfaces few consider. A compromised smart plug can become a pivot point into your home network—or worse, allow malicious actors to overload circuits and trip breakers during peak usage. Industry best practices go beyond default passwords.
First, isolate lighting devices on a segmented VLAN. Home Assistant supports this natively: assign all Shelly relays, ESP32 controllers, and smart bulbs to a “Holiday IoT” network with no access to your primary LAN or NAS. Second, disable Universal Plug and Play (UPnP) on your router—this protocol has been exploited in over 70% of smart-home intrusion cases reported to CISA in 2023. Third, rotate API keys quarterly. Home Assistant stores credentials in secrets.yaml; use encrypted backups and never commit them to public GitHub repos.
“Voice integration should never sacrifice safety for convenience. If your lights can be triggered remotely without multi-factor authentication—or if firmware updates require vendor portals instead of local OTA—reconsider the hardware. Real security is baked in, not bolted on.” — Dr. Lena Torres, IoT Security Researcher, National Cybersecurity Center
Frequently Asked Questions
Can I use Siri Shortcuts with outdoor Christmas lights?
Yes—but only with Apple HomeKit-compatible devices (look for the “Works with Apple Home” badge). Most third-party smart plugs and lights require a HomePod or Apple TV as a hub. Crucially, Siri Shortcuts cannot trigger custom xLights sequences directly; you’ll need a Home Assistant automation with a webhook endpoint, exposed to HomeKit via the Home Assistant iOS app.
Why does my voice command sometimes trigger the wrong light group?
This usually stems from ambiguous naming. Avoid generic terms like “lights”, “tree”, or “front”. Instead, use precise, phonetically distinct names: “Maple_Tree_Pixels”, “Garage_Roof_Warm_White”, “Driveway_Arch_RGB”. Also, disable duplicate device exposure—if both your Shelly relay and Light-O-Rama controller expose “Front Tree”, Alexa may choose unpredictably. Audit exposed devices in your voice assistant app and disable redundancies.
Do I need a subscription for voice control?
No—basic voice triggering works without subscriptions. However, advanced features like voice-based scene editing (“Alexa, make the tree pulse red slower”), natural-language scheduling (“Hey Google, run the snow effect every night at 5:30”), or multi-step conditional logic (“If motion detected after 9pm, dim all lights to 30%”) require paid tiers in platforms like IFTTT or premium Home Assistant add-ons. Stick to native integrations for core functionality.
Conclusion: Start Small, Scale Thoughtfully
Voice integration shouldn’t mean overhauling your entire display overnight. Begin with one circuit—your front porch string—and add a single smart relay. Expose it to your voice assistant, test reliability over three days (including rainy and subfreezing conditions), and document response times and failure modes. Once that works consistently, expand to a second zone. Every additional device multiplies complexity: power requirements, wireless congestion, firmware update coordination, and physical mounting logistics. The most impressive displays aren’t defined by pixel count—they’re defined by reliability, safety, and intentionality. When your neighbor asks how you made the lights respond instantly to “Hey Google, welcome guests,” you’ll know it wasn’t magic. It was careful planning, layered testing, and respect for both technology and tradition.


 浙公网安备
33010002000092号
浙公网安备
33010002000092号 浙B2-20120091-4
Comments
No comments yet. Why don't you start the discussion?