
Decorating a home is more than just arranging furniture and choosing paint colors—it’s an opportunity to express identity, foster creativity, and build shared memories. When children are part of the process, the results can be even more meaningful. However, involving young ones in interior design often brings concerns: Will they make messes? Will their ideas clash with your vision? Can you maintain order while encouraging freedom?
The truth is, it’s entirely possible—and beneficial—to include kids in decorating without sacrificing style or sanity. With thoughtful planning, clear boundaries, and age-appropriate tasks, families can collaborate on spaces that reflect everyone’s personality. The key lies not in avoiding input from children, but in guiding it constructively.
Create a Collaborative Vision Together
Start by framing the project as a team effort. Instead of making decisions in isolation and presenting them as final, invite your children into the early stages of planning. Sit down together with sketches, fabric swatches, or digital mood boards and ask open-ended questions like, “What kind of feeling do you want your room to have?” or “Which colors make you feel calm and happy?”
This step isn’t about giving full control over design choices, but about validating their perspective. Even young children can contribute ideas through drawings or verbal descriptions. Older kids might enjoy researching trends online or collecting inspiration from platforms like Pinterest (with supervision).
When children feel heard from the start, they’re less likely to resist changes later. It also teaches valuable skills like compromise and decision-making. For example, if a child wants neon green walls but you prefer something more neutral, suggest using the bold color in accents—pillows, artwork, or a single feature wall.
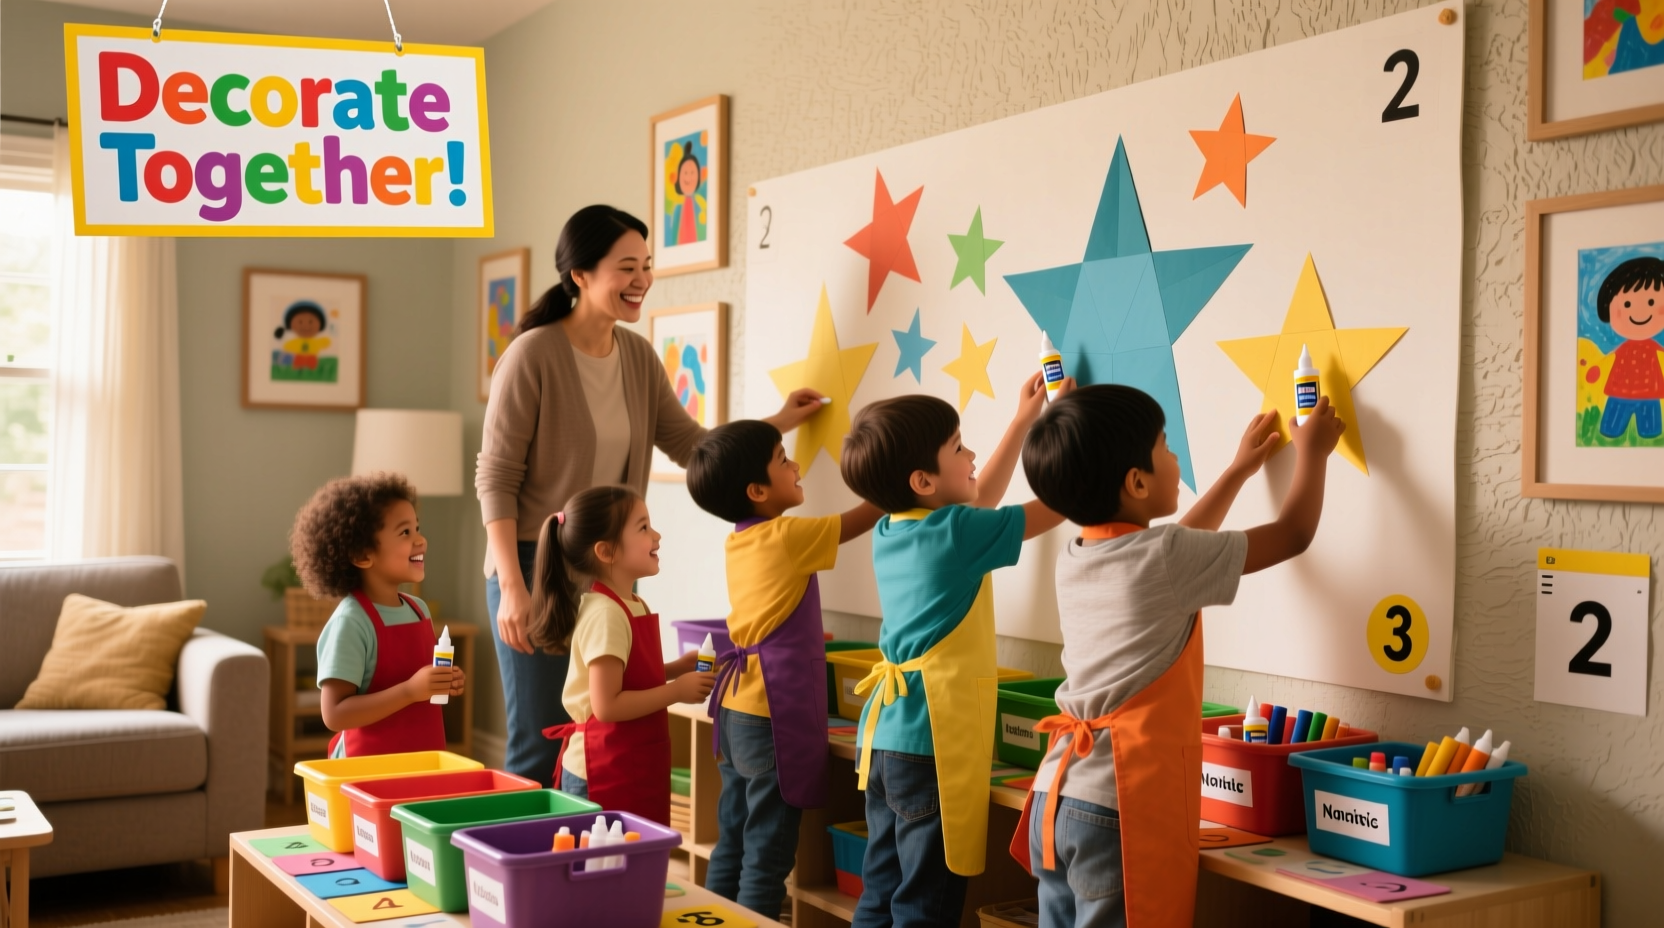
Assign Age-Appropriate Roles and Responsibilities
One of the most effective ways to prevent chaos is to structure involvement based on developmental ability. Matching tasks to a child’s skill level ensures safety, reduces frustration, and builds confidence.
| Age Group | Suitable Tasks | Adult Support Needed |
|---|---|---|
| 3–5 years | Choosing sticker art, picking fabric textures, placing removable decals | High – supervise all activities closely |
| 6–8 years | Selecting bedding, helping arrange shelves, painting small items with guidance | Moderate – provide tools and set limits |
| 9–12 years | Designing gallery walls, organizing storage, assisting with measurements | Low – offer feedback and approve final choices |
| 13+ years | Leading theme development, managing budgets for accessories, installing decor safely | Minimal – act as consultant rather than director |
For younger children, focus on tactile experiences. Let them touch samples of carpet, run their hands over different curtain materials, or test washable markers on a sample wallboard. These sensory inputs help them engage meaningfully without needing advanced decision-making skills.
Older kids can take ownership of specific zones. A teenager might redesign their study corner, choosing lighting, desk accessories, and motivational quotes. This sense of autonomy encourages responsibility and pride in maintaining the space.
Set Clear Boundaries and Flexible Rules
Freedom without structure leads to overwhelm—for both kids and parents. Establish non-negotiables upfront: things like structural changes, electrical work, or permanent alterations remain off-limits. But within those guardrails, offer real choices.
Think of it like a design sandbox: define the edges so creativity has room to flourish safely. For instance, decide together that wall color must come from a pre-approved palette of five options, but let your child pick which one goes where. Or agree that artwork must be framed or protected with clear contact paper before hanging.
“Children thrive when given agency within predictable limits. Knowing what they *can* change makes the process exciting, not overwhelming.” — Dr. Lena Torres, Child Development Specialist
Use visual contracts or checklists to clarify expectations. A simple chart posted near the project area can outline rules like:
- Clean up supplies after each session
- Ask before using glue, tape, or paint
- Show designs to an adult before implementing
- Respect shared spaces—no decorations in common areas without group approval
These agreements reduce power struggles and reinforce mutual respect. They also teach negotiation and accountability—skills that extend far beyond interior design.
Step-by-Step Guide: Involve Kids in a Room Redesign
Follow this timeline to execute a collaborative decorating project over the course of two weekends. This approach balances excitement with routine, preventing burnout and disorganization.
- Week 1, Day 1: Vision Meeting – Gather the family. Discuss goals, show examples, and collect initial ideas. Take notes or draw rough sketches.
- Day 2–3: Research & Collect – Let kids browse kid-safe websites, cut out magazine images, or create collages. Limit time to 30 minutes per day to avoid fatigue.
- Day 4: Narrow Options – Review all ideas together. Vote on themes, colors, and key elements. Combine favorites into a unified concept board.
- Weekend 2, Day 1: Prepare Space – Declutter and clean the room. Assign roles: one child sorts toys, another wipes surfaces, a third helps pack away seasonal items.
- Day 2: Implement Changes – Execute the plan in stages. Start with large pieces (furniture), then move to paint or wallpaper, followed by accessories.
- Final Step: Celebration & Review – Take photos, have a “room tour,” and discuss what worked well. Ask, “What would you do differently next time?”
This phased method prevents rushing and allows reflection at each stage. It also models project management—a subtle but powerful life lesson.
Real Example: The Martinez Family’s Shared Playroom Makeover
The Martinez family faced a challenge: their playroom had become chaotic, with mismatched toys, peeling posters, and no clear system. Their two children, ages 6 and 8, argued constantly over space. Rather than redesigning it themselves, the parents decided to involve the kids in a structured revamp.
They began with a family meeting where each member shared one thing they loved and one thing they wanted to change about the room. The children expressed a desire for “a cozy reading cave” and “a place just for Legos.” The parents noted the need for better storage and durability.
Together, they created a vision board combining these elements. The kids chose a woodland theme with earth tones, inspired by camping trips. Using craft foam and fabric remnants, they designed a cushioned reading nook with a faux tent canopy. Shelves were labeled with pictures so even the youngest could tidy up.
Throughout the process, the parents set clear guidelines: all decorations had to be removable, and every new item added required removing an old one. After three weekend sessions, the room was transformed—not perfectly curated, but authentically theirs.
“I didn’t expect them to stick with it,” said Maria Martinez. “But because they helped plan it, they actually clean it without being asked. That’s been the biggest win.”
Essential Checklist for Parents
Before starting any decorating project with kids, go through this checklist to ensure clarity, safety, and success:
- ✅ Define the scope: Which rooms or areas will be updated?
- ✅ Set a realistic budget with room for kid-selected items
- ✅ Choose child-safe materials (non-toxic paints, rounded-edge furniture)
- ✅ Designate a workspace for crafting and prep (protect floors and furniture)
- ✅ Plan cleanup procedures in advance (who does what, when)
- ✅ Agree on decision-making rules (voting, adult veto power, etc.)
- ✅ Schedule regular breaks to avoid overstimulation
- ✅ Document progress with photos or a journal
Having this framework in place minimizes impulsive decisions and last-minute conflicts. It also turns decorating into a learning experience grounded in collaboration and practical thinking.
Frequently Asked Questions
What if my child changes their mind halfway through the project?
It’s common—especially with younger children—to shift preferences. Instead of seeing this as a setback, treat it as part of the creative process. Allow one “design pivot” mid-project if justified, but explain that major changes may delay completion. Use it as a chance to discuss commitment and follow-through.
How do I handle clashing styles between siblings sharing a room?
Dedicate personal zones within the shared space. Each child gets a defined area—like a bed-side shelf, closet section, or wall panel—to decorate freely. Common areas (ceiling, door, center rug) use neutral or combined themes. Rotate spotlight features monthly so both feel represented over time.
Can very young children really contribute meaningfully?
Absolutely. While a toddler won’t sketch floor plans, they can choose favorite animals for wallpaper borders, pick soft blankets, or place magnetic tiles on a fridge board. Their input shapes comfort and emotional connection to the space—even if the execution is guided by adults.
Conclusion: Turn Chaos Into Connection
Involving kids in decorating isn’t about achieving Instagram-worthy perfection. It’s about building relationships, nurturing creativity, and teaching life skills through hands-on experience. With intentional structure, respectful communication, and a willingness to embrace imperfection, families can transform what might seem like a chaotic endeavor into a deeply rewarding journey.
The spaces we live in shape how we feel and grow. When children help shape those spaces, they develop a stronger sense of belonging and self-worth. So don’t shy away from glitter, crayon marks, or mismatched pillows. Welcome them as signs of engagement, imagination, and love.


 浙公网安备
33010002000092号
浙公网安备
33010002000092号 浙B2-20120091-4
Comments
No comments yet. Why don't you start the discussion?