
Candle tunneling—when only the center of a candle melts while wax remains untouched along the edges—is one of the most common frustrations for candle lovers. Not only does it waste valuable wax, but it also reduces scent throw, shortens burn time, and can even lead to wick drowning. While many assume this is inevitable, especially with container candles, tunneling is largely preventable with proper technique. Two surprisingly effective methods—using aluminum foil and strategic heat rotation—can dramatically improve your candle’s performance. These techniques are backed by both user experience and basic principles of thermal dynamics.
The Science Behind Candle Tunneling
Candles rely on a consistent \"melt pool\"—the liquid wax that forms around the wick during burning—to consume wax evenly. When a candle is first lit, the flame heats the surrounding wax, which then liquefies and draws up the wick via capillary action. However, if the initial burn is too short, the melt pool doesn’t reach the edges of the container. On subsequent burns, the flame continues melting only within the established inner diameter, leaving thick walls of unmelted wax. This is tunneling.
Several factors contribute to tunneling:
- Inadequate first burn: Failing to allow the melt pool to reach the jar’s edges during the first use sets the pattern for future burns.
- Poor wick size: A wick that’s too small won’t generate enough heat to melt wax fully across the surface.
- Container material: Glass retains heat differently than metal or ceramic, affecting how evenly wax melts.
- Burning environment: Drafts, low room temperature, or high humidity can disrupt even melting.
While some causes are built into the candle’s design, users can still correct and prevent tunneling through smart burning practices. Among the most effective are the foil method and heat rotation—two techniques that manipulate heat distribution to encourage full-surface melting.
Using Aluminum Foil to Prevent Tunneling
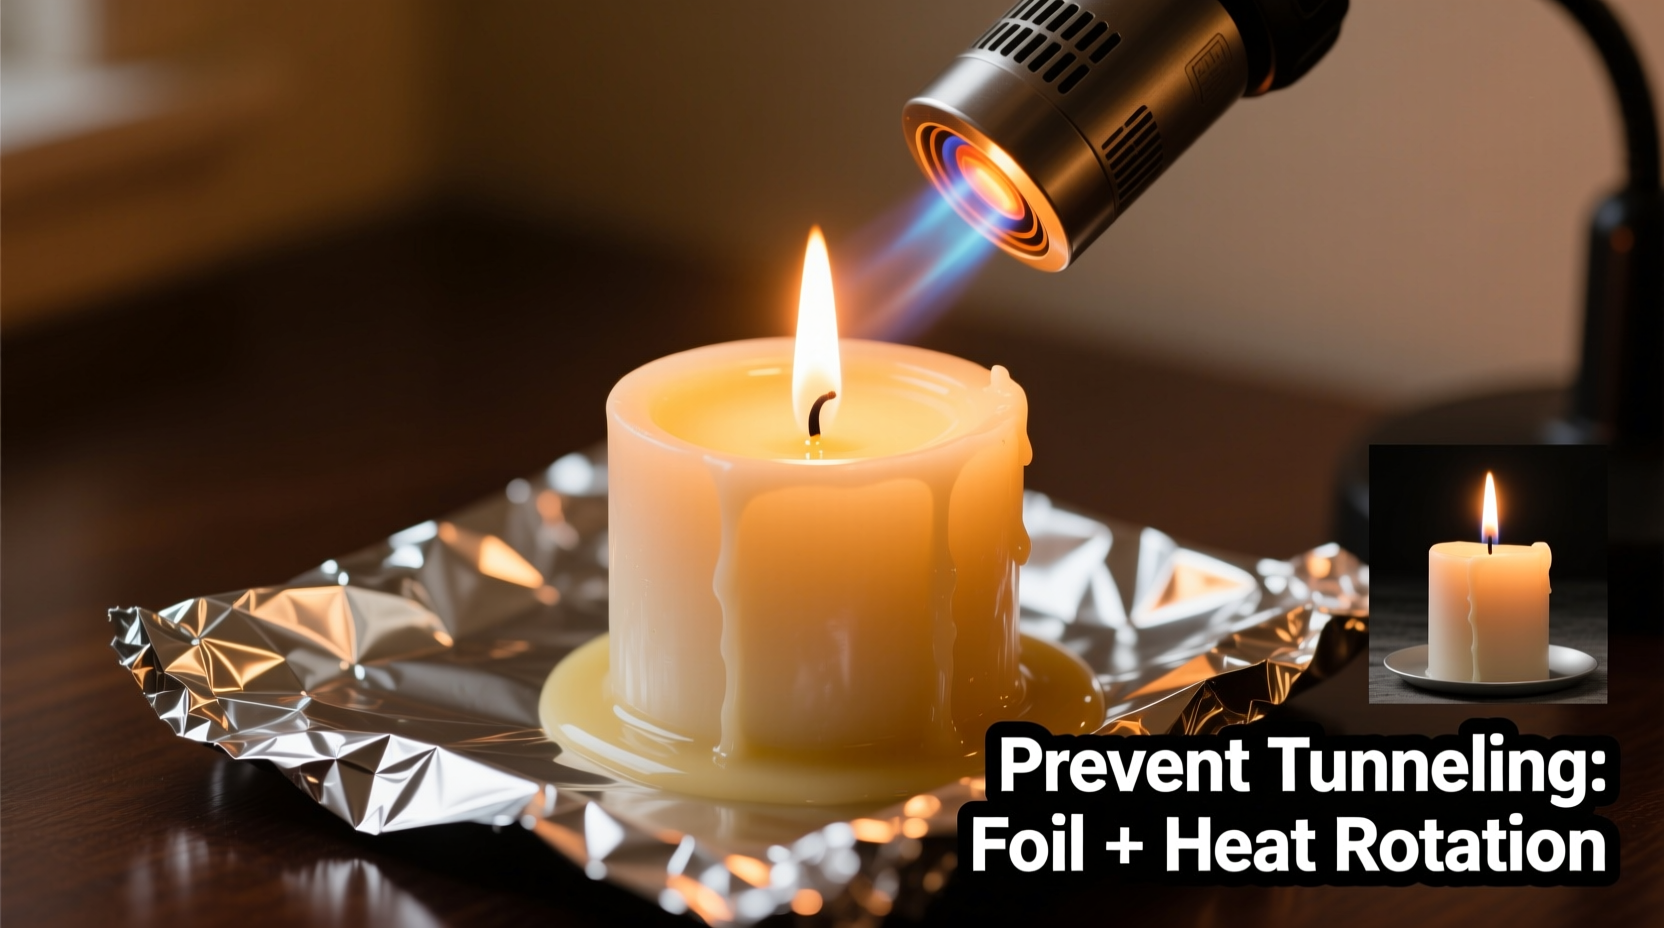
The aluminum foil trick is a widely shared hack in candle enthusiast communities, particularly useful for candles already showing signs of tunneling or struggling to form a full melt pool. The idea is simple: cover the top of the candle with foil to trap heat and direct it downward, helping the outer wax walls melt more efficiently.
Here’s how to do it correctly:
- Trim the wick to 1/4 inch to ensure a clean, controlled flame.
- Carefully mold a sheet of aluminum foil over the top of the candle, shaping it like a tent to avoid touching the flame directly.
- Leave a small opening above the wick to allow oxygen flow and prevent soot buildup.
- Burn the candle for 2–4 hours, checking periodically to ensure safety and progress.
- Once the melt pool reaches the edges, remove the foil and extinguish the flame properly.
The foil acts as a radiant barrier, reflecting heat back into the candle rather than letting it escape upward. This concentrated heat helps soften stubborn outer wax, allowing it to join the melt pool. It’s particularly effective for soy and coconut wax blends, which tend to have lower melting points and are more prone to tunneling.
When to Use the Foil Method
This technique works best in two scenarios:
- Corrective measure: For candles already tunneling, the foil method can help reclaim wasted wax and restore an even burn pattern.
- Preventive boost: During colder months or in drafty rooms, applying foil during the first few burns can help achieve a full melt pool faster.
It’s not a substitute for proper burning habits but a tool to enhance them when conditions aren’t ideal.
Heat Rotation: Balancing the Burn
Another lesser-known but highly effective strategy is heat rotation—physically rotating the candle during burning to promote even wax consumption. This method leverages the fact that heat rises unevenly in still air and that most rooms have subtle temperature gradients due to vents, windows, or furniture placement.
Flames naturally lean toward warmer or more oxygen-rich areas, causing the melt pool to expand asymmetrically. Over time, this leads to lopsided burning and, eventually, tunneling. By rotating the candle every 30–45 minutes during a long burn session, you expose different sections of wax to the hottest part of the flame, encouraging uniform melting.
Step-by-Step Heat Rotation Guide
- Light the candle and let it burn for 15–20 minutes to establish a stable flame.
- After 30 minutes, gently rotate the candle 90 degrees clockwise using oven mitts (the container may be warm).
- Repeat the rotation every 30–45 minutes until the melt pool reaches the container’s edges.
- Extinguish the candle once a full melt pool is achieved, ideally after no more than 4 hours of continuous burn time.
- Allow the candle to cool completely before relighting.
This process ensures that no single side of the candle bears the brunt of the heat, reducing the risk of deep center melting and promoting balanced wax consumption.
Combining Foil and Heat Rotation for Best Results
For severely tunneled or stubborn candles, combining both methods yields superior results. Start with the foil tent to trap heat and accelerate edge melting, then rotate the candle every half hour to distribute warmth evenly. This dual approach mimics professional-grade curing environments used in candle manufacturing labs.
A real-world example illustrates its effectiveness:
Mini Case Study: Reviving a Soy Candle After Three Failed Burns
Sarah had purchased a premium soy-blend candle marketed for 60-hour burn time. After three uses—each lasting about 1.5 hours—the candle developed a deep tunnel, barely consuming any wax beyond the center. Frustrated, she researched solutions and tried the foil-and-rotation method.
She trimmed the wick, covered the candle with a foil tent (leaving a vent hole), and lit it. Every 30 minutes, she rotated the jar a quarter turn. After three hours, the melt pool extended fully to the edges. She repeated this process on subsequent burns, gradually melting down the accumulated wall wax. By the fifth burn, the candle burned cleanly and evenly, ultimately delivering close to its promised lifespan.
“I didn’t think I could save it,” Sarah said. “But those two tricks turned a $30 mistake into a long-lasting favorite.”
| Method | Best For | Limitations |
|---|---|---|
| Foil Tent | Reclaiming tunneled wax, boosting heat retention | Risk of overheating; requires supervision |
| Heat Rotation | Preventing uneven melting, improving symmetry | Requires active monitoring; not ideal for short burns |
| Foil + Rotation | Stubborn tunnels, cold environments, large-diameter jars | Time-intensive; best for dedicated sessions |
Expert Insight on Candle Maintenance
Dr. Lena Torres, a materials scientist specializing in wax formulations, explains why these DIY methods work:
“Wax is a thermal conductor with memory. Once a burn pattern is set, it tends to repeat. But by manipulating ambient heat distribution—whether through reflective barriers like foil or mechanical intervention like rotation—you can override that pattern. It’s physics, not magic.” — Dr. Lena Torres, PhD in Materials Science, Candle Research Lab at Nova Institute
Her research confirms that container geometry and heat retention play critical roles in burn quality. Wide jars (over 3 inches in diameter) are especially prone to tunneling because they require more energy to form a complete melt pool. That’s where supplemental techniques become essential.
Essential Candle Care Checklist
To maximize candle life and prevent tunneling, follow this actionable checklist:
- ✅ Trim wick to 1/4 inch before each burn
- ✅ Allow first burn to last long enough for full melt pool formation (1 hour per inch of diameter)
- ✅ Avoid drafts, vents, and fans near burning candles
- ✅ Use foil tent for candles struggling to melt edges
- ✅ Rotate candle every 30–45 minutes during extended burns
- ✅ Limit continuous burn time to 4 hours max
- ✅ Store unused candles in cool, dark place away from sunlight
- ✅ Clean jar rim between burns to remove carbon buildup
Common Mistakes That Cause Tunneling
Even with good intentions, users often unknowingly sabotage their candles. Watch out for these pitfalls:
- Short burns: Lighting a candle for only 30–60 minutes prevents adequate melt pool development.
- Over-trimming wicks: Cutting below 1/8 inch can cause flickering or extinguishing; too long leads to sooting.
- Neglecting container cleanliness: Built-up residue insulates wax and interferes with heat transfer.
- Burning in cold rooms: Temperatures below 65°F slow wax liquefaction and promote tunneling.
- Ignoring manufacturer guidelines: Some candles require specific first-burn durations or care instructions.
Frequently Asked Questions
Can I use the foil method on all types of candles?
Yes, but with caution. The foil method works well for container candles made of glass, tin, or ceramic. Avoid using it on candles with plastic lids or flammable decorations. Always monitor the candle closely and never leave it unattended.
How long should the first burn last to prevent tunneling?
A general rule is one hour of burn time per inch of the candle’s diameter. For example, a 3-inch wide candle should burn for at least 3 hours during its first use. This allows sufficient time for the melt pool to reach the edges and set an even burn memory.
Is it safe to rotate a burning candle?
Yes, as long as you use protective gloves and handle the container gently. Ensure the surface beneath is heat-resistant. Do not rotate violently or tilt the candle, as this could spill hot wax or disturb the wick.
Final Thoughts and Call to Action
Tunneling doesn’t have to be the fate of every candle. With a little knowledge and proactive care, you can enjoy longer burn times, better fragrance diffusion, and greater value from every purchase. The foil trick and heat rotation are simple, science-backed strategies that empower you to take control of your candle’s performance.
Next time you light a new candle—or try to rescue a tunneled one—apply these techniques with confidence. Share your success stories, experiment with timing, and refine your routine. Candles are meant to be enjoyed, not wasted.


 浙公网安备
33010002000092号
浙公网安备
33010002000092号 浙B2-20120091-4
Comments
No comments yet. Why don't you start the discussion?