
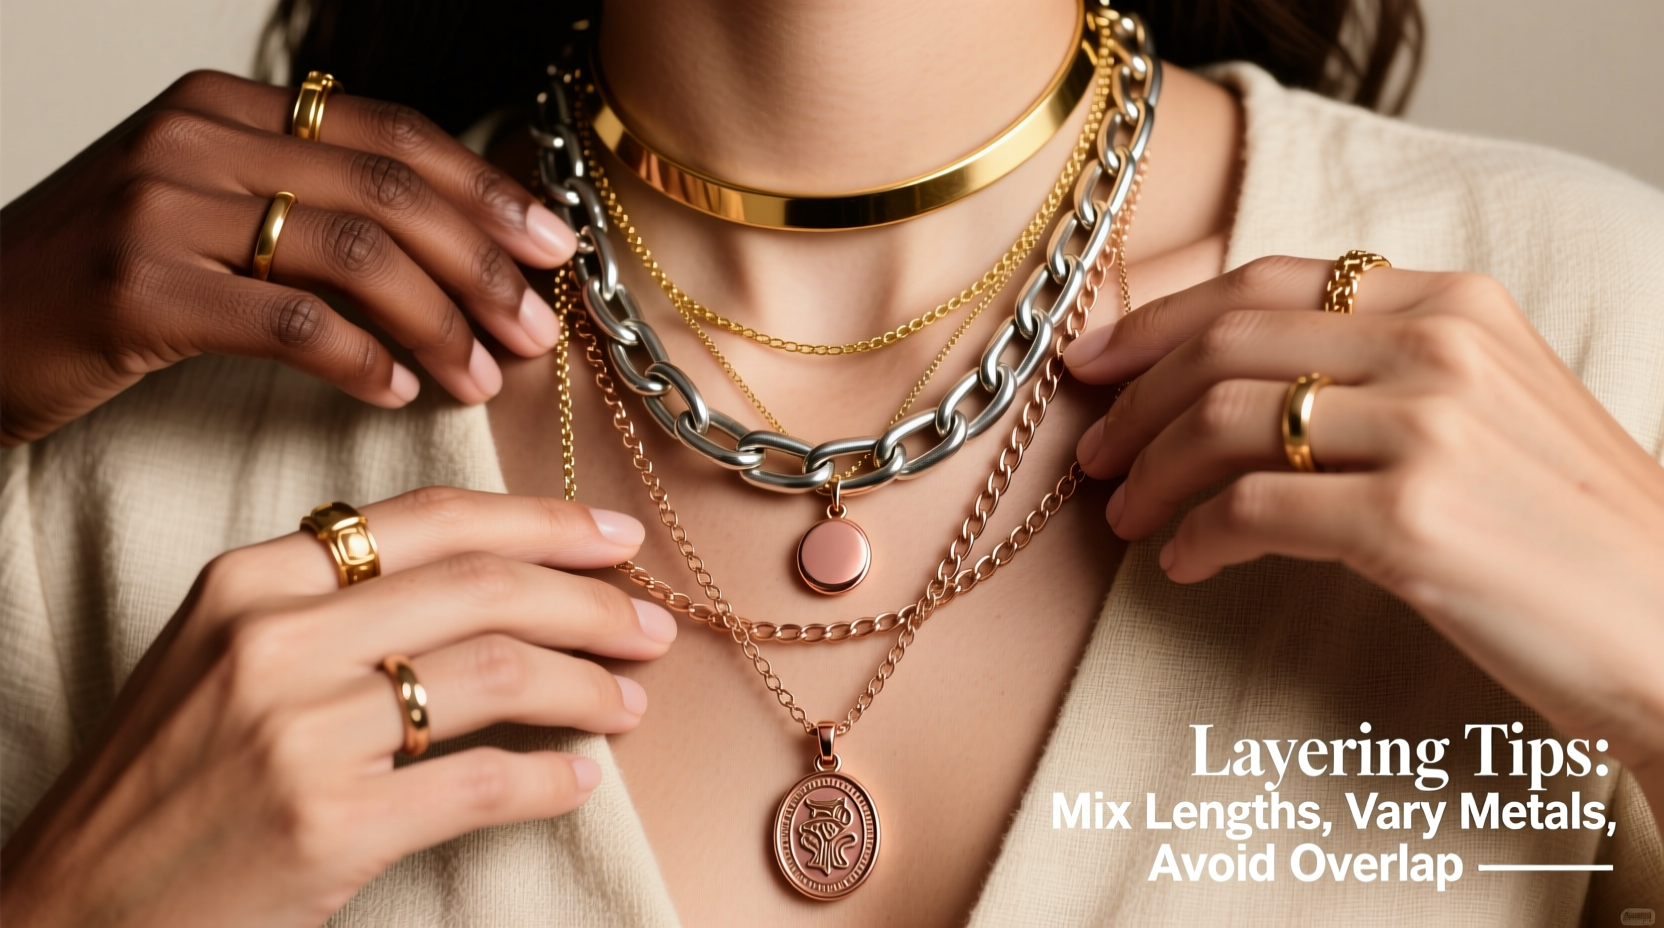
Layering necklaces has become a signature move in modern jewelry styling—adding depth, personality, and dimension to any outfit. But the moment you reach for more than one chain, especially in different metals, the risk of tangles, clashing styles, or visual chaos increases. The good news? With the right techniques, tools, and understanding of proportions, you can layer necklaces seamlessly—without knots, frustration, or sacrificing style.
Mixed-metal layering is no longer a fashion faux pas. In fact, it’s a bold expression of individuality. Whether you’re combining delicate gold chains with a chunky silver pendant or weaving rose gold into the mix, the key lies in intentionality. This guide walks you through practical strategies to build cohesive, tangle-free stacks that elevate your look—not complicate it.
Understanding Necklace Lengths and Proportions
The foundation of successful layering is mastering necklace lengths. When chains are too close in length, they overlap constantly, increasing friction and the likelihood of tangling. To avoid this, space your layers strategically.
Jewelry designers typically use standardized length categories. Here’s how they break down:
| Length (inches) | Name | Wears On | Best For Layering? |
|---|---|---|---|
| 14–16 | Choker | Base of neck | Top layer |
| 18 | Princess | Collarbone | Middle layer |
| 20–22 | Matinee | Below collarbone | Lower middle |
| 24–30+ | Opera & Rope | Chest to sternum | Anchor/base layer |
For a balanced stack, choose pieces that differ by at least 2 inches. A classic trio might include a 16-inch choker, an 18-inch pendant, and a 22-inch chain. This spacing allows each piece to sit independently, reducing contact and minimizing tangles.
The Art of Mixing Metals Without Clashing
Gone are the days when matching all jewelry to one metal was mandatory. Today, mixing gold, silver, and rose gold adds richness and dimension. However, doing it well requires balance and cohesion.
Start by selecting a dominant metal—this will be the most frequent or prominent in your stack. For example, if your earrings are gold, let gold anchor your necklaces. Then, introduce secondary metals as accents. A single silver bar necklace layered beneath two gold chains creates contrast without competition.
To unify mixed metals, consider these unifying elements:
- Finish consistency: Pair brushed gold with brushed silver, not polished gold and matte silver.
- Design theme: Stick to minimalist geometrics or vintage-inspired motifs across all pieces.
- Chain style harmony: Use similar link types (e.g., cable, box, or snake) to create rhythm.
“Mixing metals isn’t about randomness—it’s about creating intentional contrast. Think of it like pairing textures in interior design.” — Lena Torres, Jewelry Stylist & Founder of Chain Theory
When done thoughtfully, mixed-metal layering reflects confidence and personal style. It also extends the versatility of your collection—you’re no longer limited by strict color coordination.
Step-by-Step Guide to Tangle-Free Layering
Even the most beautiful necklaces lose their appeal when knotted beyond repair. Follow this step-by-step method to layer with precision and minimize entanglement.
- Prepare your pieces: Lay out all necklaces on a soft surface (like a towel). Check clasps and links for damage.
- Order by length: Arrange from shortest to longest. This helps visualize spacing.
- Clasp first, then drape: Fasten each necklace individually before placing it around your neck. Never try to clasp after draping multiple chains.
- Put on the longest first: Start with the lowest-hanging chain. It forms the base layer.
- Add progressively shorter chains: Slide each new piece over your head and position it above the previous layer.
- Adjust gently: Once all are on, smooth them out with your fingers. Avoid pulling or twisting.
- Secure with a drop of clear nail polish: If a clasp slips easily, apply a tiny dot to the closure (not the moving part) to increase grip.
This sequence prevents chains from crossing during application—a major cause of knots. For daily wear, consider using a necklace stand to pre-layer favorites and slip them on as a set.
Storage Solutions That Prevent Tangles
How you store your necklaces matters just as much as how you wear them. Tossing multiple chains into a drawer is a fast track to a tangled mess.
Effective storage starts with separation. Use one of these proven methods:
- Individual hooks on a wall-mounted board: Hang each necklace separately, grouped by length or metal type.
- Roll-up fabric organizer: These padded rolls have slots for each chain, ideal for travel.
- Compartmentalized jewelry box: Choose one with divided trays and soft lining.
- Cardboard tube method: Wrap a single necklace around a toilet paper roll and label it—keeps shape and prevents contact.
Avoid stacking necklaces flat on top of each other. Even lightweight chains can develop micro-kinks over time, weakening the metal and increasing tangle risk.
If you're short on space, consider a hanging acrylic organizer with vertical bars. These allow you to see all options at once while keeping each piece isolated.
“Over 70% of chain damage I see in repairs comes from improper storage, not wear. Prevention starts at night.” — Marcus Lin, Master Jeweler at City Jewel Works
Real-Life Example: Creating a Weekend Brunch Stack
Sophie, a graphic designer in Portland, wanted a go-to layered look for casual weekends—something stylish but low-maintenance. She owned several necklaces but avoided layering due to constant tangles.
Her solution:
- A 16-inch rose gold choker with a small initial pendant (personalized).
- An 18-inch recycled silver bar necklace (minimalist).
- A 22-inch adjustable gold-filled cable chain with a tiny moon charm.
She began by measuring each piece and confirming the 2-inch spacing rule. Then, she applied clear nail polish to the silver clasp, which had a tendency to slip. For storage, she mounted a small wooden board with brass hooks behind her bathroom door.
Now, Sophie layers them every Saturday morning in under a minute. The rose gold draws attention to her neckline, the silver adds cool contrast, and the longer gold chain brings movement without interference. No tangles, no fuss.
Her only adjustment? She now puts on the 22-inch chain first, followed by the 18-inch, then the 16-inch choker—reversing the usual order because her gold chain is thinnest and slides easiest over her head last.
Checklist: Build Your Perfect Layered Look
Use this checklist before assembling your next necklace stack:
- ✅ Choose a dominant metal to anchor the look.
- ✅ Select 2–4 pieces with at least 2-inch length differences.
- ✅ Inspect clasps and links for wear or looseness.
- ✅ Clean each chain gently with a polishing cloth.
- ✅ Lay them out in order—longest to shortest.
- ✅ Put on the longest chain first, working upward.
- ✅ Adjust positioning gently with fingertips.
- ✅ Store each piece separately after removal.
This routine takes less than five minutes but ensures consistent results day after day.
Frequently Asked Questions
Can I layer necklaces with pendants without tangling?
Yes, but place pendants on different levels to avoid collision. For example, put a pendant on the middle-length chain and keep the others plain. Avoid attaching pendants to both short and long chains that cross frequently.
Is it okay to mix delicate and chunky chains?
Yes, but maintain balance. Pair a thick chain with two or more thin ones to distribute visual weight. Avoid stacking multiple bulky chains—they’ll rub, tangle, and feel uncomfortable.
How do I clean tangled necklaces without damaging them?
Never pull! Soak the knot in warm water with a drop of mild dish soap for 10–15 minutes. Use a fine toothpick or tweezers to gently nudge the knot apart. For stubborn tangles, take them to a jeweler—most offer free de-knotting.
Final Thoughts: Style With Confidence, Not Fear
Layering necklaces shouldn’t come with anxiety about snags or mismatched metals. With a clear system—thoughtful length selection, intentional metal mixing, and smart storage—you can create looks that are as functional as they are fashionable.
The beauty of mixed-metal layering is that it evolves with you. A simple gold chain today can become the foundation of a bolder stack tomorrow. Each addition tells a story. Each layer reflects a choice.


 浙公网安备
33010002000092号
浙公网安备
33010002000092号 浙B2-20120091-4
Comments
No comments yet. Why don't you start the discussion?