
Live streaming has evolved from a niche activity into a mainstream communication tool used by creators, educators, entrepreneurs, and entertainers alike. Whether you're broadcasting a gaming session, hosting a virtual workshop, or launching a product, the quality of your stream directly impacts viewer retention and engagement. Many beginners focus only on content, but professional-level streaming combines technical precision with compelling delivery. The difference between an amateur broadcast and a polished one often comes down to preparation, equipment, and real-time audience management.
Invest in the Right Equipment
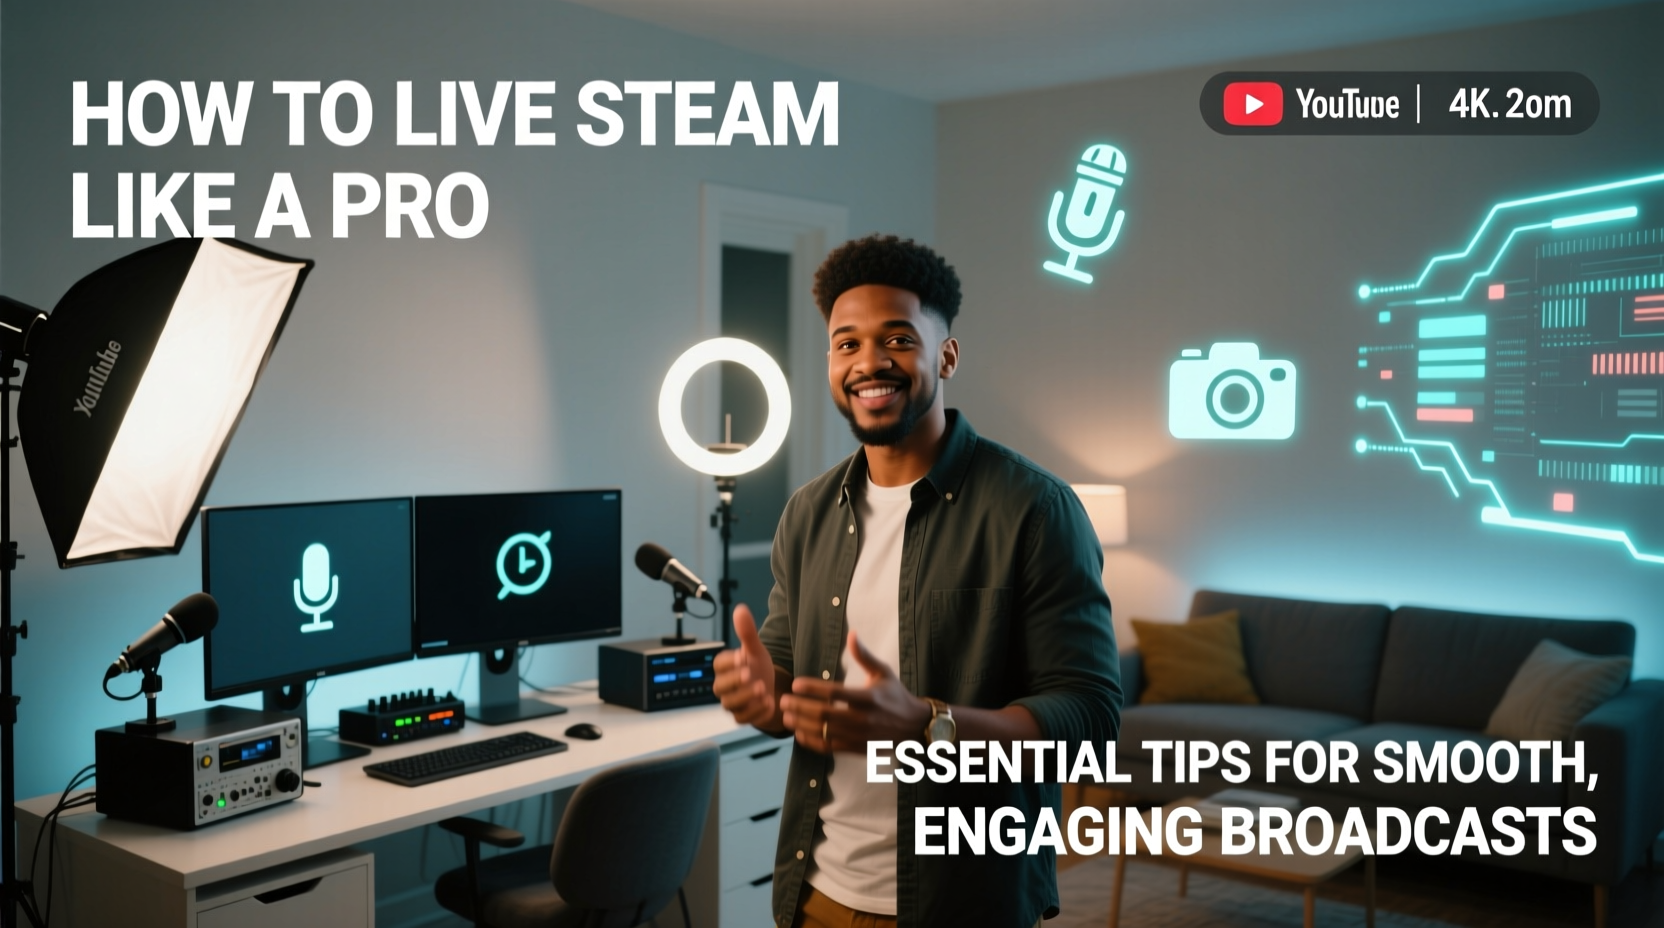
The foundation of any high-quality stream is reliable hardware. While smartphones can produce decent results, upgrading key components dramatically improves both audio and video clarity. A dedicated camera, microphone, and lighting setup ensure your audience sees and hears you clearly, reducing distractions and enhancing professionalism.
A full HD webcam or DSLR camera provides superior image resolution compared to built-in laptop cameras. Pair it with soft, diffused lighting placed at a 45-degree angle to eliminate harsh shadows. Avoid backlighting, which can silhouette your face. Ring lights or softbox panels are affordable options that deliver consistent illumination.
Essential Streaming Gear Checklist
- HD camera (webcam or mirrorless/DSLR)
- External microphone (USB or XLR)
- Three-point lighting setup (key, fill, back)
- Stable internet connection (minimum 10 Mbps upload speed)
- Streaming software (OBS Studio, Streamlabs, vMix)
- Backup power source (UPS) for uninterrupted power
Optimize Your Internet Connection
No amount of high-end gear can compensate for a weak internet connection. Buffering, lag, and sudden disconnections frustrate viewers and damage credibility. For smooth streaming, prioritize a wired Ethernet connection over Wi-Fi whenever possible. Wired connections offer lower latency and more consistent bandwidth.
“Stream stability begins long before you hit ‘Go Live.’ If your upload speed fluctuates, so will your audience.” — Jordan Lee, Broadcast Engineer at StreamTech Labs
Test your connection using tools like Speedtest.net or Fast.com. Most platforms recommend at least 3–5 Mbps for 720p streaming and 6–8 Mbps for 1080p. However, allocate extra bandwidth for safety—aim for double the required upload speed. Close background applications that consume bandwidth, such as cloud sync services or video downloads.
Network Optimization Steps
- Run a speed test during your intended streaming time.
- Switch to a 5GHz Wi-Fi band if using wireless, or use Ethernet.
- Limit connected devices on your network during the stream.
- Set your router’s Quality of Service (QoS) settings to prioritize streaming traffic.
- Use wired USB peripherals to reduce wireless interference.
Create an Engaging On-Camera Presence
Tech setup gets you on air—but personality keeps viewers watching. Even the most technically flawless stream falls flat without authentic engagement. Speak naturally, maintain eye contact with the camera (not the screen), and vary your tone to avoid monotony. Address your audience by name when possible, especially during Q&A segments.
Plan a loose script or outline to stay on track without sounding robotic. Include natural pauses for viewer interaction. Encourage comments early: “Drop a ‘yes’ in chat if you’ve tried this before,” or “Let me know where you’re tuning in from!” These small prompts build community and increase algorithmic visibility on platforms like YouTube and Twitch.
Do’s and Don’ts of On-Camera Delivery
| Do | Don't |
|---|---|
| Maintain steady pacing and clear diction | Rush through content without pauses |
| Smile and use expressive hand gestures | Fidget excessively or cover your mouth |
| Respond to comments in real time | Ignore chat entirely or read responses aloud awkwardly |
| Dress appropriately for your niche (e.g., business casual for webinars) | Wear busy patterns or reflective fabrics that distract on camera |
Pre-Stream Preparation Timeline
Success happens before the stream goes live. A structured pre-broadcast routine minimizes technical issues and mental stress. Follow this timeline for consistent results:
- 24 Hours Before: Confirm stream topic, schedule, and promotional posts. Test all equipment and software updates.
- 2 Hours Before: Charge batteries, close unnecessary apps, and restart your computer to clear cache.
- 30 Minutes Before: Launch streaming software, check audio levels, verify scene transitions, and do a short test recording.
- 10 Minutes Before: Go live early with a countdown screen or music loop. Greet early arrivals and confirm stream health via platform dashboard.
- At Go-Live: Begin with energy—state the purpose of the stream and invite interaction immediately.
Real Example: Turning a Technical Glitch Into Engagement
Sarah Kim, a fitness instructor who streams daily workouts, once faced a sudden audio dropout mid-session. Instead of panicking, she quickly switched to silent mode, typed in chat: “Mic’s out—but I’m still here! Show me your form in the comments!” She continued demonstrating exercises while viewers posted photos and videos. By embracing the glitch with humor and adaptability, her engagement spiked, and she gained 200 new followers that week. The incident became a case study in her newsletter about resilience in live content.
This example illustrates that perfection isn’t the goal—consistency and authenticity are. Viewers forgive minor hiccups when the host remains composed and interactive.
FAQ
How long should my first live stream be?
Start with 20–30 minutes. Shorter streams are easier to manage technically and mentally. As you gain confidence and feedback, gradually extend duration based on audience retention metrics.
Can I stream with just a smartphone?
Yes, modern smartphones support high-quality streaming, especially with external mics and tripods. Apps like Streamlabs, YouTube Live, and Facebook Live make mobile streaming accessible. Just ensure strong Wi-Fi or a stable 5G connection.
What’s the best time to go live?
Analyze your audience demographics. For global audiences, late morning to early afternoon UTC often works well. For local followings, aim for evenings after work hours. Check platform analytics to identify when your viewers are most active.
Conclusion
Becoming a professional live streamer isn’t about having the most expensive gear—it’s about mastering consistency, clarity, and connection. From optimizing your upload speed to crafting moments of genuine interaction, every detail contributes to a seamless viewer experience. The most successful streamers treat each broadcast as both a performance and a conversation, balancing preparation with spontaneity.


 浙公网安备
33010002000092号
浙公网安备
33010002000092号 浙B2-20120091-4
Comments
No comments yet. Why don't you start the discussion?