
A well-designed Christmas centerpiece anchors the holiday table—not as a backdrop, but as a quiet celebration of light, texture, and memory. Unlike store-bought arrangements that prioritize uniformity, handmade centerpieces carry intention: the weight of a grandmother’s glass bauble, the warm twinkle of micro-LEDs strung by hand, the subtle scent of dried orange slices tucked beneath velvet ribbon. This isn’t about perfection. It’s about presence—crafting something that invites conversation, slows down the meal, and holds space for what matters most at this time of year.
This guide walks through a proven, adaptable method developed over eight years of designing centerpieces for family gatherings, community dinners, and small-event styling. It avoids floral foam (which dries out, crumbles, and isn’t biodegradable), skips expensive greenery subscriptions, and centers on materials most households already own—or can source affordably from thrift stores, craft sales, or leftover decorations. The result is a centerpiece that glows softly, balances height and texture, and lasts through Advent and beyond.
Why Ornaments + Lights Work So Well Together
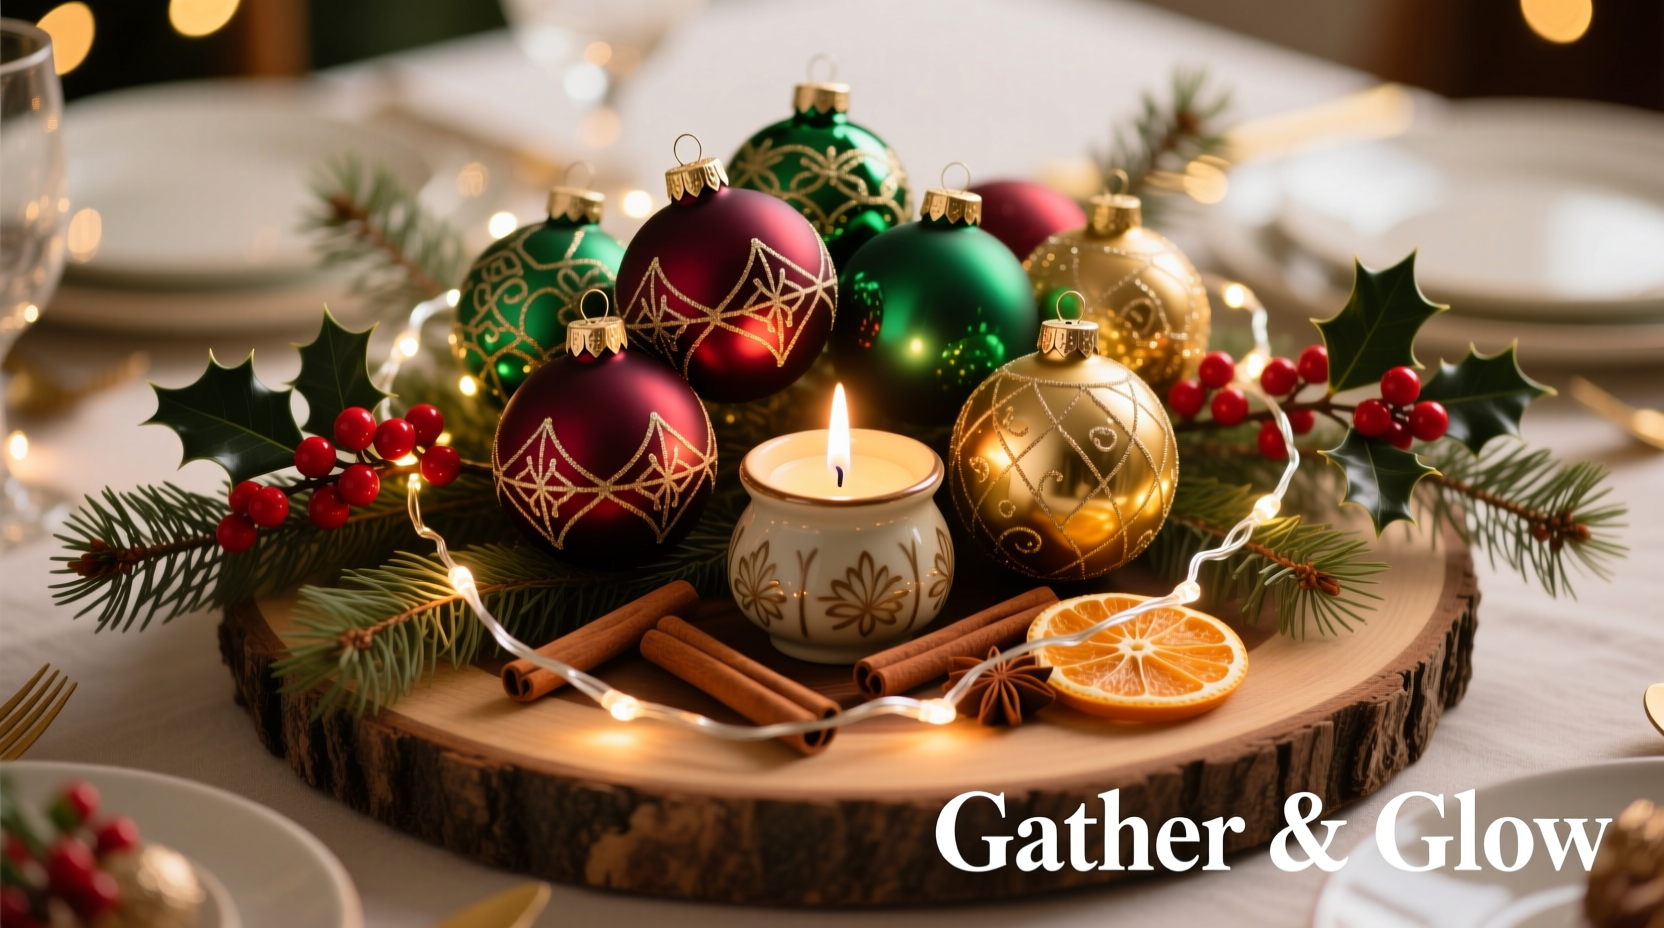
Ornaments and lights form a natural design partnership. Glass and acrylic ornaments refract light—turning tiny LEDs into shimmering points of gold, crimson, or frosty white. Their reflective surfaces catch ambient glow and bounce it sideways, softening harsh shadows under overhead lighting. Meanwhile, lights provide structure: they define vertical rhythm, fill negative space, and create visual warmth where matte elements (like wood, burlap, or dried citrus) might otherwise recede.
Unlike fresh florals—which wilt, brown, or shed petals within days—ornaments are archival. A single set, carefully stored, can anchor your table for a decade. And because lights are low-voltage and energy-efficient (especially battery-operated micro-LED strings), safety and practicality aren’t compromised for beauty.
“Light isn’t just illumination in holiday design—it’s emotional architecture. A centered glow tells guests, ‘You’re safe here. Rest. Breathe.’ That’s why I always start with light placement before adding a single ornament.” — Maya Lin, Interior Stylist & Holiday Design Educator, featured in Domino and Martha Stewart Living, 2023
Essential Materials & Smart Sourcing Tips
You don’t need a craft store haul. Most components are repurposable, reusable, or borrowable. Prioritize quality over quantity: three well-chosen ornaments glow more richly than ten mismatched ones.
| Item | What to Look For | Budget-Friendly Sources |
|---|---|---|
| Ornaments | Glass or thick acrylic; varied sizes (1.5”–4”); mix of finishes (matte, glossy, metallic, crackled); avoid overly fragile or hollow plastic | Thrift stores (check holiday sections in September/October), garage sales, family attic boxes, “free” listings online |
| Lights | Warm-white micro-LED string lights (20–50 bulbs); battery-powered with timer function; flexible, thin wire (not stiff copper) | Dollar stores (test brightness first), post-holiday clearance (January), craft supply swaps with friends |
| Base | Sturdy, low-profile vessel: wooden dough bowl, ceramic planter (no drainage hole), vintage cake stand, or even a wide-mouth mason jar wrapped in burlap | Antique shops, flea markets, kitchen cabinets (repurpose a serving platter or shallow copper pan) |
| Filler & Texture | Natural, non-perishable elements: dried orange slices, pinecones (cleaned & baked), cinnamon sticks, birch bark curls, faux velvet ribbons, raw-edged linen scraps | Home pantry (dry oranges yourself), backyard (pinecones), fabric scraps from old holiday napkins |
| Securing Tools | Floral wire (22-gauge), hot glue gun + low-temp glue sticks, clear fishing line, small binder clips (for temporary anchoring) | Dollar store craft aisle, hardware store remnants bin, reuse wire from old wreaths |
Step-by-Step Assembly: Build Depth, Not Height
Traditional centerpieces often fail by stacking too high—blocking eye contact across the table. This method prioritizes layered horizontality: light at the base, texture in the middle, ornamentation at the focal plane. Total height stays under 10 inches unless your table is extra-large.
- Prepare the base (5 minutes): Line your vessel with a ¼-inch layer of dried moss, shredded kraft paper, or crumpled parchment. This hides wires and creates a neutral ground. If using a metal or glass bowl, place a folded linen napkin underneath to mute clinking sounds.
- Anchor the lights (8 minutes): Uncoil your LED string. Starting at the outer edge, gently coil the wire clockwise in a flat spiral—like a snail shell—toward the center. Keep coils loose (½-inch gaps between loops) so light diffuses evenly. Tuck the battery pack underneath the filler layer, near the rim. Use one dot of hot glue to secure the end coil to the base—never glue the wire itself.
- Add structural texture (7 minutes): Place 3–5 pinecones (largest at back, smallest near front), tucking their stems into the filler. Nestle 2–3 cinnamon sticks diagonally across the center. Lay 2–4 dried orange slices flat, overlapping slightly like fallen leaves. Avoid symmetry—aim for organic asymmetry, as if wind arranged them.
- Position ornaments (12 minutes): Start with largest ornaments (3–4”). Attach each to a 4-inch piece of floral wire. Twist the wire tightly around the ornament’s metal cap, then insert the other end 1–1.5 inches into the filler, angling slightly outward. Space them 3–4 inches apart, forming a gentle arc—not a straight line. Add medium ornaments (2”) nestled *between* large ones, attaching with fishing line looped around stems and tied to pinecone bases. Finish with 1–3 tiny ornaments (1.5”) suspended just above the surface using 6-inch lengths of clear fishing line taped discreetly to the vessel’s underside.
- Final refinement (5 minutes): Turn on the lights. Observe where glare hits—adjust any ornament angle to redirect sparkle toward guests, not into eyes. Tuck stray wire ends under filler. Run fingers lightly over textures to soften sharp edges. Step back. Does it feel generous, not crowded? Calm, not chaotic? If yes—you’re done.
Real Example: The Maple Street Dinner Party
Last December, Sarah hosted her first post-pandemic holiday dinner for 12. She’d inherited her grandmother’s collection of 1950s mercury-glass ornaments—delicate, heavy, iridescent—but feared they’d look “too old-fashioned” beside modern tableware. Instead of discarding them, she paired them with warm-white fairy lights and foraged maple keys (helicopter seeds) dried on her windowsill. She used a repurposed cast-iron skillet as the base, lined with charcoal-gray burlap. The result wasn’t nostalgic—it was grounded. Guests kept touching the cool glass, commenting on how the lights made the mercury finish shift from silver to rose depending on where they sat. One guest asked, “Did you make this?” Sarah replied, “I just listened to what the ornaments wanted to say.” That centerpiece stayed on her dining table for 47 days—from Thanksgiving through Epiphany—rearranged only once, when she swapped the maple keys for sprigs of dried lavender.
Do’s and Don’ts: Practical Wisdom from 120+ Centerpieces Made
| Do | Don’t |
|---|---|
| Use odd numbers of focal ornaments (3, 5, or 7)—creates visual rhythm | Match all ornaments to one color family (e.g., only red). Contrast invites depth. |
| Let lights shine *through* translucent ornaments (clear glass, frosted acrylic) | Hide lights completely under filler. Light needs air and angles to breathe. |
| Place tallest element no higher than 8 inches on standard-height tables | Stack ornaments vertically on stems or dowels. Horizontal layers feel more intimate. |
| Store ornaments in individual tissue-paper nests inside rigid boxes (not plastic bins) | Hang ornaments on the centerpiece during assembly. Wires slip; glass falls. |
| Clean glass ornaments with a soft microfiber cloth dampened with distilled water | Use window cleaner, vinegar, or alcohol—they strip protective coatings and dull luster. |
FAQ: Troubleshooting Common Challenges
How do I keep ornaments from slipping or toppling?
Stability comes from weight distribution—not glue. Choose heavier ornaments (glass, wood, ceramic) for the base layer. Insert wire stems at a 10-degree outward angle, not straight down. Fill the base densely enough that stems meet resistance within the first inch—loose filler causes wobble. For slippery surfaces (like polished wood bowls), add a 1/8-inch ring of double-stick tape around the inner rim before adding filler.
Can I use battery lights safely overnight?
Yes—if they’re UL-listed micro-LEDs with automatic 6-hour timers. These draw minimal current (under 0.5 watts) and generate no heat. Never use incandescent mini-lights, extension cords, or non-timer battery packs near flammable materials (dried citrus, paper, fabric). Always remove batteries before storing for longer than 3 months to prevent leakage.
What if I don’t have “Christmas-y” ornaments?
Reframe them. Blue glass paperweights become icy orbs. Vintage perfume bottles turn luminous when lit from below. Sea glass shards catch light like fractured emeralds. Even smooth river stones, drilled and wired, hold light beautifully when placed atop a bed of white sand and tiny LEDs. The season isn’t defined by motifs—it’s defined by reverence for light in darkness. Let your objects speak their own language.
Conclusion: Your Table, Your Light, Your Invitation
A Christmas centerpiece isn’t decoration. It’s a threshold object—a deliberate pause between the rush of preparation and the vulnerability of gathering. When you choose an ornament that belonged to someone you loved, or wind lights by hand knowing exactly where each bulb will fall, you’re doing more than arranging objects. You’re practicing attention. You’re honoring continuity. You’re saying, without words, *this moment matters*.
There’s no deadline, no perfect version, no judge waiting to grade your effort. What matters is the act of choosing light over clutter, texture over trend, stillness over speed. Your centerpiece won’t be identical to anyone else’s—and that’s its strength. It will reflect your home’s particular light, your family’s unspoken rhythms, the quiet stories held in every bauble you’ve kept not because it’s valuable, but because it’s true.
So gather what you have. Unplug distractions. Set aside 45 focused minutes—not as a chore, but as a ritual. Let your hands move while your mind rests. Then light it. Watch how the glow settles—not just on the table, but in the space between people. That’s where the real magic lives.


 浙公网安备
33010002000092号
浙公网安备
33010002000092号 浙B2-20120091-4
Comments
No comments yet. Why don't you start the discussion?