
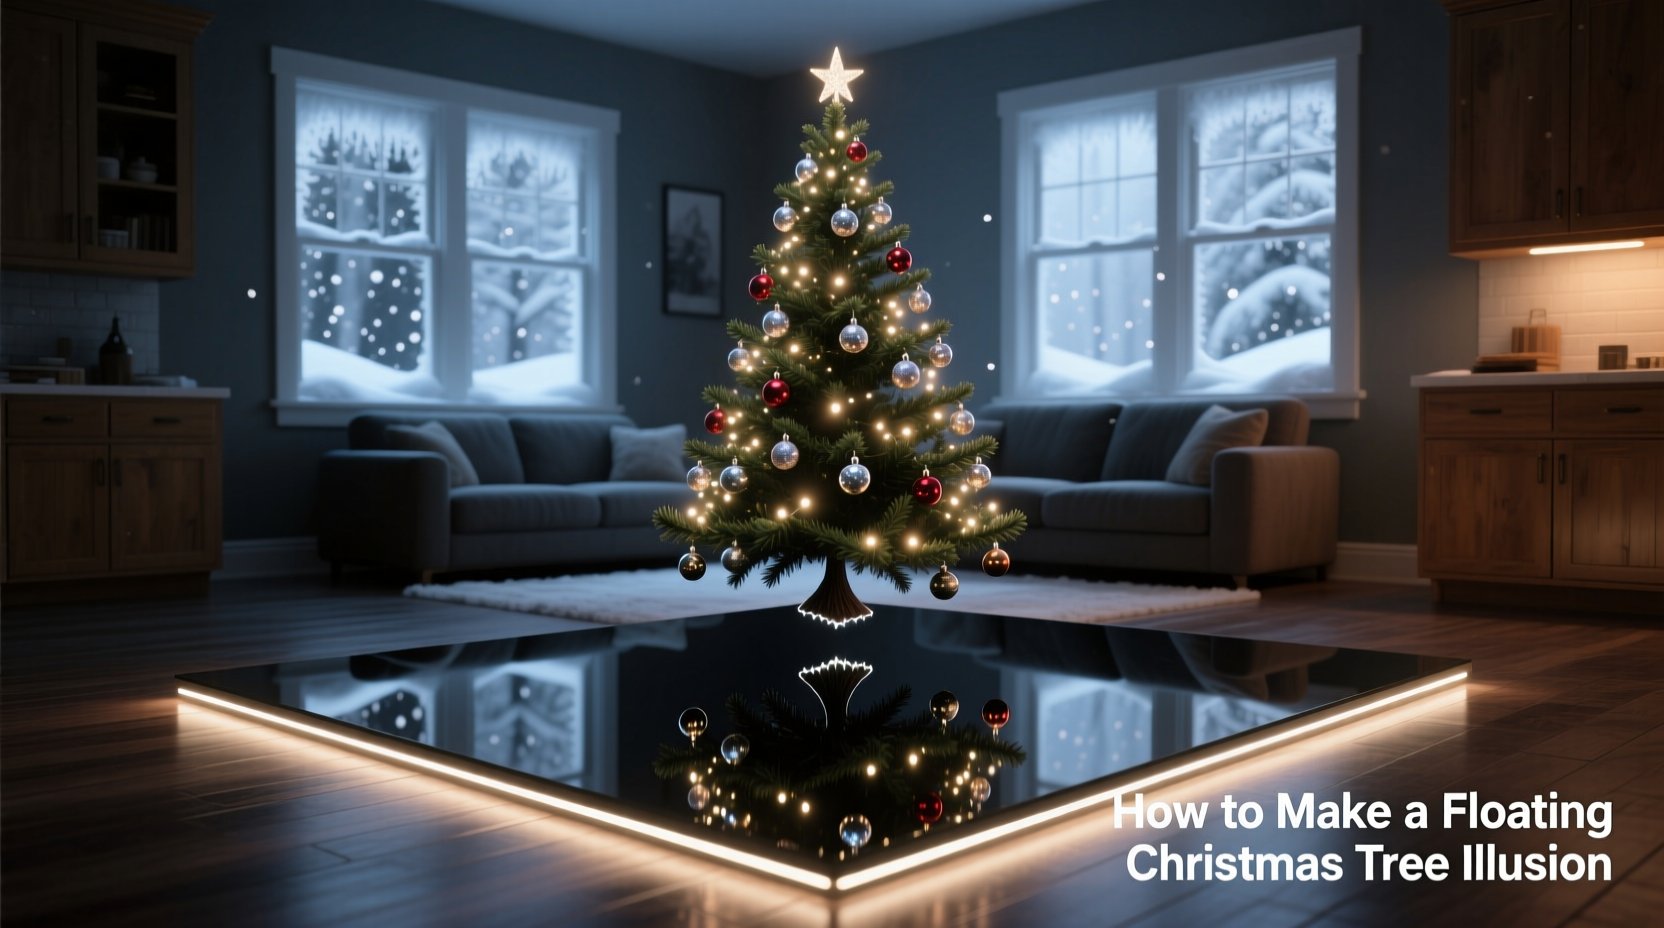
A floating Christmas tree is no longer just a fantasy seen in department store windows or luxury holiday displays. With clever use of mirrors, strategic lighting, and a bit of physics, you can create the mesmerizing illusion of a levitating evergreen right in your own home. This effect captivates guests, adds elegance to your decor, and turns an ordinary tree into a centerpiece of wonder. The secret lies not in magic—but in reflection, concealment, and light manipulation.
The floating tree illusion relies on optical tricks that have been used in theater, museums, and retail for decades. By hiding the base and reflecting the top seamlessly, the eye is tricked into perceiving continuity where there is none. When done correctly, it appears as though the tree is suspended in midair, glowing softly from within. This guide walks through the science, materials, setup process, and pro techniques to help you achieve this stunning visual feat without professional equipment.
The Science Behind the Illusion
The floating tree effect is rooted in a principle known as Pepsi’s Ghost, a 19th-century stage technique that uses angled glass or mirrors to reflect objects in a way that makes them appear transparent or levitating. While modern versions often use transparent film or acrylic sheets, traditional setups rely on highly reflective surfaces placed at precise angles.
In the case of a floating Christmas tree, the goal is to hide the physical support structure while making the upper portion of the tree appear unattached. This is achieved by placing a mirror at a 45-degree angle beneath the tree’s visible segment. The mirror reflects the top half of the tree, creating a seamless continuation that visually replaces the hidden base. When properly lit, the reflection becomes indistinguishable from reality.
Lighting plays a crucial role. Shadows, glare, or uneven brightness can break the illusion. Therefore, ambient lighting must be controlled, and internal tree lights should be evenly distributed to ensure consistent reflection. The success of the illusion hinges on three factors: mirror placement, lighting uniformity, and viewer perspective.
“Optical illusions like the floating tree work best when they exploit the brain’s tendency to fill in gaps. A clean reflection with minimal visual noise fools perception almost instantly.” — Dr. Lila Tran, Visual Perception Researcher, MIT Media Lab
Materials and Setup: What You’ll Need
Creating a convincing floating tree doesn’t require expensive technology, but it does demand precision and attention to detail. Below is a checklist of essential materials and their purpose in the setup.
Checklist: Floating Tree Materials
- Small artificial Christmas tree (preferably pre-lit)
- High-quality flat mirror (at least 18x24 inches)
- Non-reflective black fabric or backdrop
- LED string lights (warm white recommended)
- Support rod or clear acrylic tube (for structural stability)
- Base platform (wood or foam board)
- Tape, clamps, and mounting putty
- Dimmable room lighting or blackout curtains
- Camera level or protractor (for accurate angle measurement)
The tree should be compact—typically between 24 and 36 inches—to fit within the reflective field of the mirror. Larger trees require larger mirrors and more complex framing, increasing visibility of the mechanics. Pre-lit trees with warm white LEDs are ideal because they emit even, diffused light that reflects cleanly.
The mirror must be optically flat—not decorative or wavy—and free of scratches or smudges. Standard bathroom mirrors often have slight distortions; instead, consider using a first-surface mirror (available from scientific or photography suppliers), which eliminates secondary reflections caused by glass backing.
Step-by-Step Assembly Guide
Follow these steps carefully to assemble your floating tree illusion. Patience and precision are key—rushing the setup may result in visible seams, shadows, or misalignment.
- Prepare the Base Platform: Cut a rectangular platform from sturdy foam board or wood (approximately 24x18 inches). Paint it matte black or cover it with non-reflective fabric to minimize light bounce.
- Install the Mirror at 45 Degrees: Attach the mirror securely to one edge of the platform, tilting it precisely at a 45-degree angle. Use a protractor or smartphone level app to verify the angle. The reflective side should face inward, toward where the tree will stand.
- Mount the Support Rod: Position a clear acrylic tube or thin metal rod vertically where the mirror meets the platform. This will hold the lower section of the tree trunk. Secure it with mounting putty or brackets underneath the platform.
- Cut and Attach the Tree Segment: Using a saw or scissors, cut the artificial tree trunk about halfway up. Slide the bottom half over the support rod so it stands upright, hidden behind the mirror’s edge. The top half should align perfectly with the reflected image.
- Adjust Reflection Alignment: View the setup from the front. The top of the visible trunk should match exactly with its reflection. If there’s a gap or offset, adjust the mirror angle slightly or reposition the tree segment.
- Control Ambient Light: Dim the room lights or close curtains. Turn on the tree’s built-in LEDs and add extra string lights if needed. Avoid overhead spotlights that create hotspots on the mirror.
- Add a Backdrop: Place a black cloth or panel behind the setup to eliminate background distractions. This enhances contrast and focuses attention on the tree.
- Test Viewer Angles: Walk around the display. The illusion works best from a frontal view (within 30 degrees left or right). Mark a “sweet spot” on the floor where the effect is strongest.
Once assembled, fine-tune the lighting. Over-lighting causes glare; under-lighting makes the reflection faint. Warm white LEDs mimic candlelight and reduce harsh contrasts, improving realism.
Do’s and Don’ts: Optimizing the Effect
Even small mistakes can ruin the illusion. The table below outlines common pitfalls and best practices to avoid them.
| Do | Don’t |
|---|---|
| Use warm white, evenly spaced LED lights | Use multicolored or blinking lights that distract from continuity |
| Keep the viewing area controlled—limit side access | Allow people to walk behind or beside the mirror |
| Clean the mirror thoroughly before setup | Touch the mirror surface with bare hands (oils cause smudging) |
| Use a matte black base to absorb stray light | Place the setup on a shiny or light-colored surface |
| Secure all components to prevent vibration or shifting | Set up near high-traffic areas where bumps may occur |
Real-World Example: A Living Room Holiday Display
Sarah Kim, a graphic designer in Portland, wanted a standout centerpiece for her annual Christmas open house. She had limited space in her apartment but loved theatrical decor. After researching optical illusions, she decided to build a floating tree using a repurposed picture frame mirror and a mini 30-inch pre-lit tree from a discount retailer.
She mounted the mirror at 45 degrees inside a custom wooden box painted black. The tree was cut in half, with the lower portion attached to a clear PVC pipe anchored to the base. She added battery-powered fairy lights within the branches for extra glow and hung a velvet curtain behind the display to block the background.
At her party, guests gathered in front of the tree, snapping photos and marveling at the “levitating” effect. Only when someone accidentally walked to the side did the illusion break—revealing the mirror and support rod. Sarah later added velvet ropes to guide viewing angles, turning the display into an interactive experience.
Her total cost: under $75. Time invested: six hours over two evenings. The result? A conversation starter that became a holiday tradition.
Advanced Lighting Techniques for Maximum Impact
While basic string lights work, advanced lighting can elevate the illusion from clever trick to breathtaking spectacle. Consider these enhancements:
- Internal Canopy Lighting: Weave additional micro-LED strands deep into the branches to illuminate from within, reducing shadow lines in the reflection.
- Color Temperature Matching: Ensure all light sources (tree lights, ambient lamps) emit the same color temperature. Mixing cool and warm whites creates visual dissonance.
- Programmable LEDs: Use addressable LED strips (like WS2812B) connected to a controller for slow pulsing or gentle fading effects that mimic candlelight.
- Uplighting: Place small LED spotlights beneath the mirror edge, aimed upward, to cast soft illumination on the lower trunk without revealing the source.
For a truly immersive experience, pair the floating tree with ambient sound—soft choral music or crackling fireplace audio—to engage multiple senses and deepen the sense of wonder.
Frequently Asked Questions
Can I use a real Christmas tree for this illusion?
No, real trees are impractical for this setup. They are heavy, shed needles, and cannot be easily cut or stabilized. Additionally, moisture from a water-filled base could damage the mirror or electrical components. Artificial trees are safer, lighter, and more durable for repeated use.
What size mirror do I need?
The mirror should be tall enough to reflect at least the top half of the tree. For a 30-inch tree, a mirror of at least 18 inches in height is required. Wider mirrors (24+ inches) provide more flexibility in viewing angles and reduce edge visibility.
Is this safe around children and pets?
With precautions, yes. Secure the mirror firmly to prevent tipping, and use shatter-resistant acrylic mirrors if concerned about breakage. Keep wires taped down and out of reach. Supervise young children near the display, especially if using electrical lighting.
Making It Your Own: Creative Variations
Once you’ve mastered the classic floating tree, experiment with variations:
- Miniature Forest: Create multiple small floating trees at different heights using tiered platforms and angled mirrors.
- Inverted Illusion: Reflect the tree upside-down to simulate a chandelier-style evergreen hanging from the ceiling.
- Color-Themed Trees: Use blue-tinted lights and silver ornaments for a winter galaxy theme, or pink LEDs for a modern glam look.
- Interactive Version: Add motion sensors that trigger light sequences when someone approaches the “sweet spot.”
The illusion isn’t limited to Christmas trees. The same technique can make ornaments, snow globes, or figurines appear to float—opening possibilities for year-round displays.
Conclusion: Bring Magic Into Your Home
The floating Christmas tree illusion is more than a decoration—it’s an experience. It blends science, artistry, and storytelling into a single captivating moment. With accessible materials and careful execution, anyone can transform a simple tree into a symbol of wonder. Whether you’re hosting guests, filming a holiday video, or simply delighting in the season’s spirit, this project offers lasting joy.
Start small, test often, and refine your technique. Share your results online, inspire others, and keep the magic of ingenuity alive during the holidays. The most memorable traditions aren’t bought—they’re built.


 浙公网安备
33010002000092号
浙公网安备
33010002000092号 浙B2-20120091-4
Comments
No comments yet. Why don't you start the discussion?