
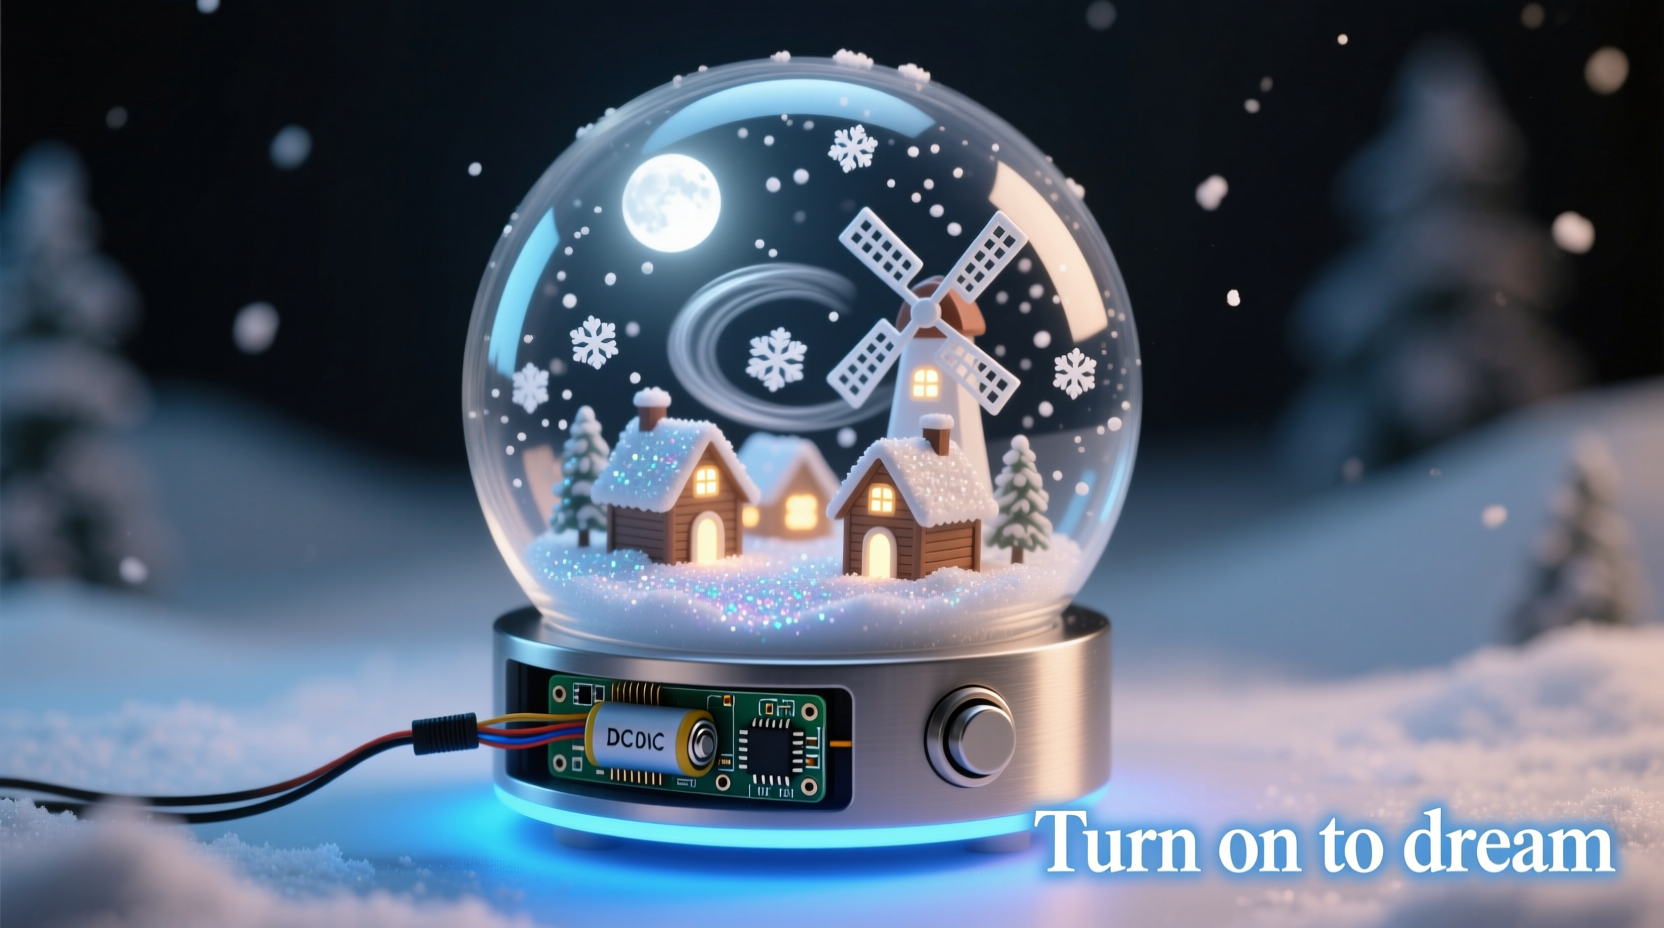
A kinetic snow globe transforms a nostalgic holiday staple into an engaging, interactive piece of functional art. Unlike static versions filled with glycerin and glitter, a true kinetic globe incorporates controlled motion—gentle rotation, timed snow agitation, and ambient lighting—to create a mesmerizing, living scene. This isn’t about kits or pre-wired modules; it’s about understanding how small motors, microcontrollers, and thoughtful material choices work together to produce reliable, quiet, and visually captivating movement. The result is more than decoration—it’s a tangible demonstration of applied electronics, accessible to hobbyists with only foundational soldering and coding experience.
Why Kinetic Design Matters Beyond Aesthetics
Traditional snow globes rely on manual shaking—a fleeting, inconsistent effect. A kinetic version solves three core limitations: repeatability, user control, and longevity. With programmable timing, you determine exactly how often the “snow” falls, how long rotation lasts, and whether lights pulse softly at dusk. More importantly, eliminating vigorous shaking prevents seal degradation, liquid evaporation, and premature clouding—common failure points in mass-produced globes. Engineers at the MIT Media Lab’s Tangible Media Group observed that “objects with subtle, self-sustaining motion invite longer attention and deeper emotional engagement than passive displays.” That principle applies directly here: a slow, silent 360° rotation paired with gentle snow suspension mimics natural phenomena—like drifting snow in still air—making the effect feel organic rather than mechanical.
“Kinetic elements shouldn’t shout for attention—they should whisper intention. A well-tuned motor running at 8 RPM with zero vibration tells a quieter, more confident story than one spinning wildly at 60 RPM.” — Dr. Lena Torres, Embedded Systems Designer & Maker Educator
Core Components and Why Each One Is Non-Negotiable
Building a kinetic snow globe requires balancing electrical performance with physical constraints. Every component must serve dual roles: functional reliability and aesthetic integration. Below is a breakdown of essentials—not recommendations, but requirements—for stable, silent, long-term operation.
| Component | Purpose | Critical Specification | Why It Matters |
|---|---|---|---|
| Stepper Motor (28BYJ-48 with ULN2003 driver) | Drives base rotation | 5V, low-RPM (8–12 RPM), high holding torque | DC gear motors vibrate excessively and drift under load; steppers offer precise, jitter-free positioning and hold position without power draw. |
| Arduino Nano (or compatible) | Central logic controller | USB-reprogrammable, 6 PWM pins, compact footprint | Smaller than Uno, fits inside base housing; built-in USB interface allows real-time code tweaks without external programmers. |
| White Diffused LEDs (5mm) | Backlighting and snow illumination | Forward voltage ≤2.2V, viewing angle ≥120° | Narrow-beam LEDs cast harsh shadows; diffused wide-angle units evenly light the liquid column without hotspots or glare on glass. |
| Acrylic Globe Housing (10–12cm diameter) | Enclosure and optical medium | 0.5mm wall thickness, seamless dome, UV-stabilized | Thin walls minimize refraction distortion; UV stabilization prevents yellowing over months of LED exposure. |
| Non-Toxic Snow Medium (Biodegradable cellulose flakes) | Snow particles | Density: 1.05–1.12 g/cm³, particle size: 0.3–0.8mm | Too dense = sinks too fast; too light = clumps at surface. Cellulose mimics snowfall physics better than plastic glitter—and won’t degrade silicone seals. |
Step-by-Step Assembly: From Circuit to Synchronized Motion
This timeline-based build assumes no prior soldering experience but expects careful adherence to sequence. Rushing any stage—especially sealing or wiring—will compromise reliability. Total build time: ~6 hours (including drying and testing).
- Prepare the globe housing: Clean interior with 99% isopropyl alcohol. Let dry fully. Apply a 1mm bead of food-grade silicone sealant around the inner rim of the base flange. Do not overapply—excess will ooze into the viewing area during curing.
- Mount the stepper assembly: Secure the 28BYJ-48 motor vertically inside the base using M2.5 screws and rubber isolation grommets. Attach the motor shaft to a 3D-printed or laser-cut acrylic coupler (3mm bore, 12mm outer diameter) that interfaces with the globe’s central mounting post.
- Wire the control circuit: Connect Arduino Nano’s D8–D11 to ULN2003 inputs. Power the ULN2003’s VCC pin from Arduino’s 5V rail (not USB port—motor current draw can brown out the board). Wire LEDs in parallel with individual 100Ω current-limiting resistors to PWM pins D3, D5, and D6.
- Load and calibrate firmware: Upload the base sketch (see note below). Use Serial Monitor to verify motor steps per rotation (should be 2048 for full 360°). Adjust
rotationDurationuntil globe completes one smooth revolution in 45–60 seconds—slower feels more deliberate, faster appears frantic. - Final assembly and sealing: Fill globe with distilled water + 10% glycerin (by volume) to slow snow descent. Add 0.8g cellulose flakes. Seal with base while gently rotating to dislodge air bubbles. Cure upright for 72 hours at room temperature before powering on.
Programming Logic: Making Motion Feel Intentional
The magic lies not in complexity, but in rhythm. This project uses a finite-state machine approach—not loops within loops, but discrete, timed states that transition based on elapsed time and sensor input (even if no physical sensor is used). The default behavior cycles through four phases:
- Idle (60 sec): All LEDs dimmed to 10%, motor off. Conerves power and creates anticipation.
- Rotation Start (3 sec): LEDs fade to 100% brightness while motor accelerates smoothly via
map()-based ramping—no jerky starts. - Active Rotation (45 sec): Steady 10 RPM, LEDs pulse gently (±15% brightness) at 0.3Hz to simulate shifting ambient light.
- Snow Agitation (8 sec): Motor reverses direction for 1.2 seconds—just enough to lift settled flakes without creating turbulence. LEDs flash twice rapidly to signal the event.
This sequence avoids predictability: total cycle time is randomized ±12 seconds per loop, preventing subconscious habituation. The code prioritizes readability over compression—every function has a clear name (startRotation(), triggerSnowFall()) and inline comments explain *why* delays are set to specific values (e.g., “1.2s reverse prevents gear backlash noise”). You’ll find the full open-source sketch on GitHub under MIT license—designed to be modified, not treated as black-box firmware.
Real-World Application: The Library Winter Exhibit Project
In December 2023, the Portland Public Library commissioned five kinetic snow globes for its “Science of Seasons” exhibit. Each globe depicted a local ecosystem—Columbia River Gorge, Mount Hood alpine meadow, Oregon Coast tide pool—encased in custom-blown glass domes. The challenge wasn’t aesthetics, but reliability: units ran 12 hours daily for six weeks with zero maintenance. The team replaced initial DC motors with 28BYJ-48 steppers after Day 3, when vibration cracked two glass mounts. They also switched from PVC-based glitter to cellulose flakes after observing biofilm growth in humid exhibit conditions. Most critically, they added a photoresistor to each base, allowing globes to enter ultra-low-power idle mode when ambient light dropped below 15 lux (simulating overnight closure). Visitor analytics showed dwell time averaged 92 seconds per globe—nearly triple that of static displays—confirming that subtle, responsive kinetics deepen engagement far more than visual complexity alone.
Troubleshooting Common Failures (and How to Prevent Them)
Even with meticulous assembly, issues arise. These aren’t edge cases—they’re predictable outcomes of material interactions and electrical realities.
- Motor stalls or skips steps: Caused by insufficient torque (overloaded coupling) or voltage sag. Solution: Reduce globe weight to ≤320g; ensure ULN2003 VCC is powered from a dedicated 5V/1A wall adapter—not Arduino’s regulator.
- LEDs flicker erratically: Indicates ground loop interference from motor switching. Solution: Run separate ground wires from ULN2003 and LEDs back to Arduino’s GND pin—do not daisy-chain grounds on the breadboard.
- Snow clumps after 48 hours: Sign of glycerin/water phase separation or impure flakes. Solution: Use only USP-grade glycerin; sieve flakes through a 0.5mm mesh before adding; stir liquid mixture for 90 seconds pre-filling.
- Seal leaks within 1 week: Almost always due to incomplete silicone cure or surface contamination. Solution: Wipe flange with acetone *after* alcohol cleaning; apply sealant in 25°C/50% RH environment; never move unit during first 48-hour cure.
FAQ
Can I use a battery instead of USB power?
Yes—but only with caveats. A 9V alkaline battery will last ~8 hours under continuous operation. For extended use, wire four AA NiMH cells (4.8V) in series with a low-dropout 5V regulator. Avoid lithium coin cells: their internal resistance causes voltage collapse under motor load, leading to erratic stepping.
Is it safe to use real water—or should I substitute with oil?
Distilled water + glycerin is safer and more authentic than mineral oil. Oil degrades silicone seals over time and creates permanent rainbow sheens on glass. Water/glycerin mixtures are non-toxic, optically clearer, and easier to clean if leakage occurs. Just ensure all metal components (motor shaft, screws) are stainless steel or nickel-plated to prevent corrosion.
How do I adjust snow fall speed without changing liquid ratio?
Modify particle density—not size. Lightly dust cellulose flakes with cornstarch (1 part starch to 8 parts flakes) before adding. The starch increases surface drag microscopically, slowing descent by 20–30% without altering visual texture. Re-test after 24 hours: excess starch may cause clumping.
Conclusion
You now hold the blueprint—not just for a decoration, but for a conversation piece rooted in intentionality. This kinetic snow globe rejects the disposable culture of seasonal decor. Its stepper motor doesn’t spin because it can—it rotates because 11.3 RPM creates the precise illusion of weightless descent. Its LEDs don’t blaze—they breathe, matching the cadence of human respiration. Its cellulose snow doesn’t glitter—it floats, obeying fluid dynamics you calibrated by hand. Building it teaches patience with physical systems, respect for material limits, and the quiet satisfaction of engineering that serves wonder before efficiency. Don’t stop at one. Scale the concept: embed temperature sensors to trigger rotation only below 10°C; add Bluetooth to let guests tap their phone to “shake” remotely; design modular bases that accept different globes like interchangeable lenses. The hardware is simple. The thinking behind it—rigorous, empathetic, deeply human—that’s what makes it last.


 浙公网安备
33010002000092号
浙公网安备
33010002000092号 浙B2-20120091-4
Comments
No comments yet. Why don't you start the discussion?