
A handmade advent calendar brings charm and anticipation to the holiday season. But most are discarded after December 25th—especially those made from flimsy cardboard. With thoughtful construction and intentional design, you can transform a temporary craft into a lasting tradition. A reusable modular cardboard advent calendar combines sustainability, creativity, and practicality, allowing families to enjoy it year after year. The key lies not just in assembly, but in durability, adaptability, and preservation.
Creating reusability isn’t about using sturdier glue or thicker paper alone—it’s a holistic process involving material selection, structural planning, storage methods, and annual maintenance. When done right, your calendar won’t just survive one season; it will become an heirloom piece passed down through generations.
Choose Materials That Last
The foundation of any reusable advent calendar is its material composition. Standard corrugated cardboard may hold up during a single December, but repeated handling, opening, and storage will degrade it over time. To ensure longevity, upgrade your base materials while maintaining the eco-friendly appeal of cardboard.
- Dual-wall or triple-wall cardboard: These offer greater rigidity and resistance to bending compared to standard single-wall variants.
- FSC-certified paperboard: Sourced sustainably and often more resilient due to tighter fiber bonding.
- Reinforced edges with washi tape or fabric strips: Prevent fraying at stress points like door hinges and mounting corners.
- Water-resistant coatings: Light sprays of non-toxic sealant (like food-safe shellac) protect against moisture without compromising recyclability.
While pure cardboard remains central to the project’s aesthetic and environmental ethos, integrating small reinforcements makes a dramatic difference. For example, gluing thin wooden dowels along vertical seams adds tensile strength, preventing doors from sagging after multiple uses.
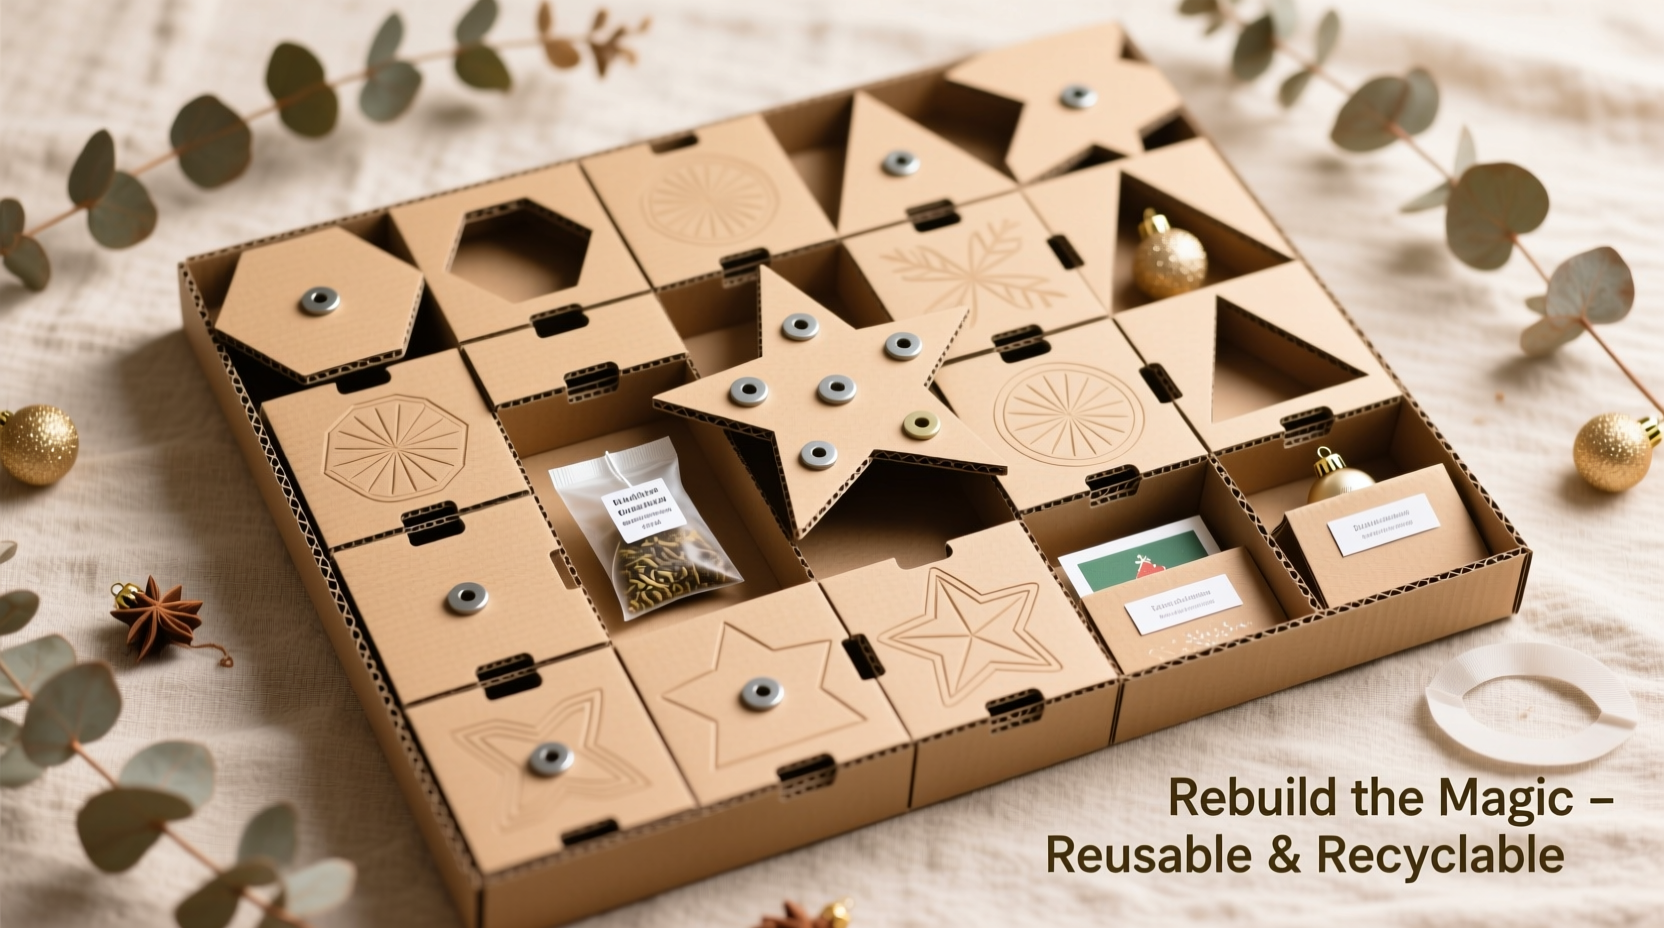
Design for Modularity and Adaptability
Modular design means each compartment operates independently yet fits within a cohesive layout. This structure enables easy replacement of damaged pieces and flexibility in arrangement. Unlike fixed calendars where one broken door ruins the entire display, modular units allow for targeted repairs.
To build true modularity:
- Create uniform box sizes so modules can be rearranged into new patterns each year—tree shape one year, snowflake the next.
- Use magnetic tabs, Velcro dots, or snap-fit joints instead of permanent adhesives for attaching modules to the backing board.
- Label each unit with invisible ink or engraved numbers so they can be reassembled correctly after storage.
- Incorporate blank insert slots behind each door for changing messages, activities, or treats annually.
This level of flexibility ensures the calendar evolves with your family. Children might receive toys at age five, handwritten notes at ten, and gift cards at fifteen—all without rebuilding the entire structure.
| Feature | Reusable Design | Disposable Design |
|---|---|---|
| Attachment Method | Magnets, clips, Velcro | Glue, tape |
| Door Hinges | Fabric tape, laminated folds | Paper creases |
| Content Insertion | Slip-in pockets | Fixed compartments |
| Storage Size | Flat-packable | Bulky, fragile |
| Lifespan | 5–10+ years | 1 season |
Step-by-Step Guide to Building a Reusable Modular Calendar
Follow this timeline-based process to construct a durable, adaptable advent calendar that improves with age.
- Week 1: Plan Layout and Module Count
Select a theme—numbers 1–24 plus Christmas Day—and sketch configurations. Consider symmetry, balance, and wall space. Decide whether to hang vertically or lay flat on a mantel. - Week 2: Cut and Reinforce Modules
Using a craft knife and ruler, cut 25 identical boxes from dual-wall cardboard. Fold flaps carefully and reinforce inner corners with cross-braced card stock glued inside each joint. - Week 3: Attach Flexible Hinges
Apply cotton fabric tape (approx. 1 cm wide) across the top edge of each door. Press firmly and let dry overnight. Fabric allows hundreds of openings without cracking. - Week 4: Assemble Backing Board
Cut a large backing panel from foam core or plywood. Mark positions for modules using a grid system. Attach small neodymium magnets or adhesive Velcro pads at each spot. - Week 5: Mount Modules and Test Durability
Place each module onto the backing. Open and close every door 10 times to test hinge integrity. Replace weak units before finalizing. - Week 6: Add Customization Features
Insert clear plastic sleeves behind each door for rotating notes. Number fronts with washable metallic pens. Include a detachable title banner for seasonal updates (e.g., “Emma’s 2025 Countdown”). - Ongoing: Annual Refresh Cycle
After each holiday, disassemble modules, inspect for wear, clean surfaces gently with a dry microfiber cloth, and store flat in labeled containers.
Real Example: The Jensen Family’s 7-Year Calendar
The Jensens of Portland, Oregon, began their advent tradition in 2017 with a simple DIY cardboard tree featuring 24 hanging pockets. By 2019, two pockets had torn, and the base warped from humidity. Instead of discarding it, father Mark—a woodworking teacher—redesigned the calendar using salvaged cardboard from appliance boxes, reinforced each triangular module with linen tape hinges, and mounted them on a corkboard with brass pins.
Each year since, the family updates the theme: pirates in 2020, space exploration in 2022, winter animals in 2024. The children now help refurbish it each November, checking hinges, replacing worn pins, and designing new inserts. One module was cracked in 2021 when a pet knocked it over—but because of its modular nature, they replaced just that piece.
“It’s not perfect,” says Mark, “but it tells our story. You can see the repairs, the changed colors, the handwriting evolving. It feels more meaningful than anything store-bought.”
“A well-built reusable calendar isn’t just sustainable—it becomes part of your family’s emotional landscape.” — Dr. Lena Patel, Cultural Anthropologist specializing in holiday rituals
Maintenance Checklist for Longevity
To keep your calendar functional and beautiful across multiple Decembers, follow this annual checklist:
- ✅ Inspect all hinges and attachment points for cracks or loosening
- ✅ Clean surfaces with a dry, soft brush or anti-static duster
- ✅ Replace worn fasteners (Velcro, magnets, pins) as needed
- ✅ Update date labels or decorative elements to reflect current year
- ✅ Rotate content inserts—avoid leaving candy residue or sticky notes that degrade paper
- ✅ Store flat in a climate-controlled environment away from direct sunlight
- ✅ Photograph the assembled calendar each year to document its evolution
One overlooked factor in calendar lifespan is light exposure. UV rays fade inks and weaken cellulose fibers in paper products. Even indirect sunlight over several months can yellow white cardboard and loosen adhesive bonds. Always position your calendar away from windows or use UV-filtering glass if framing it permanently.
Frequently Asked Questions
Can I wash a cardboard advent calendar?
No, submerging cardboard in water causes irreversible warping and delamination. Spot-clean stains with a slightly damp cloth followed immediately by blotting with a dry towel. Never use liquid cleaners unless they’re specifically formulated for paper conservation.
How do I prevent toddlers from tearing the doors?
Reinforce high-use areas with transparent packing tape on the backside of hinges, or switch to laminated paper doors. Teach gentle handling early by demonstrating slow opening and praising careful behavior. Consider adding felt bumpers inside each door to reduce slamming.
What if a module gets damaged beyond repair?
Thanks to modularity, individual units can be recreated exactly using saved templates. Keep digital or physical blueprints of each box design. Use matching paper wraps or paint to blend replacements seamlessly into the original set.
Conclusion: Build Once, Celebrate Every Year
A reusable modular cardboard advent calendar transcends seasonal decoration—it becomes a ritual object, rich with memory and meaning. The effort invested in selecting durable materials, designing flexible systems, and maintaining care routines pays dividends in joy, sustainability, and tradition. Each scratch, repaired hinge, or updated theme tells a story of time passing and love enduring.
You don’t need industrial tools or expensive supplies. What matters is intention: building something meant to last, designed to adapt, and cherished enough to preserve. Start this year by upgrading one element—replace paper hinges with fabric, add removable content sleeves, or simply store your current calendar with greater care. Small changes today create lasting traditions tomorrow.


 浙公网安备
33010002000092号
浙公网安备
33010002000092号 浙B2-20120091-4
Comments
No comments yet. Why don't you start the discussion?