
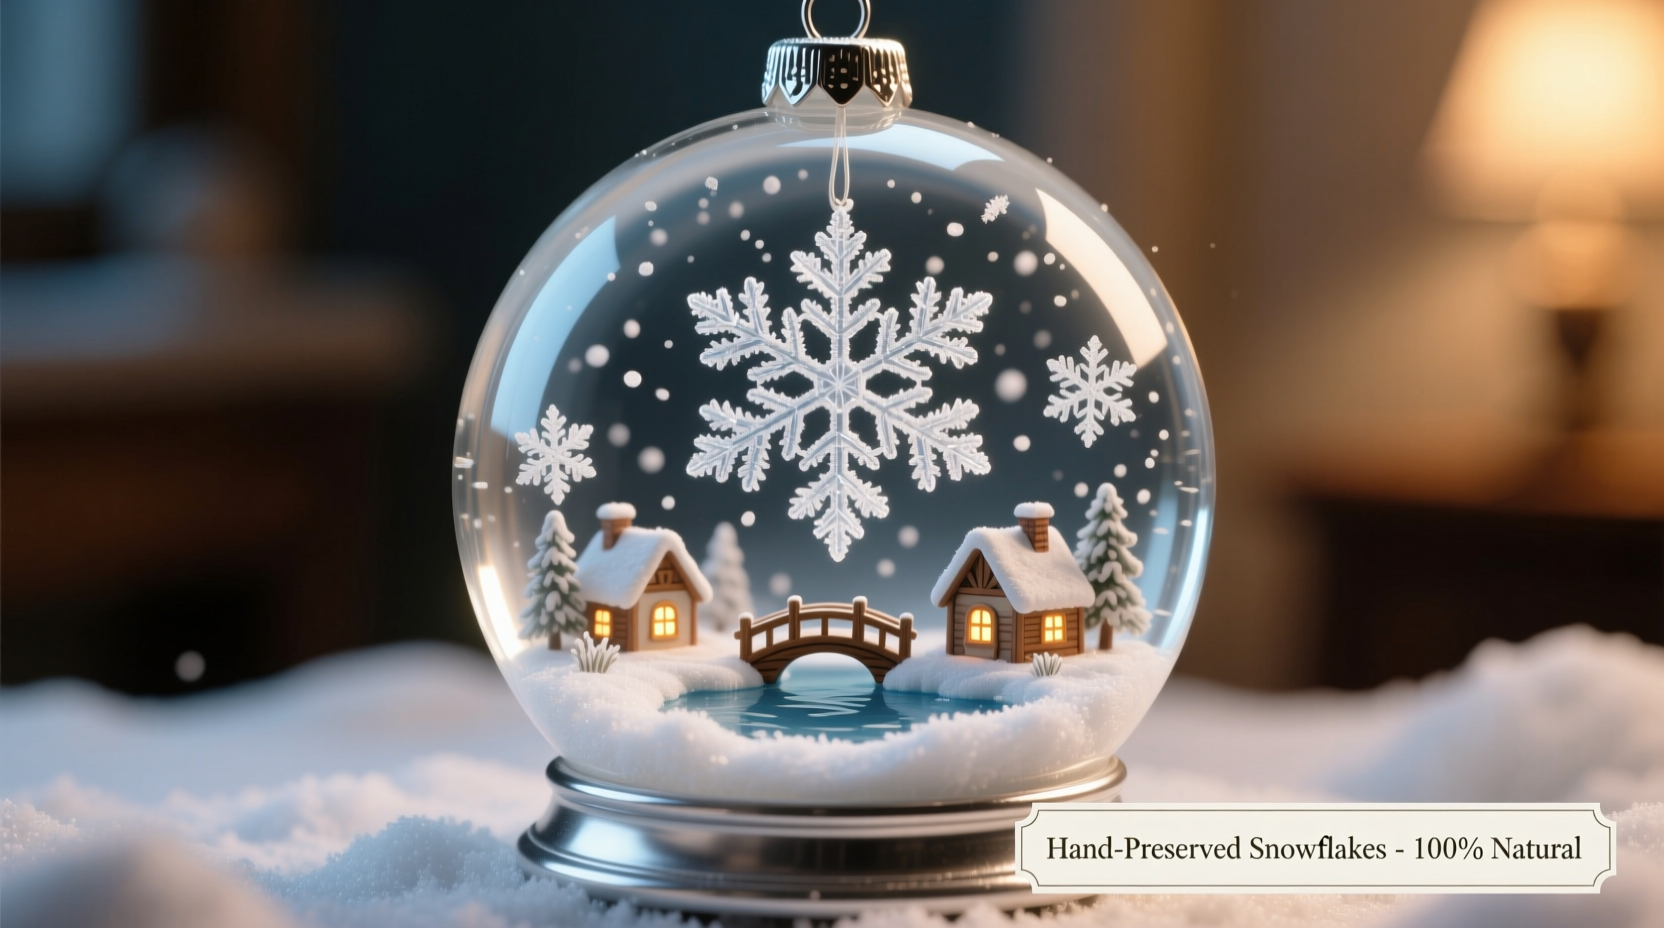
There’s something quietly magical about catching a snowflake—its intricate, fleeting beauty suspended in air for just a moment before vanishing. What if you could preserve that moment? Not a plastic imitation, but an actual snowflake, captured mid-fall and encased in a miniature world of glittering stillness? With careful technique and the right materials, it is possible to create a snow globe ornament that contains real snowflakes, safely preserved for years. This isn’t just a craft project; it’s a delicate act of winter alchemy.
The idea of preserving real snowflakes may sound like science fiction, but it’s grounded in early 20th-century photography and modern cryogenic principles. While we won’t be freezing individual flakes at -30°C in a lab, we can adapt preservation methods to keep snowflakes intact long enough to seal them into a decorative orb. The result is more than a decoration—it becomes a tiny time capsule of a single winter night, a personal artifact of nature’s artistry.
Understanding Snowflake Preservation: Is It Possible?
Snowflakes are fragile crystalline structures formed when water vapor freezes around microscopic particles in clouds. Each flake is unique, shaped by temperature, humidity, and atmospheric conditions. Their lifespan is measured in minutes—sometimes seconds—once they land. To preserve one, you must halt sublimation (the process where ice turns directly into vapor) and prevent melting or structural collapse.
Historically, Wilson \"Snowflake\" Bentley was the first to photograph individual snowflakes in the 1880s using a microscope and a bellows camera. He couldn’t preserve them physically, but he captured their forms permanently on glass plates. Today, scientists use cryo-electron microscopy to freeze snowflakes instantly and study them at atomic resolution. For home crafters, we adapt these ideas using accessible materials and timing.
The key is not to preserve the snowflake indefinitely in its pure form, but to capture it within a sealed environment where sublimation is minimized and visual integrity remains for months or even years. This involves rapid collection, immediate stabilization, and encapsulation in a moisture-controlled medium.
“Preserving a snowflake isn’t about defying nature—it’s about respecting its fragility with precision and patience.” — Dr. Lydia Chen, Atmospheric Scientist and Microcrystal Researcher
Materials and Tools You’ll Need
To successfully make a snow globe with real snowflakes, you need more than just a jar and glitter. This project requires attention to material compatibility, thermal stability, and sealing integrity. Below is a detailed list of essential supplies.
| Material | Purpose | Recommended Type |
|---|---|---|
| Glass Ornament Globe | Transparent enclosure for display | Sealable, high-clarity borosilicate glass |
| Cold-Resistant Adhesive | To seal the cap and prevent leaks | Epoxy resin rated for -20°C |
| Isopropyl Alcohol (90%+) | Prevents microbial growth and slows sublimation | Anhydrous, pharmaceutical grade |
| Distilled Water | Diluent for liquid mixture | Boiled and cooled to remove gases |
| Microscopic Slides & Coverslips | Temporary platform for snowflake collection | Frosted-end slides for labeling |
| Cold Stage or Chilled Tray | Maintains low temperature during transfer | Aluminum tray pre-cooled in freezer |
| Soft-Bristled Artist Brush | For gentle handling of flakes | Natural sable, size 00 |
| Flashlight or LED Ring Light | Illuminates flakes during inspection | Cool-white, non-heat-emitting |
Step-by-Step Guide to Capturing and Preserving Real Snowflakes
The success of this project hinges on timing, temperature control, and minimal handling. Follow this sequence carefully, ideally during active snowfall when flakes are large and intact.
- Prepare your workspace indoors: Set up near a door or window where you can step outside quickly. Lay out all chilled tools on a cold-resistant surface. Fill the glass globe with a 70/30 mix of distilled water and isopropyl alcohol. This solution lowers the freezing point and reduces evaporation inside the globe.
- Catch snowflakes on a pre-chilled slide: Go outside and hold a frosted microscope slide upward. Let 2–3 snowflakes land naturally. Avoid blowing on the slide or touching it with bare hands. Use a magnifier or USB microscope to inspect the flakes under a cool LED light.
- Select the best specimen: Look for symmetrical, six-branched crystals with minimal clumping. Discard any that appear melted or fragmented. Label the slide lightly with pencil if collecting multiple samples.
- Transfer the flake into the globe: Using the artist brush, gently nudge the snowflake from the slide into the liquid-filled globe. Do this swiftly but smoothly. The alcohol-water mix will help stabilize the flake by reducing surface tension and slowing sublimation.
- Seal the globe immediately: Screw the cap back on tightly. Apply epoxy around the seam to ensure an airtight, waterproof seal. Wipe away excess with a chilled cloth.
- Store in a stable, cold environment: Place the sealed globe in a refrigerator (not freezer) set between 0°C and 4°C. Avoid frequent temperature changes, which accelerate degradation.
Within a few days, the snowflake will begin to sublimate slightly, but its core structure should remain visible for several weeks. Over time, it may shrink or lose fine detail, but the central hexagonal pattern often persists for months under ideal conditions.
Extending Longevity: How to Keep Your Snowflake Visible
Even with perfect execution, a real snowflake inside a snow globe will not last forever. However, you can significantly extend its visibility with environmental controls and smart design choices.
- Keep the ornament away from direct sunlight, which increases internal temperature and accelerates sublimation.
- Avoid placing it near heat sources such as radiators, lamps, or electronics.
- Limit handling—the warmth from hands transfers quickly through glass.
- Consider adding a small desiccant packet (silica gel) to the outer packaging, though never inside the liquid chamber.
- For display, rotate multiple globes seasonally to reduce exposure time per unit.
Some crafters experiment with vacuum-sealing the entire globe or using glycerin-based solutions to slow molecular movement. While glycerin increases viscosity and creates a “slow-motion” effect, it can also cloud over time and obscure fine details. The water-alcohol blend remains the most reliable option for clarity and preservation balance.
Real Example: A Winter Solstice Project
In December 2022, amateur naturalist Mara Thompson attempted to create a family heirloom snow globe using snow from the winter solstice storm in Vermont. She prepared three identical glass orbs, each filled with the standard water-alcohol solution, chilled overnight in her garage.
On the evening of December 21st, she collected three distinct snowflakes during peak snowfall—each photographed before transfer using a macro lens. One flake was a classic dendrite, another a capped column, and the third a rare triangular crystal. Using sterilized tools, she transferred each into its respective globe.
She stored two globes in her refrigerator and placed the third on a shaded shelf in her living room. After six weeks, the refrigerated specimens retained 70–80% of their original structure, while the room-temperature globe showed only faint outlines. By March, the refrigerated globes still displayed recognizable hexagonal centers, proving that temperature stability is critical to longevity.
Mara later donated one globe to her local science museum, where it was displayed with a digital magnifier so visitors could examine the preserved flake. “It wasn’t perfect,” she said, “but seeing people lean in, amazed that this was once a falling snowflake—it made every careful step worth it.”
Tips for Success and Common Pitfalls
This project demands patience and precision. Many first attempts fail due to overlooked details. Here’s a checklist to improve your odds.
- ✔️ Test seal integrity of glass globe beforehand
- ✔️ Pre-mix and chill preservation solution
- ✔️ Freeze tools, slides, and trays for 30+ minutes
- ✔️ Charge flashlight or ring light (avoid heat-emitting bulbs)
- ✔️ Choose a night with fresh, dry snowfall (not slush or melting snow)
- ✔️ Wear gloves and avoid breathing directly onto equipment
| Do | Don’t |
|---|---|
| Use a soft brush to guide flakes | Touch flakes with fingers or metal tools |
| Work in short bursts outdoors | Stay outside too long (body heat affects surroundings) |
| Label slides immediately | Assume all flakes look the same |
| Store finished globes in consistent cold | Display near windows or heaters |
| Take reference photos before sealing | Forget to document your process |
Frequently Asked Questions
Can I preserve a snowflake permanently?
True permanent preservation requires cryogenic freezing at temperatures below -50°C, which is impractical for home projects. However, with proper sealing and cold storage, a snowflake’s structure can remain visible for 3–6 months, sometimes longer. Think of it as semi-permanent preservation—long enough to appreciate, but not eternal.
Why use alcohol instead of plain water?
Isopropyl alcohol lowers the freezing point of the solution, preventing the liquid from turning solid in cold storage. It also inhibits bacterial growth and reduces surface tension, helping the snowflake settle without fracturing. Most importantly, alcohol slows sublimation by decreasing vapor pressure inside the globe.
Can I add glitter or figurines like a traditional snow globe?
You can include small, non-reactive figurines (like ceramic or glass), but avoid plastic or metal objects that might degrade or react with the solution. Glitter is not recommended—it can obscure the snowflake and create visual clutter. If used, choose biodegradable mica flakes sparingly. Remember, the real snowflake is the star.
Conclusion: A Moment of Winter, Held in Glass
Creating a snow globe with real snowflakes isn’t about perfection—it’s about intention. It asks you to slow down, to notice the brief life of a single crystal, and to honor its uniqueness with care. While no method can stop time entirely, this craft lets you stretch a fleeting moment into something tangible, something shareable.
Each globe becomes a story: the night it snowed heavily, the hush of the backyard at midnight, the breath held as a flake landed just right. These aren’t mass-produced decorations. They’re quiet acts of wonder, made possible by curiosity and a little scientific savvy.


 浙公网安备
33010002000092号
浙公网安备
33010002000092号 浙B2-20120091-4
Comments
No comments yet. Why don't you start the discussion?