
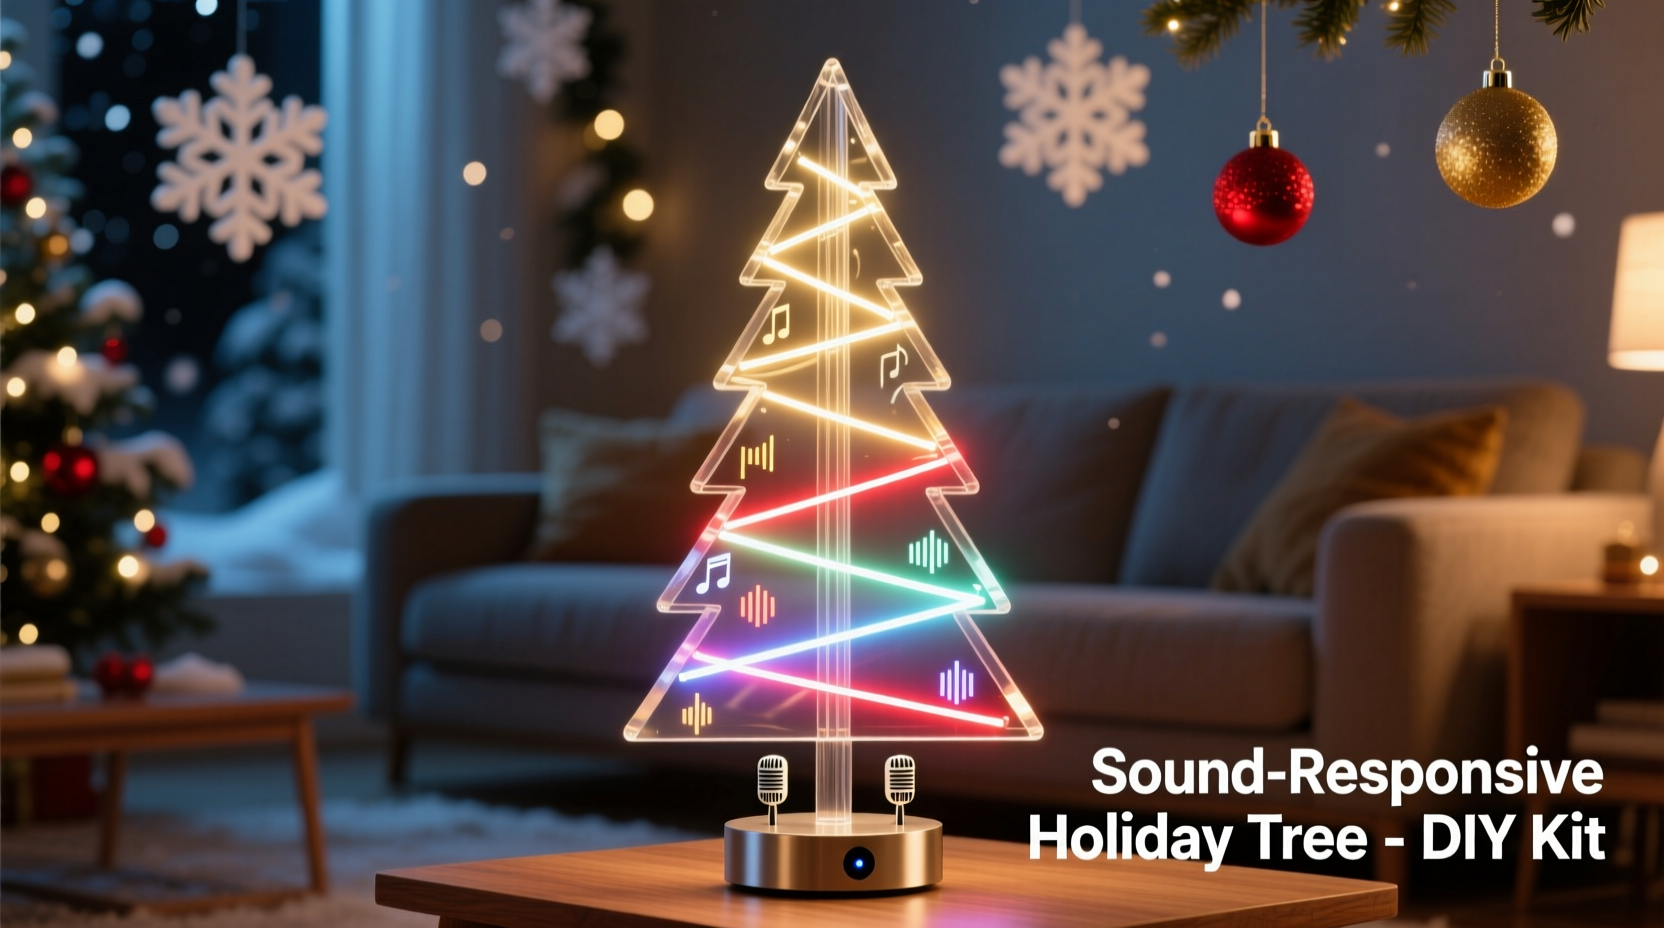
A Christmas tree that dances to music or reacts to ambient noise adds magic to any holiday setting. With modern electronics, creating a sound-responsive tree is not only achievable but also a rewarding DIY project. By integrating microphone sensors, programmable LEDs, and a microcontroller, you can build a tree that pulses, twinkles, or shifts colors in response to sound—whether it’s carols, clapping, or even conversation. This guide walks through the technical setup, component selection, wiring logic, and programming needed to bring your interactive tree to life.
Understanding the Core Components
The foundation of a sound-responsive Christmas tree lies in three key elements: sensing sound, processing input, and producing visual output. Each part plays a crucial role in transforming audio signals into dynamic light patterns.
- Microphone Sensor: Detects sound waves and converts them into electrical signals. These sensors are sensitive to amplitude (volume), making them ideal for triggering lights based on noise levels.
- Microcontroller: Acts as the brain. It reads data from the mic sensor, processes it, and sends commands to the LEDs. The Arduino Uno or ESP32 are popular choices due to their ease of use and broad community support.
- LED Strip: Provides the visual feedback. Addressable LEDs like WS2812B (NeoPixels) allow individual control over color and brightness, enabling complex lighting effects synchronized to sound.
The system works by measuring sound intensity via the microphone, mapping that data to LED behavior (such as brightness or color change), and updating the lights in real time. This creates a seamless visual rhythm that mirrors the surrounding audio environment.
Step-by-Step Build Guide
Follow this structured process to assemble your sound-reactive Christmas tree safely and effectively.
- Gather Materials: Collect all necessary components before starting. See the checklist below for a complete list.
- Test Individual Components: Before connecting anything, verify each part works independently. Upload a simple blink sketch to test the microcontroller, run a rainbow animation on the LEDs, and check the mic sensor output using the Serial Monitor in Arduino IDE.
- Wire the Circuit: Connect the microphone sensor’s VCC to 5V, GND to ground, and OUT to a digital pin (e.g., pin 7). Link the LED strip’s DIN to another digital pin (e.g., pin 6), ensuring shared ground with the microcontroller.
- Power Management: For longer LED strips, use an external 5V power supply connected to both the LEDs and microcontroller (common ground required). Avoid powering more than 50 NeoPixels directly from the board.
- Upload Code: Program the microcontroller with a sound-reactive script. Libraries like FastLED or Adafruit_NeoPixel simplify LED control, while FFT (Fast Fourier Transform) algorithms can separate frequencies for advanced effects.
- Mount Lights on Tree: Carefully wrap the LED strip around the tree branches, starting from the top and spiraling downward. Secure with twist ties or non-damaging clips.
- Calibrate Sensitivity: Adjust the gain on the mic sensor or modify threshold values in code to match your room’s acoustics. Test with music at typical volume levels.
Component Checklist
- Arduino Uno or ESP32
- Digital sound detection sensor (e.g., MAX9814 or KY-038)
- WS2812B addressable LED strip (minimum 50 LEDs)
- Breadboard and jumper wires
- External 5V power supply (for LED strip)
- Resistor (220–330 ohms) for signal line protection
- USB cable for programming
- Christmas tree (real or artificial)
Programming the Reaction Logic
The magic happens in the code. A well-written sketch interprets sound input and translates it into engaging light animations. Below is a simplified example using Arduino and the FastLED library:
#include <FastLED.h>
#define MIC_PIN   7
#define LED_PIN   6
#define NUM_LEDS  50

CRGB leds[NUM_LEDS];
int soundLevel = 0;

void setup() {
  FastLED.addLeds<WS2812B, LED_PIN, GRB>(leds, NUM_LEDS);
  pinMode(MIC_PIN, INPUT);
}

void loop() {
  soundLevel = digitalRead(MIC_PIN);

  if (soundLevel == HIGH) {
    // Set all LEDs to bright red on sound
    fill_solid(leds, NUM_LEDS, CRGB::Red);
    FastLED.show();
    delay(50);
  } else {
    // Fade to off when quiet
    fadeToBlackBy(leds, NUM_LEDS, 20);
    FastLED.show();
  }
}
This basic code turns the tree red when sound is detected and gradually fades out. More sophisticated versions can include frequency analysis, beat detection, or multi-color gradients. For example, using the FHT (Fast Hartley Transform) library allows you to split audio into bass, mid, and treble bands, assigning different LED sections to react to specific ranges.
“Real-time audio visualization transforms passive decor into immersive experiences. Even simple amplitude-based triggers create emotional impact during gatherings.” — Dr. Lena Torres, Interactive Design Researcher, MIT Media Lab
Optimization and Common Pitfalls
Even with correct wiring and code, performance issues may arise. Understanding common challenges helps ensure reliability and safety.
| Issue | Possible Cause | Solution |
|---|---|---|
| Lights flicker randomly | Noisy power supply or floating mic signal | Add a 100nF capacitor across mic power pins; use a stable external power source |
| No reaction to sound | Incorrect pin assignment or faulty connection | Double-check wiring; test mic output via Serial Monitor |
| Tree overheats | Overloaded power circuit | Limit LED count per strip; use heat sinks or spaced mounting |
| Lag between sound and light | Poor sampling rate or inefficient code | Optimize loop speed; avoid long delays; use interrupts if needed |
Always insulate exposed connections and avoid placing electronics near water or heat sources. If using a real tree, keep wires away from sap and ensure ventilation around power supplies.
Real-World Example: The Holiday Living Room Installation
In Portland, Oregon, hobbyist engineer Mark Reynolds upgraded his family’s annual tree with a sound-responsive design. Using an ESP32, a 100-LED NeoPixel strip, and a digital microphone, he programmed multiple modes: \"Party Pulse\" (reacts to loud music), \"Whisper Glow\" (responds gently to voices), and \"Caroling Sync\" (matches tempo of holiday songs).
He calibrated the sensitivity so normal conversation caused a soft shimmer, while singing “Jingle Bells” triggered cascading green-and-red waves up the tree. The result became a centerpiece at their holiday party, delighting guests of all ages. After sharing the project online, he received dozens of requests for the code, which he published on GitHub with detailed instructions.
Mark’s success came from iterative testing—he started with 20 LEDs, confirmed responsiveness, then scaled up. He also added a physical button to switch modes without reprogramming, enhancing usability.
Frequently Asked Questions
Can I use battery power for the setup?
Yes, but only for small trees with fewer than 30 LEDs. Use a high-capacity 5V USB power bank. Larger setups require wall adapters due to current demands. Always monitor battery temperature during extended use.
Is this safe around children and pets?
When properly insulated and mounted out of reach, the system is safe. Cover all exposed circuitry, secure loose wires with cable ties, and avoid placing components where they can be pulled down. Use low-voltage components only (5V or 3.3V).
Can I make the tree respond to specific songs or voices?
Basic setups react to volume, not content. However, advanced systems using machine learning or frequency fingerprinting (via platforms like TensorFlow Lite) can distinguish between types of audio. This requires more processing power and is beyond beginner scope.
Final Thoughts and Next Steps
Building a sound-responsive Christmas tree merges creativity with technology, turning tradition into innovation. Whether you’re introducing kids to electronics or impressing guests with smart decor, the project offers both fun and functionality. Start simple, master the basics, then expand with features like Wi-Fi control, mobile app integration, or voice activation.
Once your tree responds to sound, consider adding motion sensors or internet connectivity to create a fully interactive holiday ecosystem. The possibilities grow as quickly as your skills.


 浙公网安备
33010002000092号
浙公网安备
33010002000092号 浙B2-20120091-4
Comments
No comments yet. Why don't you start the discussion?