
Animation brings imagination to life—one frame at a time. Whether you're interested in telling stories, promoting a brand, or simply exploring creativity, making an animation video doesn’t require a Hollywood studio. With accessible software and a clear process, anyone can start producing engaging animated content. This guide walks through the essential steps, tools, and best practices tailored specifically for beginners.
1. Understand the Basics of Animation
Before diving into production, it helps to understand what animation truly is: the illusion of movement created by displaying a series of still images in rapid succession. Traditional hand-drawn animation used 24 frames per second (fps), and digital animation follows the same principle. Each style—2D, 3D, stop-motion, or motion graphics—has its own learning curve, but 2D animation is often the most approachable for newcomers.
There are two primary approaches:
- Frame-by-frame animation: Every movement is drawn individually, offering high creative control but requiring more time.
- Rig-based animation: Characters are built with movable parts (like digital puppets), allowing faster movement using keyframes.
2. Plan Your Animation Project
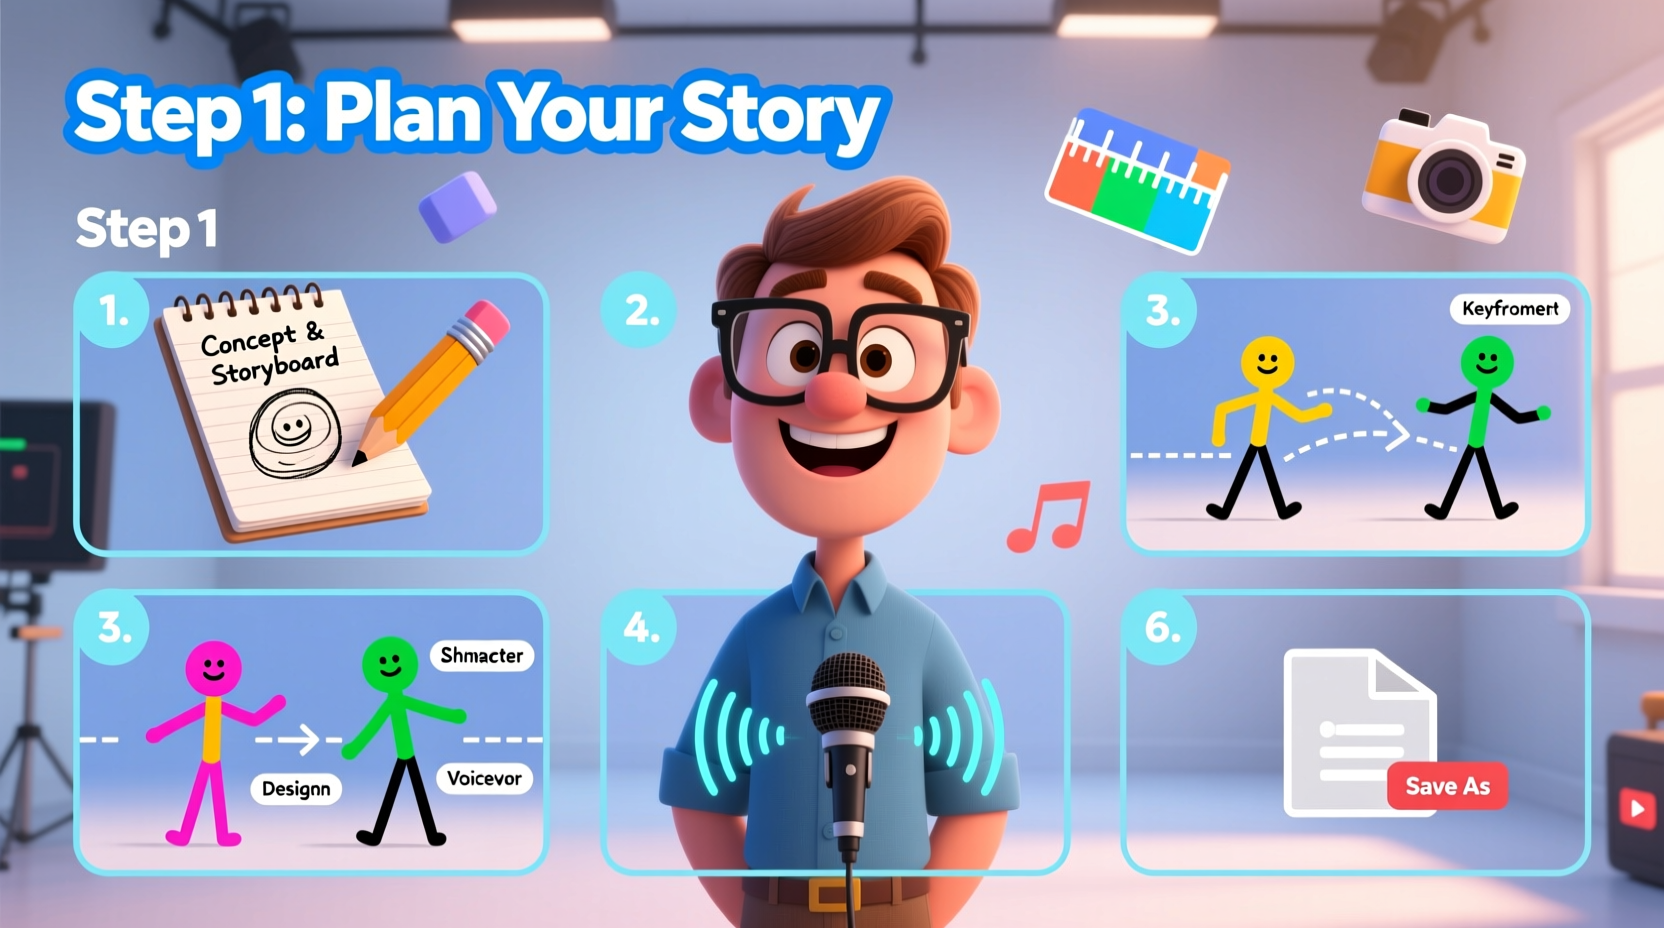
Every great animation begins with strong planning. Jumping straight into drawing without structure leads to confusion and wasted effort. Begin by defining your goal: Is this a short story? A product explainer? A social media clip? Once the purpose is clear, follow these planning steps:
- Write a script: Keep it concise. Even a 60-second video needs dialogue or narration that supports visuals.
- Create a storyboard: Sketch each scene in sequence, showing camera angles, character actions, and transitions.
- Design characters and backgrounds: Use consistent proportions and color palettes. Simpler designs are easier to animate.
- Gather voiceover or music: If your animation includes sound, record or source audio early to match timing.
A well-prepared storyboard acts as your blueprint. It reduces guesswork during animation and ensures visual continuity.
3. Choose the Right Tools and Software
You don’t need expensive equipment to start animating. Many user-friendly tools offer powerful features for beginners. Here’s a comparison of popular options:
| Software | Best For | Learning Curve | Cost |
|---|---|---|---|
| Pencil2D | Hand-drawn 2D animation | Low | Free |
| OpenToonz | Traditional frame-by-frame | Moderate | Free |
| Krita + Dragonfly | Illustration & frame animation | Moderate | Free |
| Blender | 3D animation & rigging | High | Free |
| Adobe Animate | Professional 2D vector animation | Moderate | Paid (subscription) |
| Canva (Video) | Simple motion graphics | Very Low | Freemium |
For absolute beginners, Pencil2D or Krita are excellent starting points due to their intuitive interfaces and zero cost. As skills grow, transitioning to more advanced tools becomes natural.
“Start small. The most impactful animations often begin with limited resources but strong storytelling.” — Lena Torres, Independent Animator & Educator
4. Create Your Animation: A Step-by-Step Workflow
With your plan and tools ready, follow this structured process to build your first animation:
- Set up your project: Define canvas size (e.g., 1920x1080 for HD) and frame rate (12 or 24 fps).
- Import or draw key assets: Import character designs, backgrounds, or create them directly in your software.
- Break down scenes into layers: Separate characters, props, and backgrounds so they can move independently.
- Use keyframes for motion: Set starting and ending positions; let the software interpolate the in-between frames.
- Add in-between frames (if drawing manually): Fill gaps between major poses to smooth motion.
- Incorporate timing and easing: Make movements feel natural by slowing into and out of actions.
- Add sound effects and voiceover: Sync audio precisely with visual cues like mouth movements or impacts.
- Preview and revise: Watch the full sequence multiple times to catch jerky motion or misalignments.
- Export your video: Save in MP4 format for broad compatibility, using H.264 encoding.
Mini Case Study: Maya’s First Explainer Video
Maya, a freelance designer with no prior animation experience, wanted to showcase her portfolio with a 60-second intro video. She began by sketching a simple character representing herself and wrote a brief script introducing her services. Using Pencil2D, she animated the character waving, typing, and presenting a mockup on screen—each action broken into 10-second scenes. She recorded a voiceover on her phone and imported it into the timeline. After three weeks of part-time work, she exported a polished MP4 file and embedded it on her website. The video increased client inquiries by 40% within a month.
Her success came not from technical mastery, but from clear planning and consistent iteration.
5. Avoid Common Beginner Mistakes
New animators often face predictable hurdles. Awareness helps avoid frustration:
- Overcomplicating designs: Detailed characters take longer to draw and animate. Start with minimalistic styles.
- Skipping storyboards: Without a visual plan, scenes lose coherence and pacing suffers.
- Ignoring audio sync: Misaligned sound breaks immersion. Always align lip flaps or footsteps with audio cues.
- Animating at too high a frame rate: 24 fps gives smooth motion but doubles the workload. Try 12 fps for smoother progress.
- Not backing up work: Animation files can be large and fragile. Save versions regularly and use cloud storage.
Do’s and Don’ts Checklist
| Do | Don't |
|---|---|
| Start with a 10–30 second project | Aim for a five-minute cartoon immediately |
| Use onion skinning to see previous frames | Ignore motion flow between frames |
| Test export frequently | Wait until the end to check video output |
| Animate one element at a time | Try to animate everything simultaneously |
| Seek feedback early | Work in isolation until “perfect” |
Frequently Asked Questions
How long does it take to make a simple animation?
A 30-second 2D animation can take anywhere from 10 to 40 hours for a beginner, depending on complexity and frame rate. Simple motion graphics may take less than 5 hours, while hand-drawn scenes with detailed backgrounds require significantly more time.
Can I make animations on a regular laptop?
Yes. Most entry-level laptops can run lightweight animation software like Pencil2D or Canva. For heavier programs like Blender, ensure you have at least 8GB RAM and integrated graphics. Close other applications during rendering to improve performance.
Do I need to know how to draw to make animations?
Not necessarily. Many modern tools use pre-built characters, templates, and rigging systems that allow animation without drawing skills. However, basic sketching ability helps when customizing characters or refining expressions.
Final Thoughts and Next Steps
Creating an animation video as a beginner is less about perfection and more about practice and persistence. Each project builds muscle memory, deepens understanding of timing, and sharpens storytelling instincts. You don’t need a degree or expensive gear—just curiosity and a willingness to learn from mistakes.
The most memorable animations often come from personal passion. Whether it’s a funny skit, a heartfelt message, or a business explainer, your unique voice matters. Start small, stay consistent, and celebrate every completed scene.


 浙公网安备
33010002000092号
浙公网安备
33010002000092号 浙B2-20120091-4
Comments
No comments yet. Why don't you start the discussion?