
Every December, neighborhoods come alive with synchronized light shows—pulsing trees, dancing rooflines, and animated snowflakes choreographed to holiday music. What most people don’t realize is that these displays aren’t magic or expensive turnkey systems. They’re built by homeowners, teachers, engineers, and hobbyists using accessible, off-the-shelf components and open-source tools. Programmable LEDs—especially WS2812B (NeoPixel) and SK6812 strips—have democratized festive lighting. With precise per-pixel control, low power consumption, and seamless integration with microcontrollers like Arduino and Raspberry Pi, they empower anyone to design a display that reflects personal style, not preset factory patterns.
This isn’t about plugging in a “smart” string and tapping an app. It’s about crafting intention: choosing where light lives, how it moves, and what story it tells. Whether you’re outlining windows with shimmering gradients, animating a 3D reindeer sculpture, or transforming your front yard into a synchronized winter symphony, the foundation is the same—thoughtful planning, robust hardware selection, clean wiring, and expressive code. And yes—you can do it without soldering every connection or memorizing C++ syntax.
1. Planning Your Display: Layout, Scale, and Power Strategy
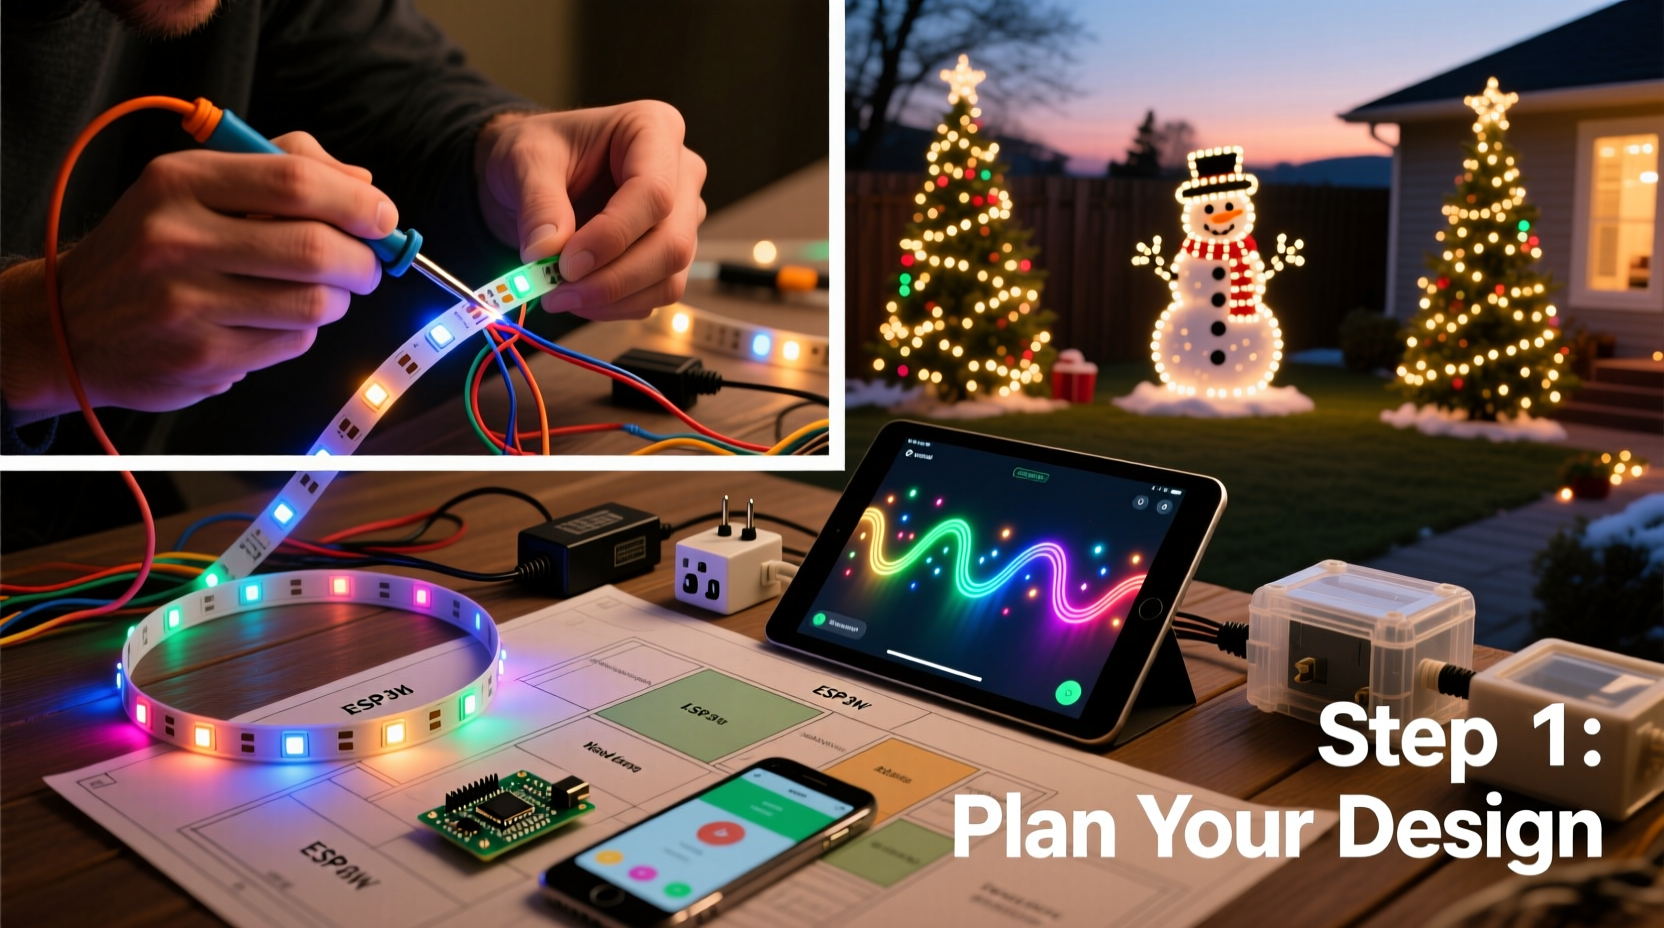
Before buying a single LED, sketch your vision—not on paper, but in measurable reality. Measure every surface: eaves (length and height), window perimeters (inside vs. outside mounting), fence posts, tree trunks, and walkway edges. Note obstructions: downspouts, vents, door handles, and gutter brackets. These details prevent mid-installation surprises and wasted materials.
Next, calculate pixel density. For architectural outlines (eaves, windows), 30–60 LEDs per meter delivers crisp definition without overspending. For larger surfaces—like a garage door or wall mural—consider 144 LEDs/m for smooth color transitions. Avoid mixing densities across one continuous run; inconsistent spacing breaks visual continuity.
Power is non-negotiable. Each WS2812B LED draws ~60mA at full white brightness. A 100-LED strip consumes 6A at 5V—or 30W. Multiply that across multiple strands, and voltage drop becomes your silent enemy. Strips longer than 5 meters will dim at the far end unless powered from both ends—or better yet, every 2–3 meters. Use a dedicated 5V DC power supply rated for *at least 20% more* than your calculated peak load. For example: 300 total LEDs × 0.06A = 18A → choose a 22A (110W) supply. Never daisy-chain power through data lines.
2. Hardware Selection: What You Actually Need (and What You Don’t)
Not all programmable LEDs are equal—and not all controllers are compatible. Focus on reliability, documentation, and community support over flashy specs.
| Component | Recommended Options | Key Considerations |
|---|---|---|
| LED Strips | WS2812B (5V, 30/60/144/m), SK6812RGBW (adds warm white channel), APA102 (higher refresh rate, less sensitive to timing) | Avoid unbranded “NeoPixel clones” with poor signal integrity. Look for UL-listed or CE-marked strips for outdoor use. IP65 rating is essential for exposed locations. |
| Controller | Raspberry Pi 4 (with Falcon Player or xLights), ESP32 (for smaller setups), Arduino Mega 2560 + OctoWS2811 adapter (for high-channel counts) | Pi-based systems handle audio sync and complex effects effortlessly. ESP32 excels for standalone, WiFi-enabled displays. Arduino requires add-ons for >1000 pixels. |
| Power Supplies | Mean Well LPV-60-5 (60W), HLP100H-5 (100W), or similar industrial-grade 5V units | Never use USB phone chargers or generic wall warts—they sag under load and cause flicker or resets. |
| Wiring & Connectors | 22 AWG stranded copper wire (red/black for power, green/white for data), JST-SM connectors, heat-shrink tubing, waterproof junction boxes | Soldered connections last years outdoors; screw terminals fatigue. Use silicone-jacketed wire for flexibility and cold-weather resilience. |
One often-overlooked component: the level shifter. While many ESP32 and Pi GPIO pins output 3.3V logic, WS2812B strips require a clean 5V data signal for reliable communication beyond ~1 meter. A 74AHCT125 chip solves this silently—and costs under $2.
3. Building and Wiring: Safety, Signal Integrity, and Physical Durability
Start with a test bench: power one 1-meter strip, connect it to your controller, and run a simple “rainbow” sketch. Confirm all pixels respond uniformly. Then cut your strips—only at designated copper pads (marked with scissors icons). Never cut between pixels.
For permanent installations, avoid adhesive backing alone. It fails in UV exposure and temperature swings. Instead, mount strips using aluminum U-channels (for straight runs) or 3D-printed clips (for curves and corners). Secure channels with stainless steel screws—not nails—to prevent vibration loosening.
Wiring follows strict hierarchy: Power feeds first, then data flows downstream. Run thick gauge power wires (16 AWG for runs >3m) directly from the supply to each strip’s power input. Only then connect the data line from controller → strip 1 → strip 2, etc. Use star topology for multi-strip setups: one data line branches to each strip via short jumper wires. This prevents signal degradation across long daisy chains.
Outdoor sealing is critical. After soldering, coat every joint with marine-grade silicone (not regular caulk) and encase controllers in ventilated, IP66-rated enclosures. Leave 20% airspace inside enclosures—electronics overheat faster in sealed plastic than in cold air.
“Signal integrity matters more than pixel count. A perfectly timed 500-pixel display outshines a glitchy 2000-pixel mess every time.” — Javier Mendez, Lighting Engineer at LightSculpt Studios
4. Programming & Sequencing: From Blink to Brilliance (Without Coding Anxiety)
You don’t need to write firmware to create professional animations. Two open-source ecosystems dominate the field—and both prioritize visual design over syntax:
- xLights + FPP (Falcon Player): Industry standard for large displays. Import audio, draw pixel mappings (assign virtual pixels to physical locations), then use timeline-based sequencing with drag-and-drop effects. Supports advanced features like model-based 3D rendering and real-time audio analysis.
- FPP + PixelPusher: Lightweight alternative for ESP32 or Pi Zero W. Upload pre-rendered frame sequences (.fseq files) generated in xLights or directly in-browser using PixelPusher’s editor. Ideal for static displays or rotating 3–5 effects.
Start simple. Create a 30-second sequence: 10 seconds of slow white fade-in, 10 seconds of gentle blue pulse, 10 seconds of soft gold shimmer. Export as .fseq, copy to your Pi’s SD card, and trigger via FPP web interface. Once that works flawlessly, layer complexity: add motion paths (“chasing” along eaves), color palettes (vintage amber, icy teal), or beat-synced strobes.
Pro tip: Name every effect meaningfully (“Front_Eave_Snowfall_120bpm”) and version-control your sequences. A misnamed file deployed to 1200 pixels is harder to revert than a typo in CSS.
5. Real-World Execution: A Mini Case Study from Portland, OR
In 2022, Maya Rodriguez—a middle-school science teacher with no electronics background—transformed her Craftsman bungalow into a neighborhood landmark. Her goal: outline all windows, wrap two maple trees, and animate a 4-foot plywood sleigh mounted above the garage. Budget: under $450.
She began by mapping every surface in graph paper, calculating 840 total pixels. She chose 60/m WS2812B strips (IP65, UL-listed), powered by two Mean Well 60W supplies. For control, she used a Raspberry Pi 4 running FPP, connected via Ethernet to her home network. Data routing was simplified using an OctoWS2811 board to drive eight independent outputs—eliminating long daisy chains.
Her biggest hurdle wasn’t coding—it was weatherproofing. During November rain, water seeped into a poorly sealed controller box, causing random resets. Solution: she replaced the box with a NEMA 4X polycarbonate enclosure, added silica gel packs, and routed all cables through liquid-tight fittings. The fix held through three consecutive weeks of Pacific Northwest downpour.
The result? A synchronized 45-minute show synced to jazz renditions of carols, featuring gentle “snowfall” on windows, swirling aurora patterns in the trees, and the sleigh “flying” left-to-right across the garage façade. Neighbors reported kids counting down to the 6:00 p.m. start time—and local news featured her display in a “DIY Holiday Magic” segment.
FAQ
Can I use my existing smart lights (Philips Hue, Nanoleaf) for a custom display?
No—not practically. Consumer smart lights lack the pixel-level timing precision, refresh rates (>400Hz), and direct data protocols needed for tight synchronization across hundreds of nodes. They’re designed for ambient room lighting, not choreographed outdoor spectacles. Programmable LEDs operate at the hardware layer; smart bulbs sit behind cloud APIs with 100–500ms latency.
How do I prevent flickering or random resets?
Flickering almost always traces to power instability or signal noise. Verify your power supply voltage stays within ±5% of 5V under load (use a multimeter). Add 1000µF electrolytic capacitors across the power input of each strip segment. For resets, ensure your data line has a 300–500Ω resistor near the controller’s output pin—and confirm ground connections are shared between controller and all power supplies.
Do I need to learn Python or C++?
No. xLights includes a full visual sequencer with zero coding. FPP offers web-based scheduling and effect libraries. If you want deeper customization later, Python scripts for generating sequences exist—but they’re optional, not foundational. Start with what ships working.
Conclusion
Your Christmas light display shouldn’t be a seasonal compromise between “store-bought generic” and “too complicated to try.” It should be a reflection of your creativity, your home, and your joy—expressed in light, rhythm, and intention. Programmable LEDs remove the gatekeeping once imposed by proprietary controllers and closed software. What remains is craftsmanship: measuring twice, powering thoughtfully, sealing meticulously, and sequencing deliberately. The technology is mature. The tools are free. The community is generous—with forums, Discord servers, and YouTube tutorials covering every edge case imaginable.
So this year, skip the box of tangled incandescents. Sketch your outline. Calculate your pixels. Order your strips. Build something that doesn’t just glow—but speaks. Because when neighbors pause mid-walk to watch your animated snowflakes drift down the eaves, or when your kids point and shout “That’s OUR tree!”—that’s not just a light display. That’s belonging, made visible.


 浙公网安备
33010002000092号
浙公网安备
33010002000092号 浙B2-20120091-4
Comments
No comments yet. Why don't you start the discussion?