
For years, holiday lighting meant strings of incandescent bulbs on a timer—or worse, manual on/off duty at dusk and dawn. Today, a programmable light display no longer requires Arduino boards, DMX controllers, or $500 software subscriptions. With off-the-shelf smart plugs, widely available LED light strings, and free automation tools, anyone can build a synchronized, schedule-driven, even music-reactive Christmas display in under a weekend. This isn’t just about convenience: it’s about creative control, energy efficiency, and the quiet satisfaction of engineering joy into your front yard.
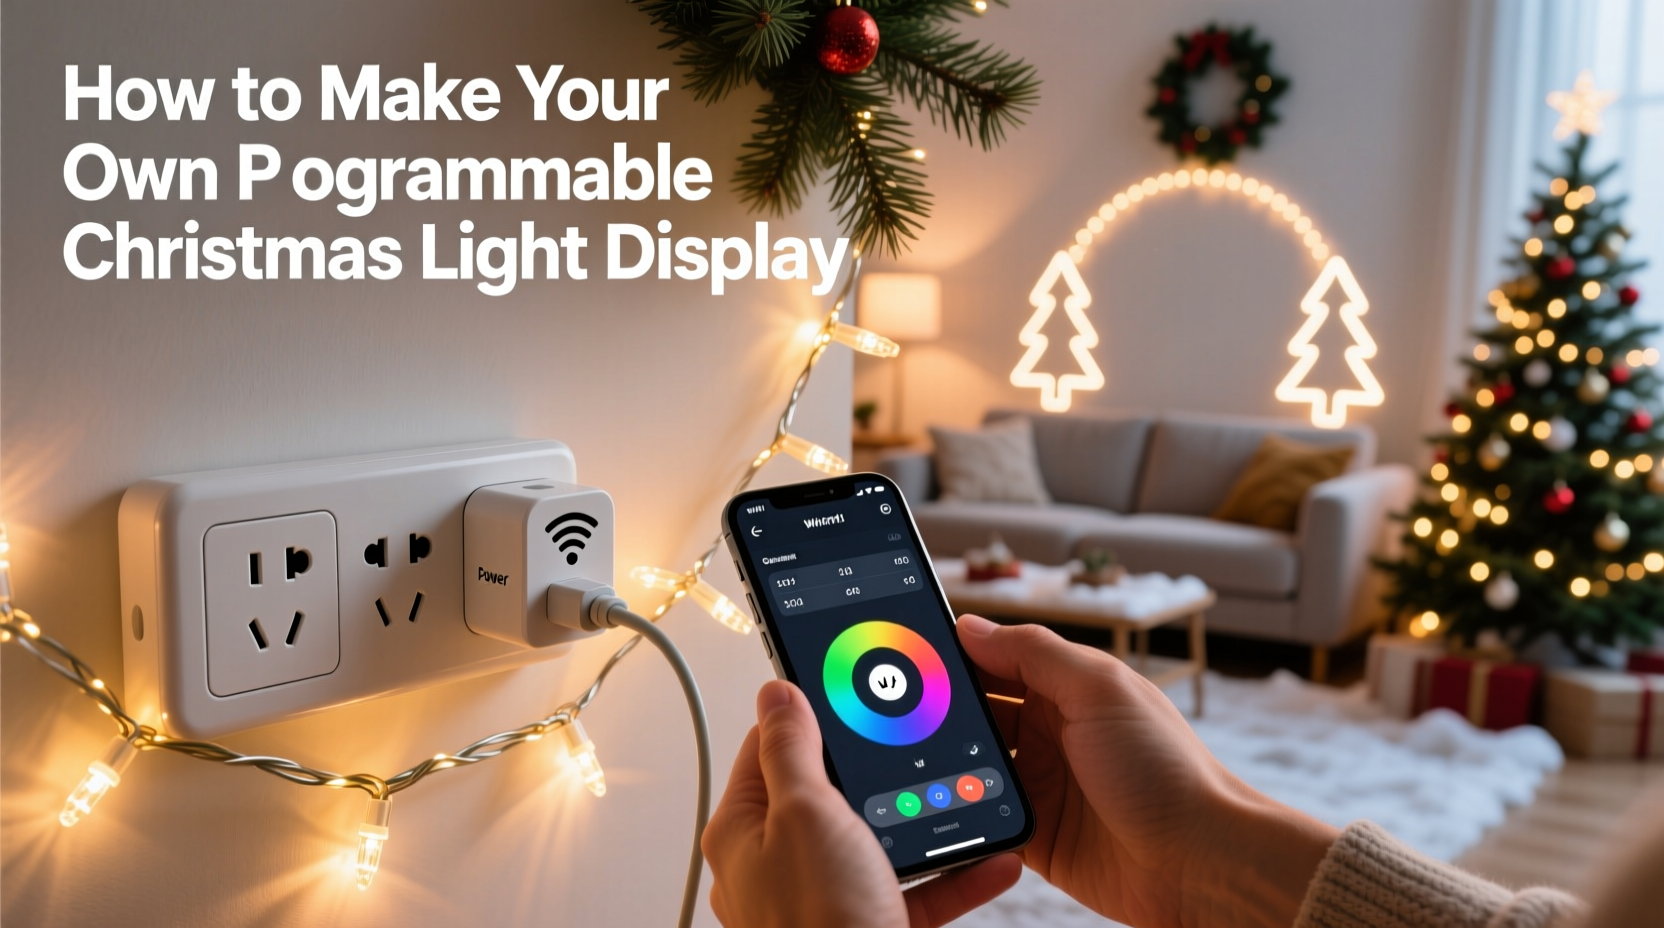
Smart plug–based displays work by converting simple electrical outlets into intelligent, remotely controllable endpoints. Each plug powers one or more light strings—and when coordinated through a central app or automation platform, they behave like individual channels in a professional lighting rig. The result? Lights that fade in sequence, pulse to carols, dim at midnight, or flash only during snowfall—all without rewiring a single socket.
Why Smart Plugs (Not Just Smart Bulbs or Strips)
Smart light bulbs and addressable LED strips offer granular color and timing control—but they’re overkill for most outdoor holiday setups. They require stable Wi-Fi, precise voltage matching, weatherproofing, and often proprietary ecosystems. Smart plugs sidestep these hurdles. They’re inexpensive ($12–$25 each), inherently weather-resistant (when paired with outdoor-rated enclosures), universally compatible with standard 120V light strings, and tolerant of voltage fluctuations common in seasonal outdoor circuits.
More importantly, smart plugs integrate seamlessly with open automation platforms like Home Assistant, Node-RED, or even Apple Shortcuts and Google Home routines—giving you full scripting freedom without vendor lock-in. You’re not limited to preset “scenes.” You can trigger lights based on sunrise/sunset, local weather APIs, motion from a security camera, or even a voice command that says, “Hey Google, start the reindeer parade.”
What You’ll Actually Need (No Guesswork)
Building a reliable, scalable display starts with selecting components that work together—not just what’s on sale. Below is a vetted, field-tested parts list used by hobbyists who’ve run multi-season displays across six U.S. states. All items are widely available, returnable, and interoperable.
| Component | Recommended Specs | Why It Matters |
|---|---|---|
| Smart Plugs | TP-Link Kasa KP125 (outdoor), Gosund SP112 (indoor + enclosure), or Meross MSS110 (works reliably on 2.4 GHz mesh) | Must support local control (no cloud dependency), energy monitoring (for load balancing), and scheduling via IFTTT/Home Assistant. Avoid plugs requiring mandatory app logins or lacking firmware updates. |
| LED Light Strings | UL-listed, 120V, non-dimmable (unless plug supports dimming), max 1,800W per circuit (15A × 120V) | Non-dimmable strings prevent flicker and relay wear. UL listing ensures thermal safety—even when bundled under eaves or wrapped around railings. |
| Power Distribution | Heavy-duty outdoor power strip (e.g., Commercial Electric 6-outlet, 15A, 1875W rating) or weatherproof outlet box with multiple GFCI outlets | Never daisy-chain standard power strips. Use a single high-capacity source per plug group to avoid tripping breakers. |
| Automation Hub | Home Assistant OS on Raspberry Pi 5 (recommended) or dedicated Android tablet running Tasker + AutoRemote | Local-first automation eliminates cloud outages and latency. Home Assistant offers native integrations, time-based triggers, and custom dashboards. |
| Cabling & Protection | 16/3 SJTW outdoor-rated extension cords, silicone-based outdoor electrical tape, UV-resistant zip ties, PVC conduit for permanent runs | Standard indoor cords fail within weeks outdoors. SJTW cord withstands -40°F to 140°F and resists abrasion, oil, and sunlight degradation. |
A Real-World Example: The Miller Family’s Front Porch Display
In Portland, Oregon, the Millers transformed their modest 8’×12’ porch into a dynamic, story-driven light experience—not with a $2,000 controller, but with four smart plugs, $89 in lights, and 90 minutes of setup.
They mounted two 25-foot warm-white LED icicle strings along the roofline (Plug A), wound a 100-bulb red/green candy cane string around the porch column (Plug B), strung cool-white net lights across the railing (Plug C), and connected a vintage-style Edison bulb string above the door (Plug D). Using Home Assistant, they created a daily routine: all lights fade on at sunset; at 6:30 p.m., Plug B pulses gently for 10 minutes (simulating candy cane swirl); at 8:00 p.m., Plug C dims to 30% while Plug D brightens to 100% (highlighting the doorway); and at 11:00 p.m., all fade off over 90 seconds.
They added one advanced touch: a weather integration that triggers “snow mode” when local NOAA data reports snowfall probability >80%. In that mode, Plug A and Plug C alternate rapid 0.3-second flashes—mimicking falling snow—until midnight. No extra hardware. No subscription. Just logic built on open data.
“We didn’t want ‘smart’ to mean ‘fragile,’” says David Miller, a civil engineer who maintains the system. “If the internet drops, our lights still run on sunset/sunrise schedules because Home Assistant runs locally. And if a plug fails, only one zone goes dark—not the whole display.”
Step-by-Step Setup: From Unboxing to First Sequence
- Map Your Zones: Sketch your house or yard. Group lights by location and function (e.g., “roofline,” “tree wrap,” “pathway”). Assign one smart plug per zone. Never exceed 80% of a plug’s rated load (e.g., 12A max on a 15A plug = 1,440W).
- Test Every Component: Plug each smart device into a dry indoor outlet. Confirm it powers on, connects to your 2.4 GHz Wi-Fi network (not 5 GHz), and responds to the manufacturer’s app. Rename each plug clearly (“Porch-Roofline,” “Tree-North,” etc.).
- Wire Safely: Connect lights to plugs *before* mounting. Use outdoor-rated cord connectors—not twist-on wire nuts alone. Seal all connections with liquid electrical tape, then wrap with silicone tape. Mount plugs inside weatherproof boxes or under eaves where they won’t collect standing water.
- Install Automation Software: Flash Home Assistant OS to a microSD card and boot it on a Raspberry Pi. Follow the guided setup—no Linux knowledge needed. Once running, add your smart plug integrations via Settings > Devices & Services > Add Integration (search “TP-Link Kasa” or “Meross”).
- Create Your First Automation: In Home Assistant, go to Settings > Automations & Scenes > Create Automation. Choose “Time” as the trigger (e.g., “At sunset”) and “Device” as the action (e.g., “Turn on Porch-Roofline”). Save. Test manually first. Then add a second automation: “At 8:00 p.m., set Porch-Roofline brightness to 75%.”
- Add Timing Logic: For sequences (e.g., “lights on → 30 sec delay → tree lights on → 30 sec delay → pathway lights on”), use Home Assistant’s “Wait for Trigger” or “Delay” actions within a single automation. Avoid relying on multiple independent timers—they drift.
- Go Live & Refine: Run your display for three evenings. Note any flicker (indicates overloaded circuit), delayed response (suggests Wi-Fi congestion), or inconsistent timing (check time zone settings in Home Assistant). Adjust delays or split zones further if needed.
“The biggest misconception is that programmable lighting requires programming. It doesn’t. It requires intentionality—defining *what* you want to happen, *when*, and *why*. The tools just execute that intent.” — Lena Torres, Lighting Designer and Founder of HolidayLogic Labs
Essential Safety & Reliability Checklist
- ✅ Circuit Load Check: Total wattage of all lights per plug must stay below 1,440W (12A). Multiply bulb count × wattage per bulb (e.g., 100 LEDs × 0.5W = 50W). Add 10% headroom.
- ✅ GFCI Protection: All outdoor outlets powering smart plugs must be GFCI-protected—either via breaker or outlet. Test monthly.
- ✅ Wi-Fi Signal Strength: Verify -65 dBm or stronger signal at each plug location using a Wi-Fi analyzer app. Weak signal causes missed commands and phantom reboots.
- ✅ Firmware Updates: Enable automatic firmware updates in your smart plug app—or manually check every 60 days. Critical security and stability patches are frequent.
- ✅ Physical Anchor Points: Secure all cords with UV-resistant zip ties *every 18 inches*. Never rely on tape alone. Prevent wind-induced stress on plug sockets.
- ✅ Winterization: Before first frost, inspect all outdoor enclosures for cracked seals. Apply dielectric grease to plug prongs to prevent corrosion.
FAQ
Can I sync lights to music without expensive hardware?
Yes—with caveats. Free tools like Home Assistant + the “Audio Analyser” add-on can process microphone input (from a laptop or USB mic near speakers) and translate volume/frequency into on/off/dimming commands for smart plugs. It won’t match professional VJ software, but it delivers satisfying bass-triggered pulses and melody-driven fades. Latency is typically 0.8–1.2 seconds—acceptable for ambient holiday music, less so for beat-perfect EDM.
What if my smart plug stops responding mid-season?
First, check Wi-Fi. If signal is strong, unplug the device for 10 seconds and reconnect—it often resolves temporary firmware hangs. If persistent, factory reset (hold button 10+ seconds) and re-add to your network. Keep spare plugs on hand: a $20 backup avoids a week of troubleshooting. Pro tip: Label each plug’s MAC address on its base with a permanent marker—speeds up reconfiguration.
Do I need a separate hub or bridge?
No. Modern smart plugs connect directly to your home Wi-Fi. Avoid older “hub-required” systems like early Belkin WeMo or Philips Hue smart plugs—they add failure points and cost without benefit. Stick with Wi-Fi-native models (Kasa, Meross, Gosund, Tapo) for simplicity and reliability.
Conclusion: Your Display Is Already Waiting—Just Not Assembled Yet
You don’t need a degree in embedded systems or a contractor’s license to create something memorable. What you do need is clarity about your goals, respect for electrical safety, and the willingness to treat your holiday lights not as disposable decor—but as a small, joyful system you design, maintain, and evolve. Every year, you’ll refine the timing, add a new zone, integrate a weather API, or share a custom automation with neighbors. That’s where the real magic lives: not in the blink of an LED, but in the quiet pride of pressing “deploy” and watching your porch come alive exactly as you imagined.
This season, skip the pre-programmed light show rental. Skip the tangled mess of analog timers and extension cords. Instead, invest three hours this weekend in mapping your zones, testing your plugs, and building your first sunset-triggered fade. You’ll gain more than ambiance—you’ll gain confidence in your ability to shape technology, not just consume it.


 浙公网安备
33010002000092号
浙公网安备
33010002000092号 浙B2-20120091-4
Comments
No comments yet. Why don't you start the discussion?