
In compact kitchens and urban apartments, the pantry is often an afterthought—a narrow cupboard squeezed between walls, lacking shelves, hooks, or even basic structural support for mounting organizers. When you’re dealing with a tiny pantry and absolutely no wall space to hang racks or install rails, traditional organizing methods fall short. But that doesn’t mean your dry goods need to live in chaos. With smart, stackable solutions and strategic planning, it’s possible to transform even the most constrained pantry into a highly functional storage hub.
The key lies not in adding hardware to the walls, but in rethinking verticality, accessibility, and modularity within the footprint you already have. This guide dives deep into practical, no-drill strategies that leverage stacking containers, tiered shelving, and intelligent grouping to make every inch count.
Assess Your Pantry’s True Capacity
Before introducing any new containers or systems, take inventory of what you’re working with. Measure the interior dimensions—height, width, and depth—and note any obstructions like pipes, hinges, or uneven flooring. Many people overlook usable vertical space simply because they assume their pantry is “too small” to improve.
Consider: Is the ceiling height underutilized? Can items be stacked safely from floor to top shelf? Are doors opening fully, or are they blocked by adjacent cabinets? These factors determine which stackable systems will work best.
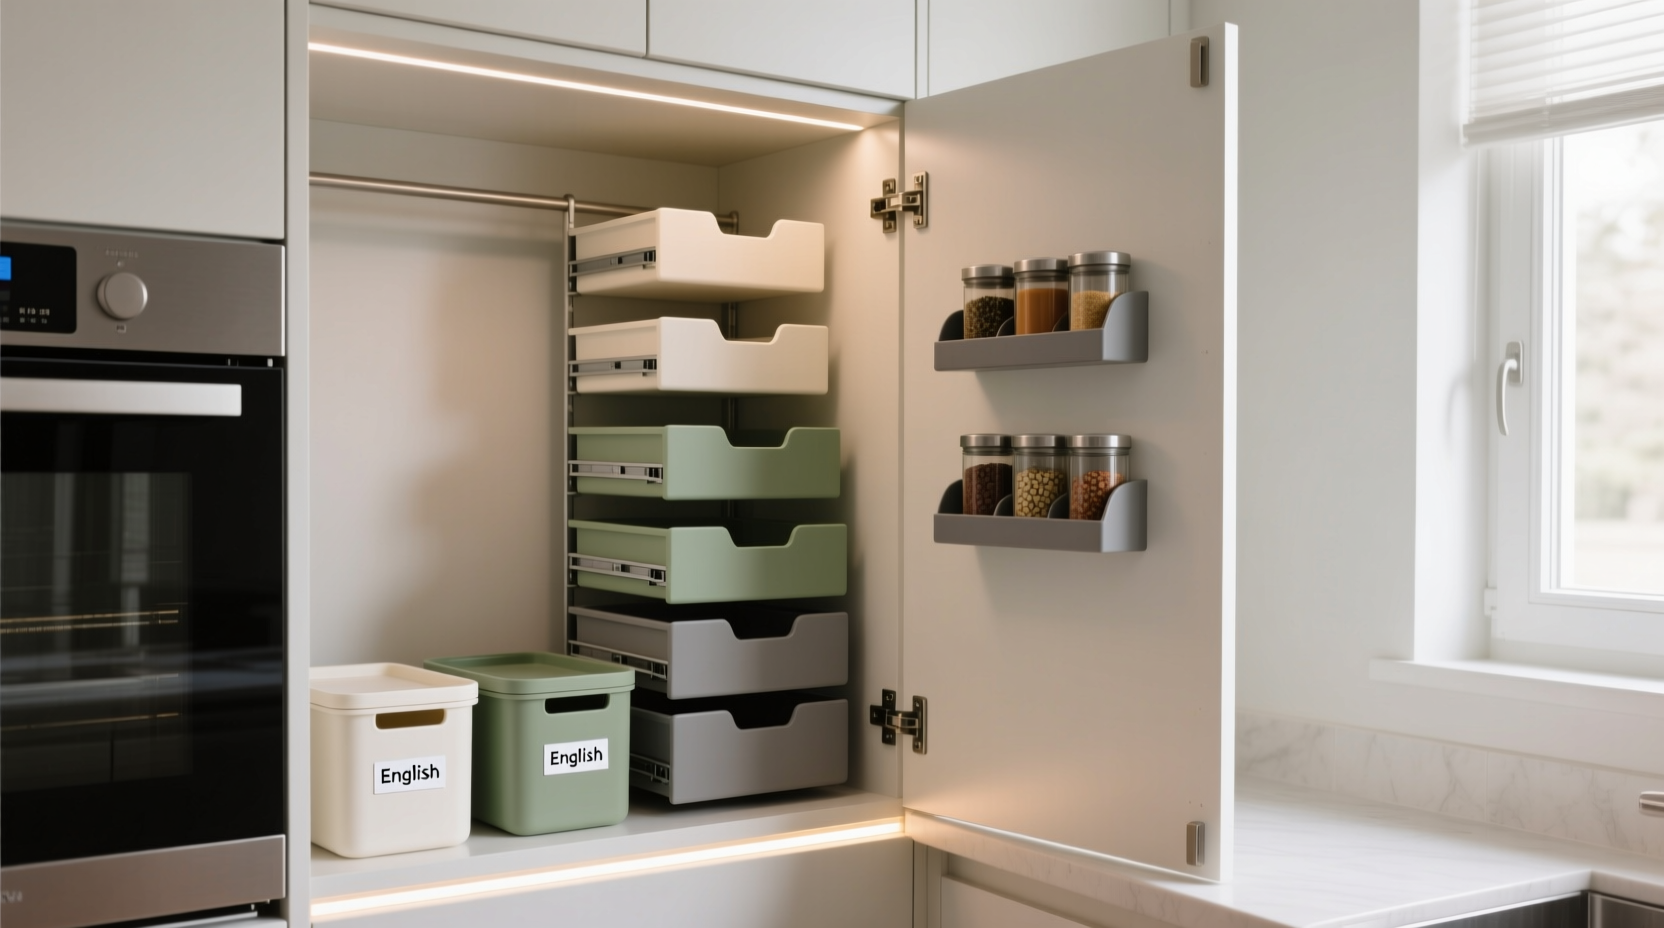
Maximize Vertical Space with Stackable Bins and Containers
When wall-mounted options are off the table, vertical stacking becomes your primary tool for organization. The goal is to create stable, accessible layers that allow you to see and reach items without pulling everything out.
Stackable bins made from durable, clear plastic are ideal. They let you view contents at a glance and maintain structural integrity when loaded. Look for models with non-slip bases and interlocking edges to prevent shifting. Rectangular shapes maximize surface coverage better than round ones.
For dry staples like rice, pasta, oats, or beans, transfer them into uniform airtight containers. Not only does this protect against pests and moisture, but consistent sizing allows for tighter, more stable stacking. Label each container clearly—either on the front or top—for quick identification.
| Container Type | Best For | Stacking Benefit |
|---|---|---|
| Clear square bins (lidded) | Dry goods, snacks, baking supplies | Interlock securely; allow full visibility |
| Tiered acrylic shelves | Spices, condiments, small jars | Create stepped levels for visibility |
| Foldable fabric bins | On-the-go items, backup supplies | Collapsible when not needed |
| Modular drawer units | Tea bags, seasoning packets, wraps | Slide-in/slide-out access |
“Vertical stacking isn’t just about saving space—it’s about creating workflow efficiency. If you can see what you have, you won’t overbuy or forget what’s inside.” — Lena Torres, Home Organization Consultant
Implement a Tiered Shelving Strategy
If your pantry has fixed shelves, you’re limited by their spacing. But even without modifying walls, you can add secondary tiers using freestanding risers. These act like mini-shelves within a shelf, effectively doubling storage capacity.
Acrylic or metal step organizers—commonly used in refrigerators—work exceptionally well in pantries. Place one on a bottom shelf to hold canned goods in front and taller bottles behind. Another on the middle shelf can elevate spice jars so those in the back aren’t buried.
For deeper shelves, use two-tier turntables (also called Lazy Susans). While round, they rotate to bring rear items forward. Opt for models with raised edges to prevent sliding. One turntable can house oils and vinegars on the lower level and sauces on the upper.
Step-by-Step: Building a Stacked Layout
- Empty the pantry completely and clean all surfaces.
- Group like items together: grains, snacks, canned goods, baking essentials, etc.
- Select stackable containers that fit within your shelf depth and leave headroom for lifting.
- Place heaviest items on the bottom shelf, using large bins or baskets for stability.
- Add tiered risers where visibility is poor, especially on mid and upper shelves.
- Stack lighter containers above, ensuring no single column exceeds safe height (usually 3–4 units).
- Label all sides and tops for easy recognition from multiple angles.
- Leave 1–2 inches of clearance from the ceiling and door frame to avoid jamming.
Optimize Door and Floor Space Smartly
While wall space may be unavailable, the inside of the pantry door and the floor area are still valuable real estate. Over-the-door organizers are a no-drill solution that instantly adds accessible storage.
Choose a clear vinyl or mesh pocket organizer with at least 15 compartments. These are perfect for holding spice packets, tea bags, seasoning blends, or small tools like measuring spoons. Avoid overloading pockets—this can strain the hinges or cause sagging.
On the floor, use low-profile rolling carts designed for tight spaces. A slim two- or three-tier cart can slide in and out easily, holding bulk items like flour, sugar, or backup paper towels. Since it rolls, you don’t need permanent placement—pull it out when restocking, then tuck it back in.
For homes with pets, consider a dedicated bin on the lowest level for pet food. Choose one with a locking lid to keep critters out and odors contained. Elevate it slightly on a rubber mat to prevent moisture buildup from concrete floors.
Real-Life Example: Transforming a Closet-Style Pantry
Sophia, a resident of a Chicago studio apartment, faced a pantry that was essentially a 24-inch-wide closet with no internal shelves and zero wall anchors allowed due to rental restrictions. Her groceries were piled haphazardly, leading to expired items and daily frustration.
She began by measuring the space and purchasing five identical stackable bins (8” x 6” x 5”) in clear plastic. She grouped her items: one bin for coffee and tea, another for oatmeal and granola, a third for pasta, and so on. She placed a two-tier acrylic riser on the middle shelf to display spices and sauce packets.
On the door, she hung an over-the-door shoe organizer with 24 pockets, using it for individual snack packs, bouillon cubes, and recipe cards. A narrow rolling cart stored under the bottom shelf held her 5-pound bag of rice and spare olive oil.
The result? Every item had a designated spot. She could see what she had at a glance, reduced duplicate purchases by 60%, and gained back 10 minutes per week in meal prep time. Most importantly, she achieved this without altering a single wall surface.
Smart Grouping and Rotation System
Organization isn’t just about containers—it’s also about behavior. Adopt the “first in, first out” (FIFO) method to prevent food waste. When restocking, move older items forward and place new purchases behind them.
To support this, use stackable bins with open fronts or label both front and back. Color-code categories if helpful: green lids for baking, blue for breakfast, red for sauces. This speeds up retrieval and reinforces mental mapping of where things belong.
Limit stacks to three or four high unless the base is extra wide. Tall, narrow columns are prone to tipping, especially when reaching for middle items. Instead, favor wider, shorter groupings that distribute weight evenly.
📋 **Pantry Organization Checklist**- ✅ Measure pantry interior (height, width, depth)
- ✅ Empty and clean all shelves and surfaces
- ✅ Sort items into logical categories
- ✅ Transfer dry goods into uniform, labeled containers
- ✅ Select stackable bins with non-slip bases
- ✅ Install over-the-door organizer for small items
- ✅ Add tiered risers to improve visibility
- ✅ Introduce a rolling cart for heavy or bulky items
- ✅ Label all containers on multiple sides
- ✅ Implement FIFO rotation system
- ✅ Test stability of all stacks
- ✅ Leave clearance for door swing and airflow
Frequently Asked Questions
Can I use regular Tupperware for pantry storage?
Yes, but only if they’re airtight and stackable. Standard food containers often vary in size and shape, making efficient stacking difficult. For best results, invest in a matching set designed specifically for pantry use, with uniform footprints and secure lids.
How do I prevent stackable bins from sliding apart?
Choose bins with textured or rubberized bases. You can also place non-slip shelf liner between layers. Avoid smooth plastic-on-plastic combinations, which are prone to shifting. Interlocking designs are ideal for tall configurations.
What if my pantry door opens inward and blocks access?
Opt for low-profile containers that sit flush against the back wall. Use shallow bins (under 6 inches deep) and prioritize rolling carts or pull-out trays that don’t require full door clearance. Alternatively, mount an over-the-door organizer on the outside of the door if permitted.
Final Thoughts: Small Space, Big Impact
A tiny pantry with no wall space doesn’t have to be a source of stress. By embracing stackable, modular solutions, you turn limitations into opportunities for innovation. The absence of anchors forces creativity—leading to systems that are portable, adaptable, and renter-friendly.
Every container you add should serve a dual purpose: storing items safely and making them easier to find. Prioritize visibility, stability, and ease of access. Remember, the goal isn’t just neatness—it’s functionality that supports your daily routine.


 浙公网安备
33010002000092号
浙公网安备
33010002000092号 浙B2-20120091-4
Comments
No comments yet. Why don't you start the discussion?