
Gaming setups are only as good as their functionality—and nothing disrupts immersion faster than tangled cords, frayed charging cables, or the frustration of hunting down a single usable USB cable at 9 p.m. on game night. For households with multiple players or collectors of gaming gear, managing several controller cables becomes not just a matter of convenience but a necessity. A well-organized charging station eliminates clutter, extends cable life, and ensures every player can jump into action without delay.
The key isn’t just hiding the mess—it’s designing a system that supports regular use, protects expensive equipment, and adapts to evolving needs. Whether you’re dealing with PlayStation DualSense controllers, Xbox Wireless Controllers, Nintendo Switch Pro Controllers, or third-party variants, this guide delivers actionable strategies to consolidate, label, and maintain all your charging cables in one accessible location.
Why Cable Chaos Happens (And Why It Matters)
Most gamers don’t start with disorganization. It creeps in over time: a spare cable left near the couch, a second charger added when the first fails, or mismatched replacements bought online. Before long, there are six micro-USB, USB-C, and proprietary cords snaking from different outlets, draped over furniture, or stuffed behind consoles.
This chaos has real consequences:
- Safety hazards: Tripping over loose cables or overheating due to poor ventilation around plugged-in devices.
- Device damage: Yanking cables out at awkward angles leads to bent ports or broken connectors.
- Reduced efficiency: Time wasted untangling cords or waiting for a free outlet during multiplayer sessions.
- Aesthetic decline: Even high-end entertainment centers look unprofessional when buried under cord spaghetti.
Proper organization isn’t about perfectionism—it’s about sustainability. A unified charging hub prevents degradation, streamlines routines, and makes shared spaces more enjoyable for everyone.
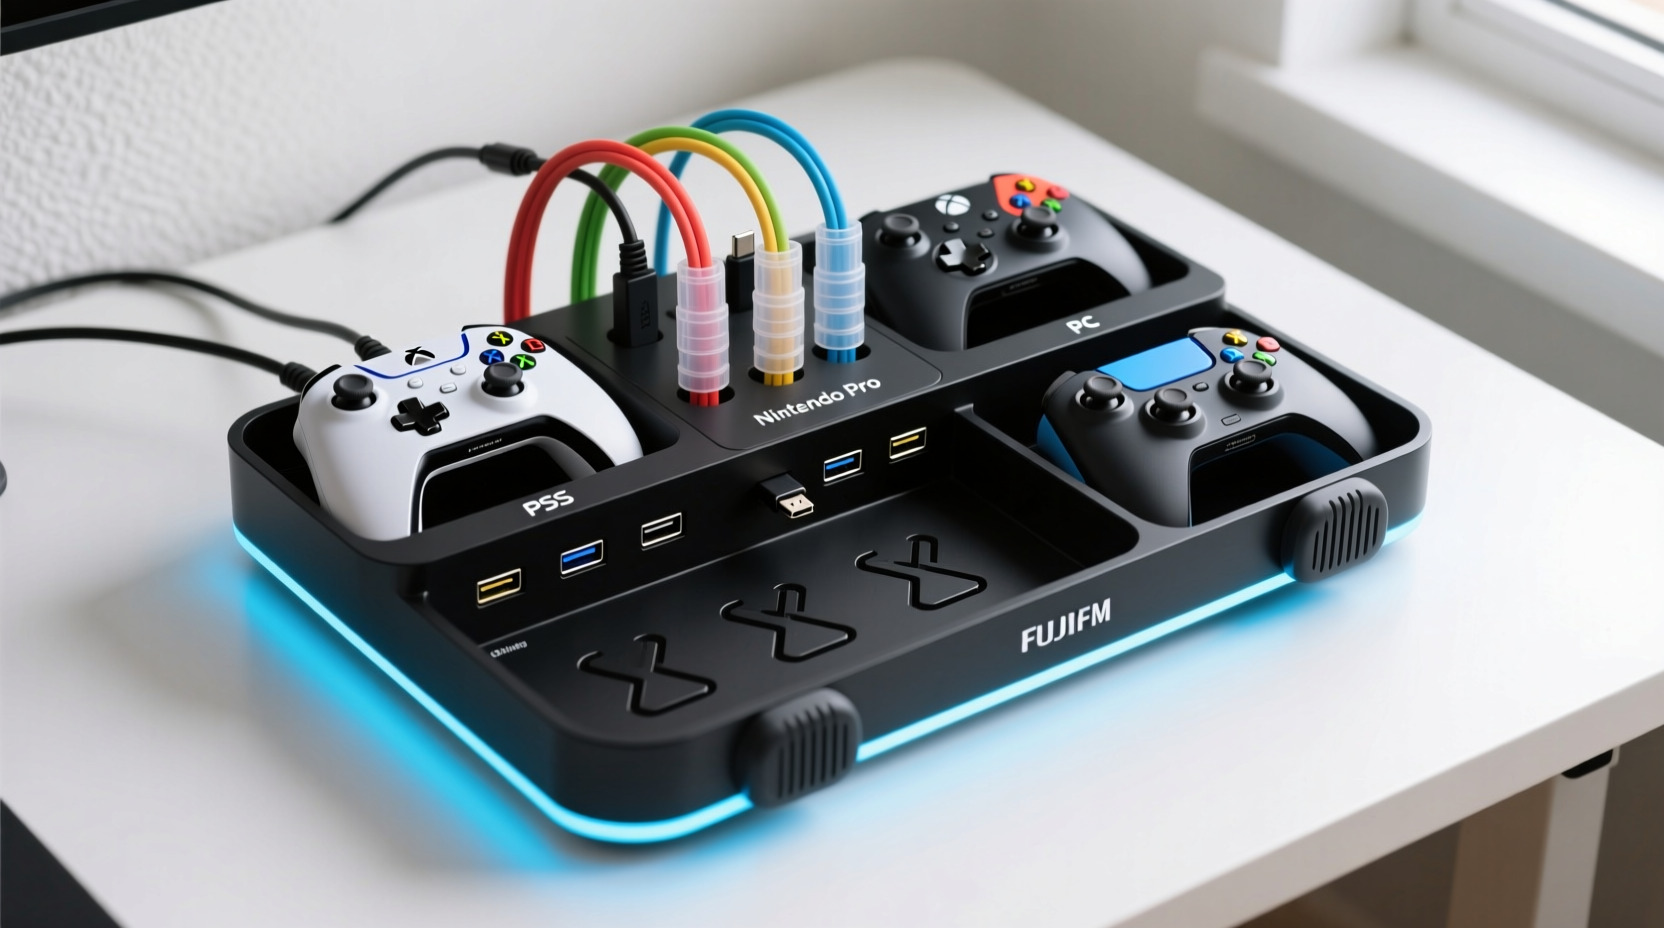
Step-by-Step Guide: Building Your Centralized Controller Charging Station
Creating an effective charging hub requires planning, the right tools, and consistent habits. Follow these steps to build a reliable, scalable system.
- Inventory Your Equipment
Start by gathering every controller and its associated cable. Note the connector type (USB-A, USB-C, Lightning, etc.), cable length, and whether it's OEM or aftermarket. This reveals duplicates, identifies weak links, and helps determine storage size. - Select a Dedicated Charging Hub
Instead of relying on console USB ports or wall adapters, invest in a multi-port USB charging block with individual power regulation. Look for models offering at least 5V/3A total output with smart detection (e.g., Anker PowerPort 5). These prevent overcharging and balance load across connected devices. - Choose a Physical Location
Pick a spot near your primary gaming area with access to power and visibility. Ideal locations include:- Beside the TV stand within arm’s reach
- Inside a media console with ventilation
- Mounted on the side of a desk or entertainment unit
- Label Every Cable
Use color-coded labels or printed tags to identify which cable belongs to which controller. You can use shrink tubes, adhesive labels, or even colored electrical tape. This reduces confusion during quick swaps and helps guests know where to return items. - Route and Secure Cables
Employ cable management sleeves, braided wraps, or raceways to bundle cords neatly from the charging block to their endpoints. Avoid sharp bends or compression points. Use adhesive-backed clips along baseboards or furniture edges to keep paths clear. - Add Storage for Idle Gear
Pair your charging station with a small tray or shelf for storing extra batteries, sync dongles, or protective cases. Magnetic mounts or modular docks (like those from PDP or Nyko) allow vertical placement, saving surface space. - Establish a Return Policy
Create a household rule: “No controller goes back in the drawer unless it's plugged in.” Consistency turns organization into habit. Consider posting a small sign near the station as a friendly reminder.
Do’s and Don’ts: Best Practices for Long-Term Success
Maintaining order is easier when you avoid common pitfalls. The table below outlines essential do’s and don’ts based on electronics safety standards and ergonomic design principles.
| Category | Do | Don't |
|---|---|---|
| Cable Handling | Coil loosely using the over-under method to prevent internal wire strain. | Wrap tightly around objects or create kinks during storage. |
| Charging | Use manufacturer-recommended voltage sources; unplug once fully charged if leaving unattended. | Leave controllers charging overnight regularly—lithium-ion cells degrade faster under constant charge. |
| Environment | Keep the station in a dry, cool place away from direct sunlight or heating vents. | Place near drinks, humidifiers, or steam-producing appliances. |
| Upgrades | Replace frayed or stiff cables immediately; consider upgrading to braided nylon versions for durability. | Continue using damaged cables—even minor insulation wear increases fire risk. |
Real Example: How One Family Solved Their Weekend Gaming Bottleneck
The Thompsons, a family of four in Austin, Texas, faced recurring arguments every Friday night. Two teens, parents who occasionally joined in, and five controllers meant a nightly scramble for working cables. Often, one controller wouldn’t charge because its cable had been misplaced or chewed by the dog. Frustration peaked when a crucial match was delayed because no one could find the correct USB-C cord.
They implemented a centralized solution:
- Purchased a 6-port Anker charging station with individual LED indicators.
- Mounted it inside an open-front cabinet next to their PS5 and Switch.
- Labeled each port with a custom sticker showing the controller type and owner (e.g., “Dad’s Xbox,” “Mia’s Switch”).
- Used a 4-inch diameter cable sleeve to group all cords running from the wall to the hub.
- Added a shallow wooden tray above the hub for storing earbuds and dongles.
Within two weeks, setup time dropped from ten minutes to under thirty seconds. The kids began returning controllers to the dock automatically. After three months, they reported zero lost or damaged cables—a first in years.
“Organizing our gaming cables didn’t just tidy the living room—it reduced friction between family members. We spend less time fixing tech issues and more time actually playing together.” — Lisa Thompson, Parent & Casual Gamer
Expert Insight: What Electronics Technicians Recommend
Professional repair technicians see the aftermath of poor cable management daily. Burnt ports, swollen batteries, and failed motherboards often trace back to overlooked details in charging setups.
According to Mark Delgado, a certified electronics technician with over 15 years in consumer device repair:
“The most preventable cause of controller failure I see is improper charging habits. People plug into low-quality chargers, daisy-chain power strips beyond capacity, or leave devices on carpeted floors where heat builds up. A single $20 charging station with surge protection does more for longevity than any software tweak.” — Mark Delgado, Senior Repair Technician, TechFix Labs
He emphasizes three overlooked factors:
- Voltage consistency: Cheap chargers deliver unstable current, stressing battery chemistry.
- Airflow clearance: At least two inches of space around charging devices prevents thermal throttling.
- Cable material: Braided nylon resists abrasion far better than rubber sheathing, especially in high-touch areas.
Essential Tools Checklist
Before setting up your own system, gather these core components:
- ✅ Multi-port USB charging block (minimum 4 ports, preferably with individual ICs)
- ✅ Matching-length charging cables (replace old ones with uniform, high-quality options)
- ✅ Cable management sleeve or spiral wrap (10–15 ft depending on layout)
- ✅ Adhesive-backed cable clips or raceway kit
- ✅ Labels or tag maker (color-coded preferred)
- ✅ Optional: Vertical docking station or magnetic mount for display
- ✅ Surge protector power strip (never plug directly into wall if multiple devices)
Frequently Asked Questions
Can I use phone chargers to charge my gaming controllers?
Yes, but only if they meet the required specifications. Most modern controllers need 5V/1A minimum. Fast-charging phone adapters may work, but inconsistent power delivery can shorten battery lifespan over time. For best results, use dedicated low-power charging blocks designed for accessories.
How often should I replace controller charging cables?
Inspect cables monthly for stiffness, exposed wires, or connector wobble. Replace immediately if any damage is visible. Under normal use, quality cables last 18–36 months. Frequent bending or pet exposure shortens this significantly.
Is wireless charging worth it for controllers?
Currently, only select models like the DualSense Edge support official wireless charging. Third-party pads exist but often charge slower and generate more heat. Wired remains more efficient, reliable, and cost-effective for most users.
Final Thoughts: From Clutter to Control
Organizing cables for multiple gaming controllers isn’t a one-time fix—it’s the creation of a sustainable ecosystem. The benefits extend beyond neatness: longer device life, safer environments, smoother gameplay transitions, and fewer household conflicts. By centralizing your charging infrastructure, labeling components clearly, and following proven maintenance practices, you transform a source of daily friction into a seamless part of your gaming ritual.
Start small. Clear one corner. Label two cables. Build momentum through consistency. Within weeks, what once felt chaotic will feel effortless. And when friends come over or family game night begins, you won’t be scrambling behind the couch—you’ll be ready to play.


 浙公网安备
33010002000092号
浙公网安备
33010002000092号 浙B2-20120091-4
Comments
No comments yet. Why don't you start the discussion?