
Creating detailed nail art doesn’t require a professional kit or expensive equipment. With patience, practice, and the right techniques, you can achieve stunning results using only everyday tools found in most homes. From swirling florals to geometric patterns and delicate lacework, intricate nail designs are within reach—no airbrush machine or UV lamp needed. This guide breaks down exactly how to elevate your DIY manicure game using simple implements and smart methods.
Essential Tools You Already Own
Many people assume that intricate nail art requires specialized tools like fine-line brushes, stamping kits, or ultra-thin striper pens. While those help, they’re not essential. The foundation of precision lies in control and creativity—not cost. Most households already have items that double as effective nail art tools.
- Toothpicks: Ideal for drawing thin lines or filling small spaces.
- Bobby pins: Can be used as strippers or fine-point applicators when cleaned thoroughly.
- Paper clips: Unfolded and bent slightly, these work well for curved lines or dragging color through wet polish.
- Cotton swabs (Q-tips): Perfect for cleaning up smudges around cuticles.
- Plastic lid or palette: Use a bottle cap or aluminum foil to mix colors and test strokes before applying.
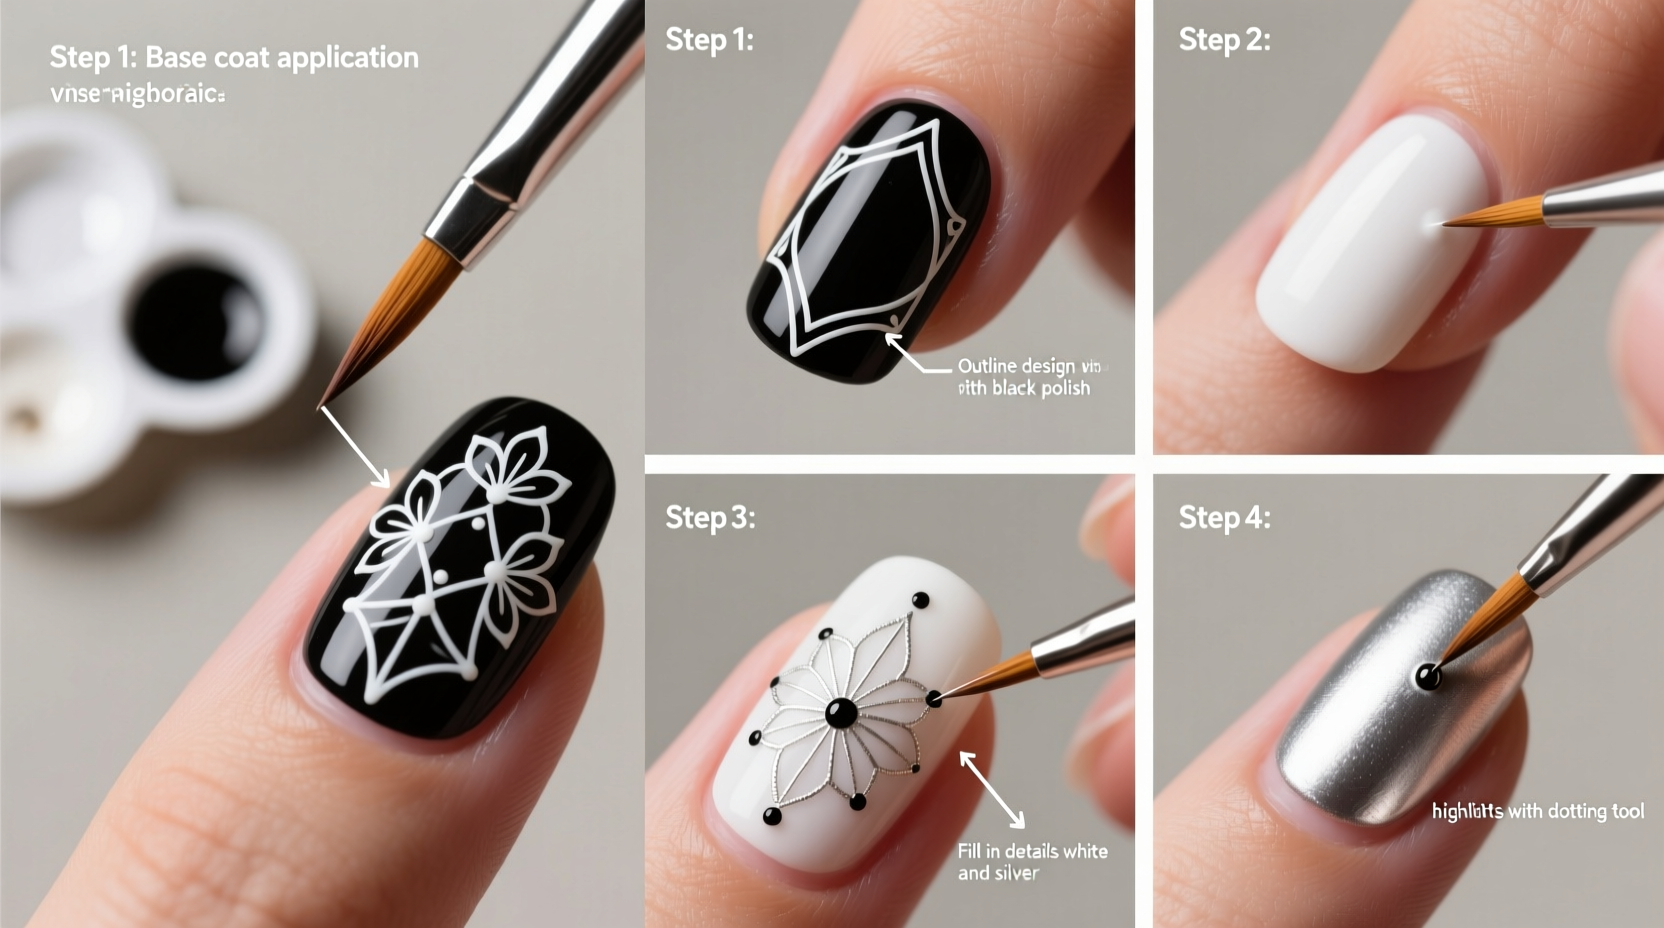
Step-by-Step Guide to Painting Intricate Designs
The key to success is preparation, layering, and working with semi-dry polish. Rushing leads to smudging; patience yields precision. Follow this timeline to build complex designs safely and effectively.
- Prep the nail surface: File, buff, and clean each nail. Apply a base coat and allow it to dry completely. A smooth, non-greasy surface ensures better polish adhesion.
- Apply background color: Choose a contrasting base—light for dark details, dark for light accents. Let it dry until tacky but not wet (about 3–5 minutes).
- Sketch lightly if needed: For symmetrical patterns like hearts or stars, use a white pencil liner to draw faint guidelines. These wipe off easily if mistakes occur.
- Start with larger elements: Block in bigger shapes first—such as petals or stripes—before adding fine lines or dots.
- Use controlled pressure: Light touches prevent pooling. If using a bobby pin, drag the side gently across the nail rather than pressing down.
- Work one nail at a time: Complete all design layers on one nail before moving to the next to maintain consistency.
- Clean edges: Dip a cotton swab in acetone and trace the cuticle line for a salon-sharp finish.
- Seal with top coat: Once fully dry (wait 15–20 minutes), apply a clear top coat to protect the artwork and add shine.
Pro Technique: The Drag-and-Lift Method
When painting fine lines or curves with a toothpick or paper clip, don’t slide continuously. Instead, place the tool at the starting point, drag slowly for a short distance, then lift. Re-position and repeat. This prevents wobbling and gives more control over stroke thickness.
Common Design Types and How to Execute Them
Different patterns call for different approaches. Below are three popular intricate styles and the best way to create them using basic tools.
Floral Accents
Tiny blossoms are achievable even without a detail brush. Use the rounded end of a bobby pin or a dried-out pen tip to make uniform dots arranged in a circle. Add a smaller central dot in contrasting color. For petals, gently press the edge of a toothpick at an angle and pivot outward from the center.
Geometric Patterns
Straight lines and sharp angles benefit from masking techniques. Cut thin strips from Scotch tape and apply them along desired edges. Paint over, then remove the tape while the polish is still wet. For triangles or chevrons, use a toothpick to connect corner points freehand after removing tape guides.
Swirls and Linework
Curved designs mimic elegance and movement. Dip a paper clip into polish, rest your pinky on the table for stability, and draw slow spirals starting from the center outward. Practice on paper first to get a feel for flow and rhythm.
| Design Type | Best Tool | Pro Tip |
|---|---|---|
| Dots & Doodles | End of a bobby pin or toothpick | Roll the tool slightly between fingers for consistent circular motion |
| Stripes | Edge of a credit card or tape mask | Use two parallel tapes to sandwich paint and avoid bleeding |
| Lace Details | Fine-tip toothpick | Work on matte base to reduce slipperiness |
| Gradient Effects | Sponge fragment (makeup sponge corner) | Layer colors gradually and dab—don’t swipe |
Checklist: Nail Art Success in 7 Steps
Before starting your next design session, run through this checklist to ensure optimal conditions and outcomes.
- ✅ Clean nails with alcohol wipe to remove oils
- ✅ Apply base coat and let dry fully
- ✅ Prepare all tools and colors on a stable surface
- ✅ Test design on paper or foil first
- ✅ Work under bright, natural-like lighting
- ✅ Support hand on a towel or cushion to reduce shaking
- ✅ Finish with quick-dry top coat after full drying period
Real Example: Maria’s First Freehand Rose
Maria, a college student with no formal nail training, wanted to recreate a rose design she saw online. She had only a standard polish set, toothpicks, and a makeup sponge. After prepping her nails with a pale pink base, she used the side of a bent paper clip to form five teardrop-shaped petals in deep magenta. She layered darker polish at the base of each petal for dimension, then added a green toothpick stem and two small leaves. Though her first attempt smeared, by slowing down and letting each layer set slightly, her second try was flawless. Within a week, she was posting her designs on social media—and friends were asking for tutorials.
Her breakthrough came not from new tools, but from understanding timing: waiting just long enough between layers so the polish was sticky but not liquid. That subtle adjustment transformed her results.
“Precision in nail art isn’t about having the fanciest brush—it’s about mastering the pause between strokes.” — Lena Torres, Independent Nail Artist & Educator
Avoiding Common Mistakes
Even skilled painters encounter pitfalls. Recognizing these early prevents frustration and wasted effort.
- Applying too much polish: Thick dabs cause blobs. Wipe excess off the tool on the bottle rim before every stroke.
- Working too fast: Rushing leads to shaky lines. Breathe deeply and move deliberately.
- Neglecting drying times: Overlapping wet layers causes lifting. Wait at least 2–3 minutes between major elements.
- Ignoring hand stability: Rest your wrist or forearm on a table. Floating hands amplify tremors.
- Using old, thickened polish: Dried-out polish doesn’t flow smoothly. Store bottles upright in a cool place and replace every 6–12 months.
FAQ
Can I use regular craft paint for nail designs?
No. Craft paints are not skin-safe and lack flexibility, which can cause cracking or irritation. Always use nail-specific polishes, which are formulated to adhere to keratin and withstand daily wear.
How do I fix a smudge without starting over?
If the smudge is minor and still wet, gently blot with a clean toothpick. If it’s dry, wait until the entire design is finished, then use a cotton swab dipped in acetone to carefully erase the area. Repaint the corrected section and reapply top coat.
What’s the easiest intricate design for beginners?
Dot matrix patterns—like constellations or polka-dot trails—are ideal starters. They build hand control and spacing awareness without requiring steady linework. Start with evenly spaced single dots, then progress to clusters and rings.
Conclusion: Master Detail Without the Expense
Intricate nail art is less about the tools you own and more about how you use them. By leveraging household items with intention and practicing foundational techniques, anyone can create eye-catching designs at home. The beauty of this craft lies in its accessibility: all you need is a steady hand, good lighting, and the willingness to experiment.
Start small. Try one new pattern per week. Save photos of your attempts to track improvement. Share your progress—you might inspire someone else to pick up a toothpick and begin their own journey. Nail art is personal, expressive, and deeply satisfying when done your way.


 浙公网安备
33010002000092号
浙公网安备
33010002000092号 浙B2-20120091-4
Comments
No comments yet. Why don't you start the discussion?