
Hard-boiled eggs are a kitchen staple—nutritious, portable, and versatile. Whether you're making deviled eggs, slicing them into salads, or packing them for lunch, one thing ruins the experience: stubborn shells that cling to the egg, tearing the white and leaving behind a pockmarked mess. The good news is that achieving perfectly cooked, easy-to-peel hard-boiled eggs isn’t luck—it’s science, timing, and technique. With the right method, you can consistently produce smooth, crack-free eggs that peel effortlessly, every single time.
The Science Behind Easy-Peel Hard-Boiled Eggs
The difficulty in peeling hard-boiled eggs largely comes down to freshness and pH levels. Fresh eggs have a lower pH, meaning they are more acidic. This acidity causes the albumen (egg white) to bond tightly to the inner membrane of the shell during cooking. As eggs age, carbon dioxide escapes through the porous shell, raising the pH and reducing that bond. That’s why older eggs often peel more cleanly than fresh ones.
However, using older eggs isn’t always practical or ideal for food safety. The solution lies in modifying the cooking process to mimic the conditions of an aged egg—raising the pH slightly and creating a clean separation between the membrane and the white.
“The key to easy peeling isn’t just the egg’s age—it’s controlling the cooking environment to encourage clean separation.” — Dr. Sarah Lin, Food Scientist & Culinary Researcher
Step-by-Step Guide to Perfectly Hard-Boiled Eggs
Follow this detailed method to ensure your eggs are fully cooked, tender, and easy to peel. This process works whether you’re boiling two eggs or a dozen.
- Select your eggs: Use large, Grade A eggs. Slightly older eggs (7–14 days after purchase) yield better results, but this method works even with fresher ones.
- Bring eggs to room temperature: Take eggs out of the fridge 20–30 minutes before cooking. Cold eggs plunged into boiling water are more likely to crack.
- Prepare the pot: Use a saucepan large enough to hold the eggs in a single layer. Add enough cold water to cover the eggs by at least 1 inch (2.5 cm).
- Add baking soda (optional but effective): Stir in ½ teaspoon of baking soda per quart of water. This raises the pH of the water, helping loosen the membrane from the egg white.
- Bring water to a rolling boil: Heat the water over high heat until it reaches a full, vigorous boil.
- Gently add the eggs: Lower eggs into the boiling water using a spoon to avoid cracking. Work carefully and one at a time.
- Reduce heat and set timer: Once all eggs are in, reduce heat to maintain a gentle simmer. Set a timer for exactly 10 minutes for fully set yolks without graying.
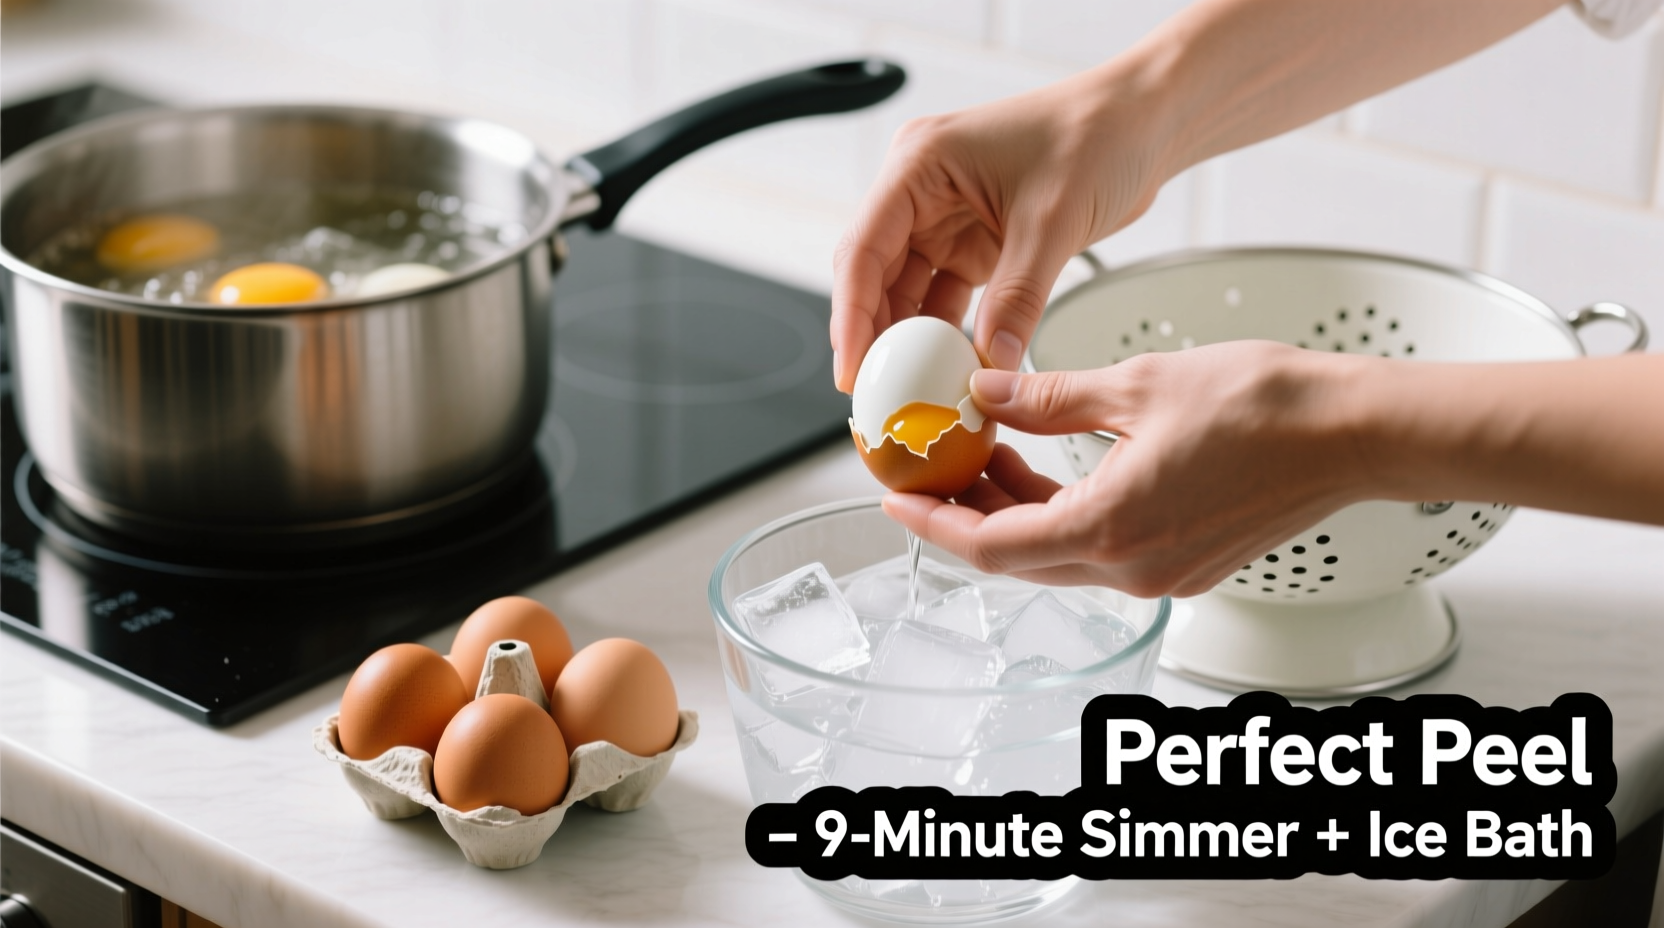
- Prepare an ice bath: While eggs cook, fill a large bowl with ice and cold water. You’ll need it immediately after cooking.
- Shock the eggs: When the timer goes off, use a slotted spoon to transfer eggs directly into the ice bath. Let them chill for at least 10–15 minutes. This rapid cooling contracts the egg inside the shell, creating a gap that aids peeling.
- Peel under running water: Gently tap each egg on a hard surface to crack the shell all around. Start peeling at the wider end (where the air pocket is), preferably under cool running water. The water helps lift the shell and membrane away cleanly.
Do’s and Don’ts of Hard-Boiling Eggs
| Do’s | Don’ts |
|---|---|
| Use slightly older eggs (7–14 days old) | Use very fresh eggs straight from the farm |
| Add baking soda to the cooking water | Add vinegar unless you’re poaching (it doesn’t help peeling) |
| Start with room-temperature eggs | Drop cold eggs into boiling water without acclimating |
| Shock eggs immediately in an ice bath | Let eggs sit in hot water after cooking |
| Peel under cool running water | Try to peel dry eggs on the counter |
| Store unpeeled eggs in the fridge for up to one week | Store peeled eggs at room temperature |
Real-World Example: The Sunday Prep Fail Turned Success
Jamie, a busy parent of two, used to dread making hard-boiled eggs for school lunches. Every week, she’d spend 20 minutes struggling to peel six eggs, only to end up with ragged whites and uneven halves. Frustrated, she nearly gave up on including them altogether. Then she tried the ice bath method combined with baking soda.
She placed her eggs (bought two weeks prior) in a pot, added ½ tsp baking soda to 4 cups of water, brought it to a boil, simmered for 10 minutes, then transferred them to an ice bath for 15 minutes. To her surprise, the first egg peeled in under 10 seconds—smooth as glass. All six came out flawless. Now, she preps a batch every Sunday, confident they’ll peel perfectly when packed Monday morning.
This small change saved her time, reduced food waste, and made healthy eating easier for her family.
Expert Tips for Foolproof Results
- Prick the wide end: Some chefs recommend gently pricking the rounded end of the egg with a pin before boiling. This releases air from the internal pocket and may reduce cracking.
- Use a steamer basket: Instead of letting eggs sit on the pot bottom, place them in a steamer basket. This prevents scorching and ensures even heat distribution.
- Try steam instead of boil: Place 1 inch of water in a pot with a steamer insert. Bring to a boil, add eggs, cover, and steam for 13 minutes. Shock in ice water. Many find steamed eggs peel even better than boiled ones.
- Avoid overcrowding: Cook in batches if necessary. Overlapping eggs lead to uneven cooking and increased risk of cracking.
- Check doneness: If unsure, remove one egg, cool briefly, and slice it open. The yolk should be opaque yellow with no liquid center, but not green-gray (a sign of overcooking).
“Steaming gives you more control than boiling. The temperature stays consistent, and you avoid the turbulence that cracks shells.” — Chef Miguel Torres, Culinary Instructor at Boston Institute of Culinary Arts
Storage and Shelf Life
Once cooled and dried, store unpeeled hard-boiled eggs in their original carton or a sealed container in the main compartment of your refrigerator (not the door). They will keep safely for up to **one week**. Do not store them peeled—exposed egg white dries out quickly and absorbs odors from other foods.
If you must store peeled eggs, submerge them in a bowl of cold water in the fridge, changing the water daily. Use within two days.
Frequently Asked Questions
Why do my hard-boiled eggs always stick to the shell?
Fresh eggs have a lower pH, causing the egg white to adhere strongly to the inner membrane. Rapid cooling and adding baking soda to the water can counteract this. Also, peeling under running water helps separate the layers.
Can I use vinegar to make eggs easier to peel?
No. Vinegar is useful for poaching eggs because it helps coagulate the white, but it does not improve peelability in hard-boiled eggs. In fact, too much vinegar can give the eggs a tangy flavor and weaken the shell prematurely, increasing the chance of cracking.
Is it safe to eat hard-boiled eggs with a greenish ring around the yolk?
The green-gray ring is caused by a reaction between sulfur in the egg white and iron in the yolk. It’s harmless but indicates overcooking. For the best texture and appearance, stick to a 10-minute simmer after boiling, followed by immediate chilling.
Essential Checklist for Perfect Hard-Boiled Eggs
Keep this checklist handy for your next batch:
- ☐ Use eggs that are 7–14 days old (if possible)
- ☐ Bring eggs to room temperature before cooking
- ☐ Fill pot with enough water to cover eggs by 1 inch
- ☐ Add ½ tsp baking soda per quart of water
- ☐ Bring water to a full boil before adding eggs
- ☐ Simmer gently for exactly 10 minutes
- ☐ Prepare ice bath before cooking begins
- ☐ Transfer eggs to ice bath immediately after cooking
- ☐ Chill for at least 10–15 minutes
- ☐ Peel under cool running water, starting at the wide end
Conclusion: Make Perfect Eggs a Habit
Perfectly hard-boiled eggs with shells that peel off effortlessly aren’t reserved for professional kitchens. With attention to detail—egg age, water chemistry, precise timing, and rapid cooling—you can achieve consistent results at home. The method outlined here eliminates guesswork and transforms a frustrating task into a reliable part of your routine.
Whether you're preparing snacks, meal-prepping, or hosting a brunch, these techniques ensure your eggs look as good as they taste. Try the process once, and you’ll wonder why you ever struggled with crumbly, half-peeled eggs.


 浙公网安备
33010002000092号
浙公网安备
33010002000092号 浙B2-20120091-4
Comments
No comments yet. Why don't you start the discussion?