
Self-tanning offers a safe, sunless way to achieve a radiant glow—but nothing undermines the look faster than dark, streaky patches on elbows and knees. These areas naturally accumulate more product due to thicker skin, dryness, and creases, leading to an uneven finish that can appear blotchy or unnatural. The good news: with the right preparation, application technique, and aftercare, you can avoid this common issue entirely. This guide breaks down the science behind why self tanner clings to joints and delivers actionable strategies to ensure a flawless, natural-looking tan every time.
Why Self Tanner Clings to Elbows and Knees
The skin on your elbows and knees is structurally different from the rest of your body. It’s thicker, drier, and contains more keratin—a protein that helps protect the skin but also absorbs tanning agents more readily. When dead skin cells build up in these areas, they create a rough surface that traps DHA (dihydroxyacetone), the active ingredient in most self-tanners. As DHA reacts with amino acids in the skin, it produces a brown pigment. More dead cells mean more reaction sites, resulting in darker, uneven color.
Additionally, elbows and knees often form natural creases and folds. During application, excess product can settle into these lines, intensifying the tan where it's least desired. Without proper exfoliation and moisture control, even high-quality tanners will emphasize these problem zones instead of blending seamlessly.
“Over 70% of self-tan complaints I see in consultations stem from improper prep around joints. Exfoliation isn’t optional—it’s essential.” — Lena Patel, Professional Makeup Artist & Skincare Technician
Step-by-Step Guide to Flawless Application Around Joints
Achieving an even tan isn’t about avoiding elbows and knees altogether—it’s about treating them correctly before, during, and after application. Follow this timeline for best results:
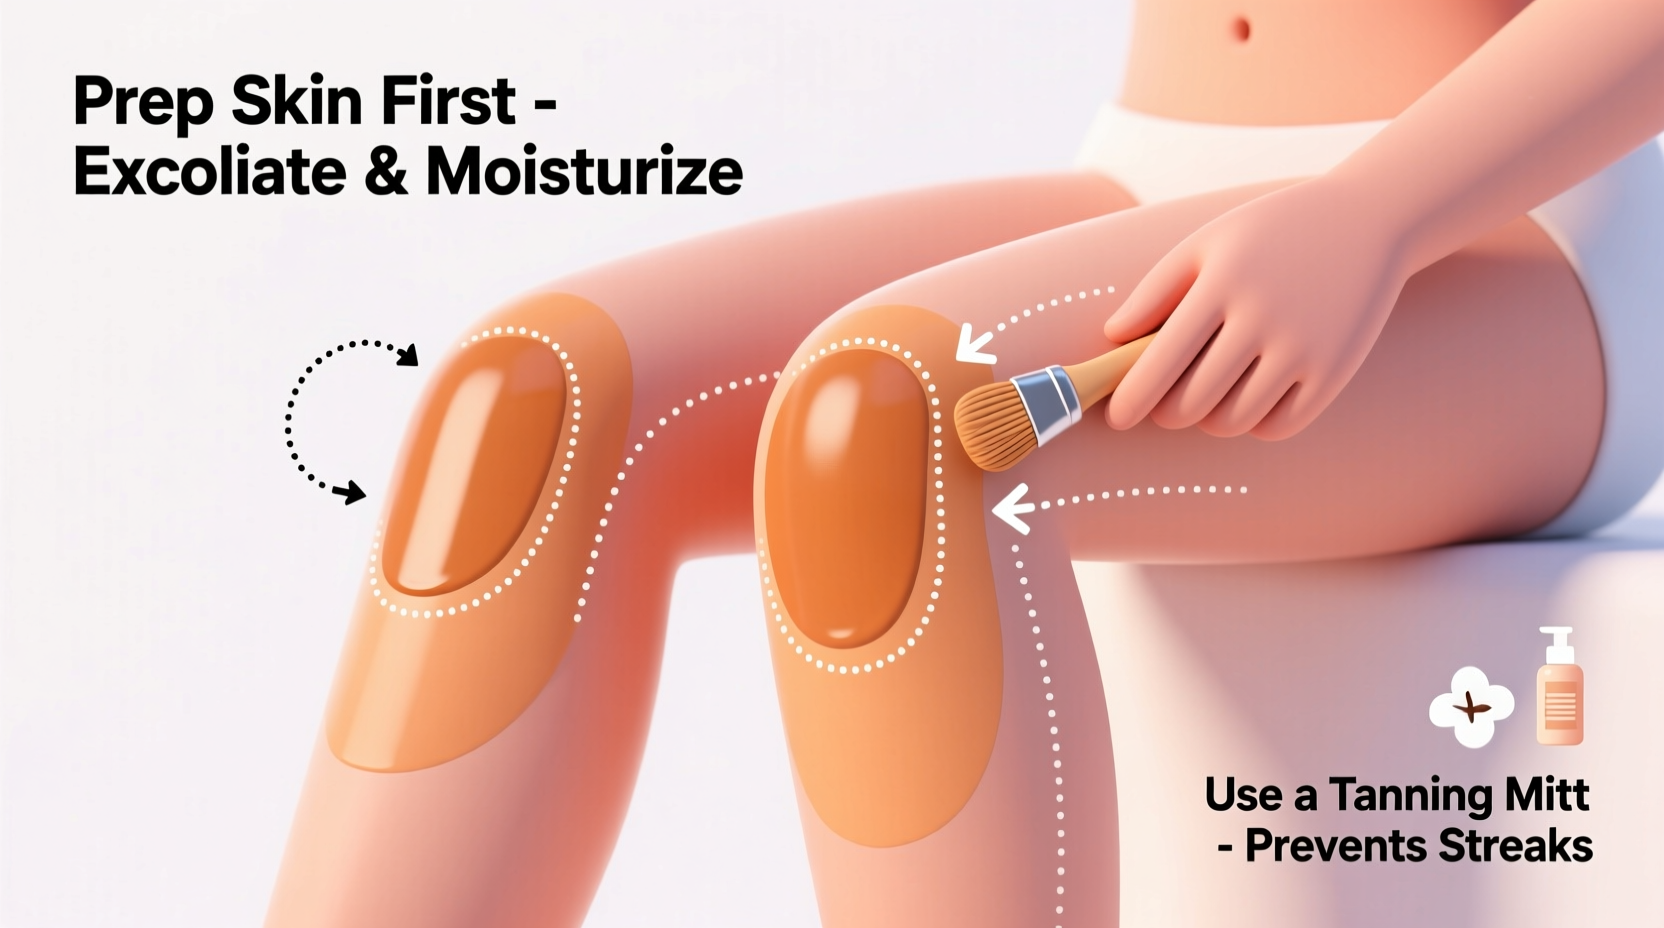
- 48 Hours Before Tanning: Begin gentle exfoliation using a mild body scrub or chemical exfoliant containing lactic or glycolic acid. Avoid harsh scrubs that cause micro-tears. Focus lightly on elbows and knees, using circular motions no more than twice per week.
- 24 Hours Before Tanning: Moisturize daily, especially on dry zones. Use a lightweight, non-comedogenic lotion to hydrate without creating a barrier. Steer clear of heavy creams or petroleum-based products at this stage.
- Immediately Before Application (30–60 Minutes Prior): Perform a final light exfoliation if needed, then wash and thoroughly dry elbows and knees. Do not apply moisturizer yet—this step comes later.
- During Application: Apply self tanner using a mitt in thin, even layers. On elbows and knees, use the back of your hand or a clean sponge to lightly buff product over the area, diffusing any excess. Never rub aggressively—glide gently to blend.
- After Application (5–10 Minutes Post-Tan): Once the main layer is applied, take a damp cloth or tissue and gently wipe over elbows and knees to remove buildup. Then, apply a pea-sized amount of moisturizer to each joint to slow DHA development and prevent over-darkening.
- Next Day and Beyond: Avoid long baths, saunas, or intense sweating for at least 8 hours. When showering, let water run over joints without scrubbing. Pat dry—don’t rub.
Do’s and Don’ts: Joint-Safe Tanning Habits
| Do | Don’t |
|---|---|
| Exfoliate elbows and knees 1–2 days before tanning | Scrub vigorously right before applying tanner |
| Use a tanning mitt for controlled, even application | Apply extra product to “correct” pale spots on joints |
| Moisturize joints lightly after tanning to dilute DHA | Skip moisturizing—dry skin attracts more color |
| Blend outward from joints using circular motions | Rub back and forth, which deposits excess product |
| Use gradual tanning lotions for touch-ups on limbs | Reapply full-strength tanner directly to darkened areas |
Real-World Example: From Patchy to Perfect
Sophie, a 34-year-old teacher from Manchester, had given up on self-tanners after three failed attempts left her with what she called “raccoon knees.” Each time, she’d applied the same method: quick scrub in the shower, direct spray, and immediate dressing. The result was always the same—dark rings around her joints by morning.
After consulting a beauty therapist, she adjusted her routine. Two days before tanning, she used a lactic acid body serum every evening to gently loosen dead skin. On tanning day, she skipped moisturizer until five minutes after applying the foam with a mitt. Then, she wiped her knees and elbows with a damp cloth and applied a sheer lotion to each joint. The next morning, her tan developed evenly, with no harsh lines or discoloration. Sophie now repeats this process monthly and has regained confidence in her at-home tanning results.
Expert-Approved Products and Techniques
Not all self-tanners are created equal when it comes to joint sensitivity. Some formulations are more prone to clinging due to higher DHA concentrations or thick, sticky textures. Dermatologists and tanning specialists recommend opting for lighter formulas—especially mousses or waters—when working around elbows and knees.
- Gradual tanning lotions: Ideal for maintenance and blending. Their low DHA content reduces risk of over-pigmentation.
- Tinted mousse: Offers visibility during application, helping you avoid double-dipping on joints.
- Water-based tanners: Lightweight and fast-absorbing, less likely to pool in creases.
For application tools, a high-quality tanning mitt with a smooth, non-abrasive surface ensures even glide. Avoid sponges or bare hands—they absorb too much product and lead to inconsistent coverage.
“Your elbows and knees aren’t flaws to hide—they’re areas to treat with precision. A little prep goes further than any corrective concealer.” — Marcus Reed, Celebrity Tanning Specialist
Checklist: Pre-Tan Joint Prep Routine
Pre-Tan Joint Checklist:
- ✅ Exfoliate elbows and knees 24–48 hours prior
- ✅ Avoid waxing or shaving 12 hours before tanning
- ✅ Shower and dry skin completely before application
- ✅ Use a tanning mitt—not fingers—for application
- ✅ Apply thinner layer on joints; blend outward
- ✅ Wipe joints lightly with damp cloth post-application
- ✅ Moisturize elbows and knees after tanning
- ✅ Wear loose clothing immediately after application
Frequently Asked Questions
Can I use regular body scrub on my elbows and knees before tanning?
Yes, but choose a fine-grain scrub or one with chemical exfoliants like alpha-hydroxy acids. Avoid salt-based scrubs that can be too abrasive. Always follow with hydration to maintain skin balance.
What should I do if my knees already look too dark?
Soak in a warm bath and gently exfoliate with a soft loofah or konjac sponge. Avoid harsh scrubs. For minor correction, mix baking soda with water into a paste and lightly massage the area. Repeat once daily until tone evens out. Prevent recurrence by adjusting future application techniques.
Is it better to skip moisturizer before tanning?
Yes—but only temporarily. Moisturizer creates a barrier that blocks DHA absorption, so apply it *after* tanning on joints. For the rest of your body, very light pre-moisturizing on dry areas (excluding joints) can help prevent patchiness elsewhere.
Conclusion: Smooth, Natural Results Are Within Reach
Preventing self tanner from clinging to elbows and knees isn’t about luck or expensive products—it’s about understanding skin behavior and applying consistent, thoughtful technique. With proper exfoliation, smart application, and targeted aftercare, you can eliminate patchiness and enjoy a seamless, sun-kissed look. The key is preparation: treat your joints differently from the rest of your body, not by avoiding them, but by respecting their unique texture and needs.
Start implementing these steps with your next tanning session. Track your results, adjust as needed, and soon, flawless color will become second nature. Your confidence—and complexion—will thank you.


 浙公网安备
33010002000092号
浙公网安备
33010002000092号 浙B2-20120091-4
Comments
No comments yet. Why don't you start the discussion?