
Transforming your holiday display from static strings of lights into a dynamic, synchronized spectacle is easier than you might think. With a Raspberry Pi, basic electronics, and a few lines of code, you can orchestrate dazzling light shows that pulse, fade, chase, and respond to music — all on schedule or triggered by motion. This guide walks through the full process of turning your Pi into a smart lighting controller, from setup to programming complex sequences.
Why Use a Raspberry Pi for Christmas Lights?
The Raspberry Pi offers unmatched flexibility for DIY lighting projects. Unlike pre-programmed controllers, it runs a full operating system, supports real-time scheduling, allows remote access, and can interface with sensors, networks, and external data sources. Whether you're aiming for simple timed sequences or audio-reactive displays, the Pi gives you granular control over every aspect of your lights.
Its General Purpose Input/Output (GPIO) pins let you send digital signals to relays, transistors, or LED driver boards. When combined with Python — a beginner-friendly yet powerful language — you can write custom scripts that define brightness, timing, color transitions, and even synchronization across multiple channels.
Hardware Setup: Components You’ll Need
Before writing any code, ensure your hardware is properly assembled. The following components form the foundation of a reliable light control system:
- Raspberry Pi (any model with GPIO pins, but Pi 3B+, 4, or Zero W recommended)
- MicroSD card with Raspberry Pi OS installed
- Power supply suitable for your Pi model
- Breadboard and jumper wires for prototyping
- Transistors or relay modules (e.g., NPN transistors like BC547 or 5V relay board)
- Resistors (220Ω or 1kΩ depending on transistor base current)
- Christmas lights (LED or incandescent; low-voltage preferred for safety)
- External power supply for lights (if not USB-powered)
- Multimeter (for testing connections)
For advanced setups involving RGB LEDs or addressable strips (like WS2812B), consider adding an LED driver such as the Adafruit DotStar or NeoPixel library-compatible board. These allow per-pixel control without individual GPIO pins for each light.
Wiring Basics for Non-Addressable Lights
If using traditional strand lights, connect them through a relay or transistor switch controlled by a GPIO pin. This isolates the high-power circuit from the Pi’s sensitive electronics.
- Connect the GPIO output pin (e.g., GPIO18) to the base of the transistor via a 1kΩ resistor.
- Connect the emitter to ground (GND).
- Use the collector to interrupt the negative side of the light string’s circuit.
- Power the lights from an external source (not the Pi’s 5V rail).
This configuration acts as a digital switch: when the GPIO goes HIGH, current flows through the transistor, completing the circuit and turning the lights on.
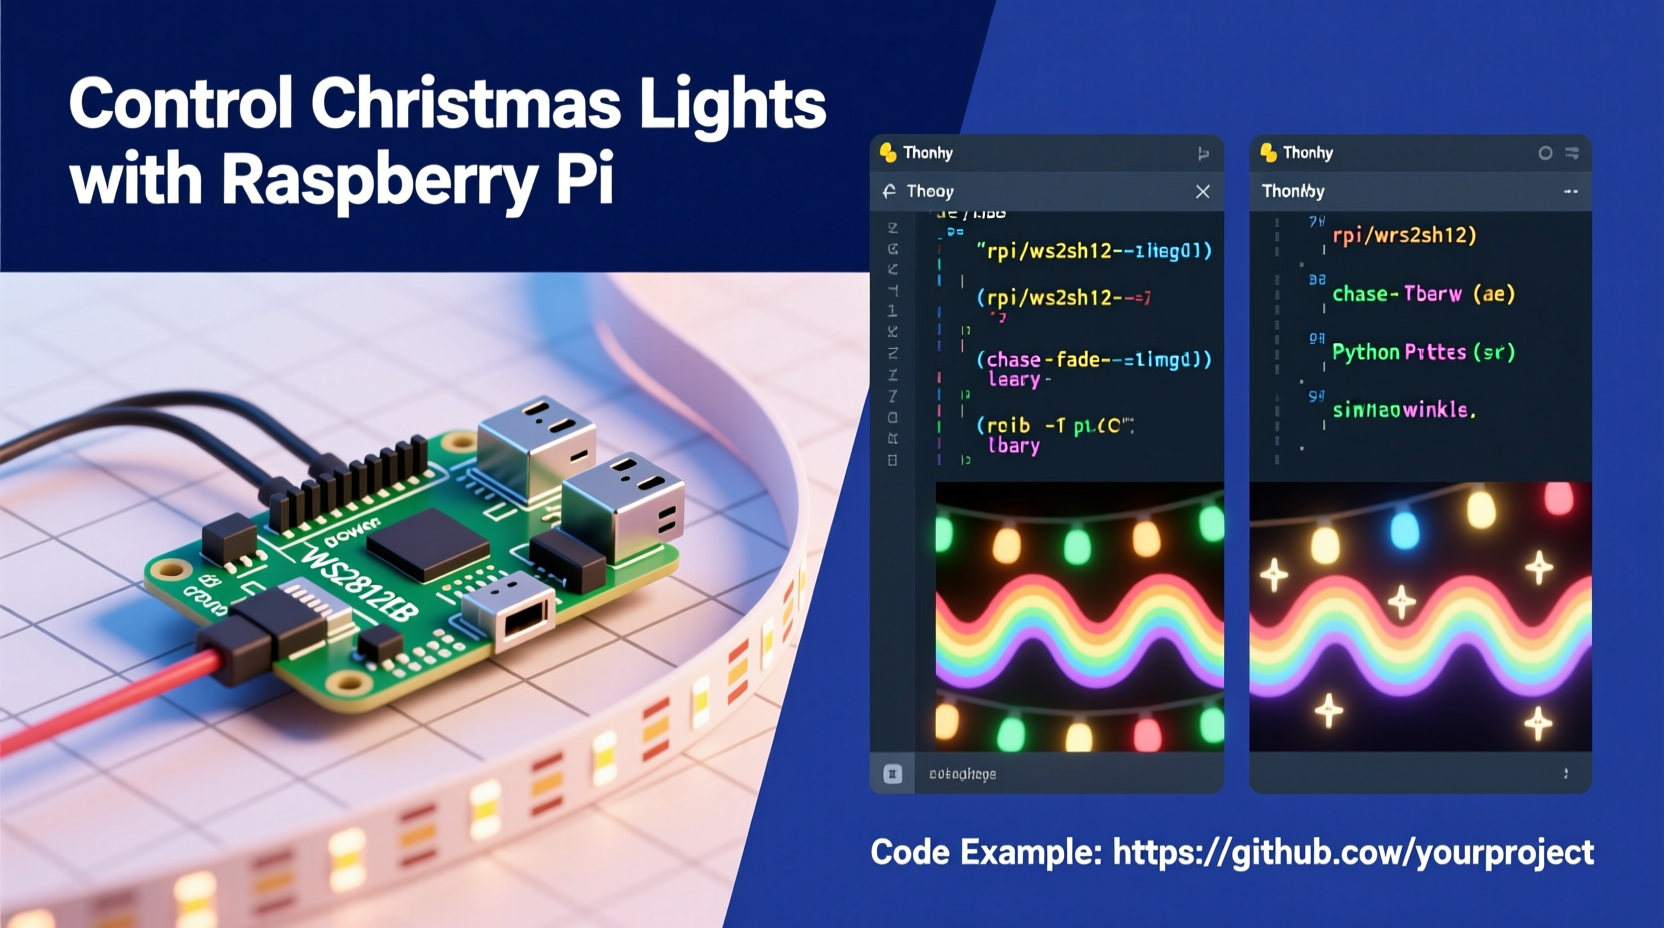
Step-by-Step Guide: Programming Light Patterns in Python
With hardware connected, shift focus to software. Python is ideal due to its readability and strong support for GPIO via libraries like RPi.GPIO and gpiozero.
1. Enable GPIO Access
Boot your Pi and open a terminal. Install required packages:
sudo apt update
sudo apt install python3-rpi.gpio python3-gpiozero
Ensure your user is part of the gpio group:
sudo usermod -aG gpio $USER
2. Write Your First Control Script
Create a script named light_show.py:
import RPi.GPIO as GPIO
import time

# Set up GPIO mode
GPIO.setmode(GPIO.BCM)
LIGHT_PIN = 18
GPIO.setup(LIGHT_PIN, GPIO.OUT)

try:
    while True:
        GPIO.output(LIGHT_PIN, GPIO.HIGH)  # Turn on
        time.sleep(0.5)
        GPIO.output(LIGHT_PIN, GPIO.LOW)   # Turn off
        time.sleep(0.5)
except KeyboardInterrupt:
    GPIO.cleanup()
This creates a simple blink pattern. Run it with:
python3 light_show.py
3. Expand to Multiple Channels
Add more GPIO pins to control different light strands independently:
PIN_RED = 18
PIN_GREEN = 23
PIN_BLUE = 24

GPIO.setup([PIN_RED, PIN_GREEN, PIN_BLUE], GPIO.OUT)

# Chase sequence
for _ in range(5):
    GPIO.output(PIN_RED, GPIO.HIGH)
    time.sleep(0.2)
    GPIO.output(PIN_RED, GPIO.LOW)

    GPIO.output(PIN_GREEN, GPIO.HIGH)
    time.sleep(0.2)
    GPIO.output(PIN_GREEN, GPIO.LOW)

    GPIO.output(PIN_BLUE, GPIO.HIGH)
    time.sleep(0.2)
    GPIO.output(PIN_BLUE, GPIO.LOW)
4. Implement Fade Effects (PWM)
To simulate dimming, use Pulse Width Modulation (PWM). Note: true analog fade requires hardware support or external drivers, but PWM mimics it digitally.
pwm = GPIO.PWM(LIGHT_PIN, 100)  # 100Hz frequency
pwm.start(0)  # Start at 0% duty cycle

# Gradual fade in/out
for duty in range(0, 101, 5):
    pwm.ChangeDutyCycle(duty)
    time.sleep(0.1)
for duty in range(100, -1, -5):
    pwm.ChangeDutyCycle(duty)
    time.sleep(0.1)

pwm.stop()
5. Schedule Shows Automatically
Use cron to run your script daily at sunset:
crontab -e
Add line:
0 17 * * * /usr/bin/python3 /home/pi/light_show.py
This starts the show at 5 PM every day.
Advanced Patterns and Real-World Integration
Once basics are mastered, expand functionality with environmental triggers and network integration.
Music Synchronization
Using a microphone and Fast Fourier Transform (FFT), detect sound frequencies and map volume levels to light intensity. Libraries like pyaudio and numpy enable real-time audio analysis.
Motion Activation
Connect a PIR sensor to a GPIO input pin. Trigger a bright flash or animated welcome sequence when movement is detected.
MOTION_PIN = 4
GPIO.setup(MOTION_PIN, GPIO.IN)

if GPIO.input(MOTION_PIN):
    flash_lights()  # Custom function
Web Interface for Remote Control
Build a lightweight Flask app to toggle patterns from a phone or tablet:
from flask import Flask
app = Flask(__name__)

@app.route('/on')
def lights_on():
    GPIO.output(LIGHT_PIN, GPIO.HIGH)
    return \"Lights ON\"

@app.route('/off')
def lights_off():
    GPIO.cleanup()
    return \"Lights OFF\"
Run the server and access it via http://[pi-ip]:5000.
“Combining physical computing with creative coding opens new dimensions in seasonal expression. A Raspberry Pi doesn’t just automate lights — it turns tradition into interactive art.” — Dr. Lena Torres, Embedded Systems Educator
Checklist: Building a Reliable Pi-Controlled Light System
- Verify all electrical connections with a multimeter
- Isolate high-voltage circuits from the Pi using relays
- Test scripts in a safe environment before deployment
- Label GPIO pins used in code and on breadboard
- Implement error handling and graceful shutdowns
- Use a surge protector for outdoor installations
- Enclose electronics in weatherproof boxes if outdoors
- Back up code and configurations regularly
Mini Case Study: The Neighborhood Light Symphony
In Portland, Oregon, hobbyist Mark Lin converted his front yard display into a synchronized neighborhood event using four Raspberry Pis. Each Pi controlled a section of his home — roofline, tree, driveway, and porch — running coordinated patterns based on a shared timestamp server.
He wrote a central Python scheduler that broadcasted commands over MQTT, ensuring all units stayed in sync within 50ms. Using light sensors, the system automatically adjusted brightness based on ambient conditions. A web dashboard allowed his kids to choose themes like “Snowfall,” “Jazz Night,” or “Disco Fever.”
The result? A viral local attraction drawing hundreds of visitors nightly, all powered by open-source tools and under $150 in hardware.
Safety, Do’s and Don’ts
| Do | Don't |
|---|---|
| Use optoisolators or relays for high-voltage circuits | Power large light arrays directly from Pi GPIO pins |
| Ground all components properly | Expose wiring to rain or snow without protection |
| Start with low-voltage DC LEDs for testing | Assume all Christmas lights are electrically compatible |
| Include manual override switches | Leave systems unattended during initial testing |
| Monitor temperature near enclosed electronics | Use damaged or frayed extension cords |
FAQ
Can I control AC-powered Christmas lights safely with a Raspberry Pi?
Yes, but only indirectly. Use a relay module rated for AC voltage to act as a switch. The Pi sends a low-voltage signal to trigger the relay, which then controls the mains-powered lights. Never connect household AC directly to the Pi.
How many lights can one Raspberry Pi control?
The number depends on your method. With standard GPIO switching, you’re limited by available pins (typically 17 usable). However, using multiplexers, shift registers, or addressable LEDs (like NeoPixels), you can control hundreds or thousands of individual lights from a single data pin.
Can I make my lights react to music?
Absolutely. Connect a USB microphone or use audio input via HDMI or Jack. Process the audio stream in real time using Python libraries like pyaudio, analyze amplitude or frequency bands, and map changes to light behavior — for example, brighter flashes on bass hits.
Conclusion: Bring Code to Life This Holiday Season
Programming a Raspberry Pi to control Christmas lights merges engineering with creativity, offering a rewarding way to personalize your holiday experience. From gentle pulsing effects to full musical choreography, the possibilities grow with every line of code you write. Beyond aesthetics, these projects teach valuable skills in electronics, logic, and automation.
Whether you're building a small indoor display or coordinating a block-wide light festival, start simple, prioritize safety, and iterate often. Share your designs, publish your code, and inspire others to light up their holidays — not just with bulbs, but with innovation.


 浙公网安备
33010002000092号
浙公网安备
33010002000092号 浙B2-20120091-4
Comments
No comments yet. Why don't you start the discussion?