
Cast iron radiators are more than just functional heating units—they’re often architectural centerpieces in older homes, combining vintage charm with reliable warmth. However, years of dust, grime, and paint buildup can dull their appearance and reduce efficiency. Cleaning them improperly can lead to scratches, rust, or even damage to surrounding walls and floors. The good news is that with the right tools, timing, and technique, you can restore your radiator to its full glory—without turning your living room into a construction zone.
Why Proper Radiator Cleaning Matters
Dust and debris accumulate rapidly on radiators due to convection currents. As warm air rises from the unit, it pulls dust from the floor and circulates it around the fins and panels. Over time, this layer acts as insulation, reducing heat output by up to 20%, according to HVAC specialists at the Building Research Institute. Additionally, neglected radiators can emit odors when first turned on in the season, caused by burnt dust.
Beyond performance, cleanliness affects longevity. Moisture trapped under dirt can lead to rust, especially in older units with chipped paint. A well-maintained cast iron radiator can last over a century—but only if cared for correctly.
Essential Tools and Materials
Before starting, gather everything you’ll need. Having all supplies on hand prevents interruptions and reduces the chance of spreading dust mid-process.
- Micofiber cloths – lint-free and gentle on surfaces
- Vacuum with brush attachment – crucial for dry dust removal
- Narrow paintbrush or radiator brush – ideal for reaching between fins
- Soft sponge or non-abrasive pad – for surface wiping
- Bucket of warm water – never use hot water on cold metal
- Mild dish soap – avoid harsh detergents or degreasers
- Plastic drop cloth or old sheets – to protect flooring
- Rubber gloves – protects hands from grime and cleaning agents
- Spray bottle (optional) – for light misting if needed
Avoid steel wool, wire brushes, or abrasive cleaners. These can scratch the finish and expose bare iron, inviting rust.
Step-by-Step Cleaning Process
Cleaning a cast iron radiator doesn’t require professional skills, but it does demand patience and precision. Follow this timeline-based approach to keep things efficient and tidy.
- Turn off the radiator and let it cool completely. Never clean a hot or warm unit. Wait at least 2–3 hours after shutdown to ensure safety and prevent thermal shock.
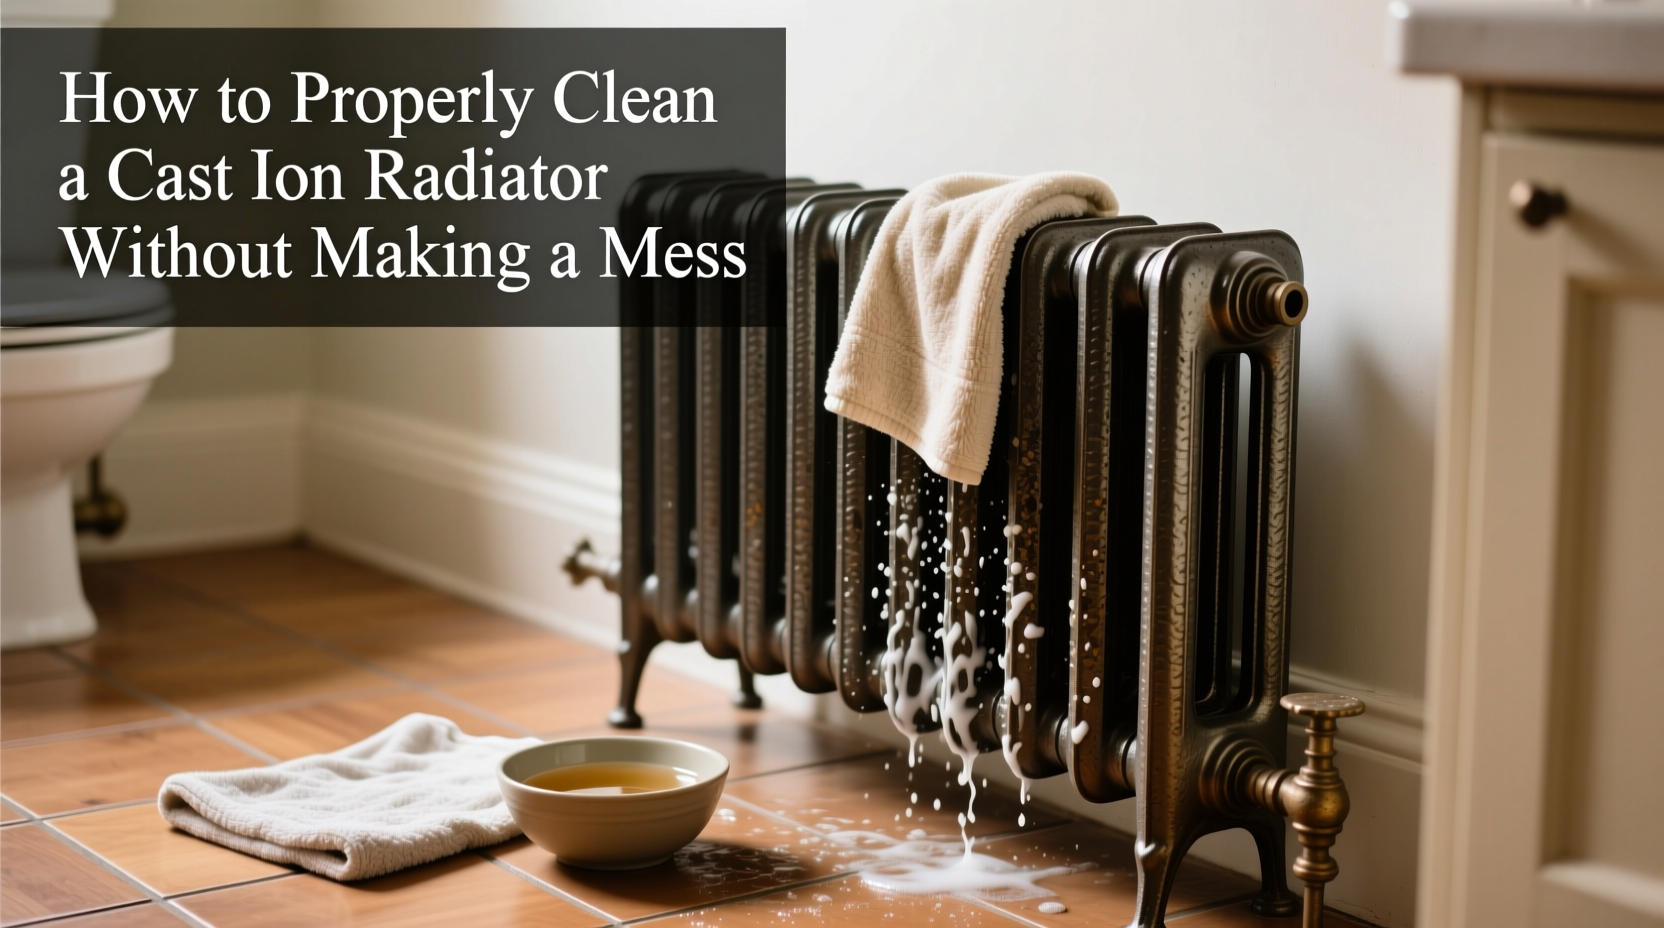
- Protect the surrounding area. Lay down a plastic sheet or old towels along the base and against the wall behind the radiator. Dust and drips will be contained, minimizing cleanup later.
- Dry vacuum thoroughly. Use the brush attachment on your vacuum to remove loose dust from the top, sides, and between the vertical fins. Work slowly and methodically. This step removes up to 90% of airborne debris without wetting anything.
- Use a narrow brush for tight spaces. A clean paintbrush or specialized radiator fin cleaner can dislodge stubborn particles lodged between the ribs. Gently flick debris downward into a trash bin or onto your drop cloth.
- Wipe down surfaces with damp cloth. Dip a microfiber cloth in warm, soapy water, wring it well, and wipe the exterior surfaces. Avoid soaking the unit. Focus on visible grime, especially near the base where pet hair and dust bunnies collect.
- Rinse lightly if necessary. For areas with sticky residue (like near kitchen doors), use a second clean, damp cloth to remove soap traces. Never pour or spray water directly onto the radiator.
- Dry immediately. Use a dry microfiber towel to wipe every surface, including hard-to-reach corners. Residual moisture is the leading cause of post-cleaning rust.
- Inspect for damage. Once clean, check for flaking paint, cracks, or signs of leakage. Address minor rust spots with touch-up paint formulated for radiators.
Do’s and Don’ts of Cast Iron Radiator Care
| Do’s | Don’ts |
|---|---|
| Do clean annually during seasonal maintenance | Don’t use bleach or ammonia-based cleaners |
| Do vacuum fins regularly between deep cleans | Don’t soak the radiator or use high-pressure sprayers |
| Do wear gloves to protect your hands | Don’t sandblast or use power tools on antique units |
| Do dry thoroughly after any wet cleaning | Don’t neglect wall and floor protection |
| Do inspect valves and connections for leaks | Don’t paint over valves or thermostatic controls |
Real Example: Reviving a Victorian Radiator in a Brooklyn Brownstone
In Park Slope, Sarah M., a historic home restorer, faced a heavily soiled radiator in her 1890s parlor. Years of wax buildup from nearby candles and accumulated dust had turned the once-glossy black finish into a sticky, gray film. She started by laying a canvas drop cloth and sealing the hardwood floor edges with painter’s tape.
Using a handheld vacuum with a soft brush head, she removed visible dust over two sessions, emptying the canister frequently. Then, with a mixture of warm water and one teaspoon of pH-neutral dish soap in a spray bottle, she lightly misted a microfiber cloth—not the radiator itself—and wiped each panel. For the ornate side columns, she used a soft-bristled detailing brush. After drying with a lint-free towel, she applied a small amount of automotive wax (non-abrasive) to restore luster—only on painted surfaces, avoiding pipes and valves.
The entire process took 90 minutes, and the radiator now heats the room more evenly, with no mess tracked into other areas. “It’s about control,” she said. “Slow, deliberate movements keep dust contained and the results lasting.”
“Many people ruin radiators by rushing. The key isn’t force—it’s consistency and containment.” — Daniel Reeves, HVAC Preservation Specialist, Northeast Heritage Systems
When to Avoid Water-Based Cleaning
If your radiator has significant paint loss or exposed metal, avoid wet cleaning altogether. Moisture can seep into pores and accelerate rust formation. In such cases, stick to dry methods only:
- Use a vacuum with HEPA filtration to trap fine particles
- Employ compressed air (on low setting) to blow out deep crevices
- Wipe with a dry microfiber cloth charged with static to attract dust
Once cleaned, consider having the unit professionally repainted with heat-resistant enamel to seal the metal and improve both appearance and efficiency.
Frequently Asked Questions
Can I use vinegar to clean my cast iron radiator?
No. While vinegar is a popular natural cleaner, its acidity can corrode metal finishes and degrade paint over time. Stick to mild, pH-neutral soaps and always test on a small, inconspicuous area first.
How often should I clean a cast iron radiator?
At minimum, perform a thorough cleaning once per year before the heating season starts. In homes with pets or high dust levels, vacuum the fins every 3–4 months to maintain airflow and reduce allergens.
Is it safe to paint a cast iron radiator after cleaning?
Yes, but only if done correctly. Use radiator-specific paint that can withstand high temperatures. Never paint over valves, thermostatic radiator traps (TRVs), or connection points. Light sanding and priming may be needed for peeling areas, but avoid aggressive stripping that damages the casting.
Checklist: Clean Your Cast Iron Radiator Without a Mess
Follow this concise checklist to ensure a smooth, spill-free cleaning session:
- ✅ Turn off and cool the radiator completely
- ✅ Cover floor and wall base with protective material
- ✅ Vacuum all surfaces, especially between fins
- ✅ Brush out debris from tight spaces
- ✅ Wipe with damp, soapy microfiber cloth (wring well)
- ✅ Rinse with clean damp cloth if needed
- ✅ Dry every surface immediately with a dry towel
- ✅ Inspect for rust, leaks, or paint damage
- ✅ Dispose of dirty cloths and vacuum contents promptly
- ✅ Restore power and monitor for normal operation
Final Thoughts: Preserve Function and Beauty
Cleaning a cast iron radiator isn’t just about aesthetics—it’s essential maintenance. A clean unit operates more efficiently, lasts longer, and contributes to better indoor air quality. The secret to doing it without making a mess lies in preparation, patience, and the right tools. By containing dust, avoiding excess moisture, and treating the radiator with care, you honor both its engineering and historical value.
These fixtures were built to endure generations. With mindful upkeep, yours can continue to provide warmth and character for decades to come.


 浙公网安备
33010002000092号
浙公网安备
33010002000092号 浙B2-20120091-4
Comments
No comments yet. Why don't you start the discussion?