
In today’s digital world, images are everywhere—on websites, social media, marketing materials, and personal projects. But too often, you’ll come across a photo with an unwanted watermark: a logo, text overlay, or copyright notice that distracts from the image itself. While Adobe Photoshop offers powerful tools for removing such blemishes, not everyone has access to it—or the time to learn its complex interface.
The good news? You don’t need Photoshop to eliminate watermarks efficiently. A range of accessible, user-friendly tools and techniques can deliver professional-grade results in minutes. Whether you're cleaning up a stock photo for a blog post, preparing visuals for a client presentation, or restoring an old family picture, there are practical alternatives that require no design experience.
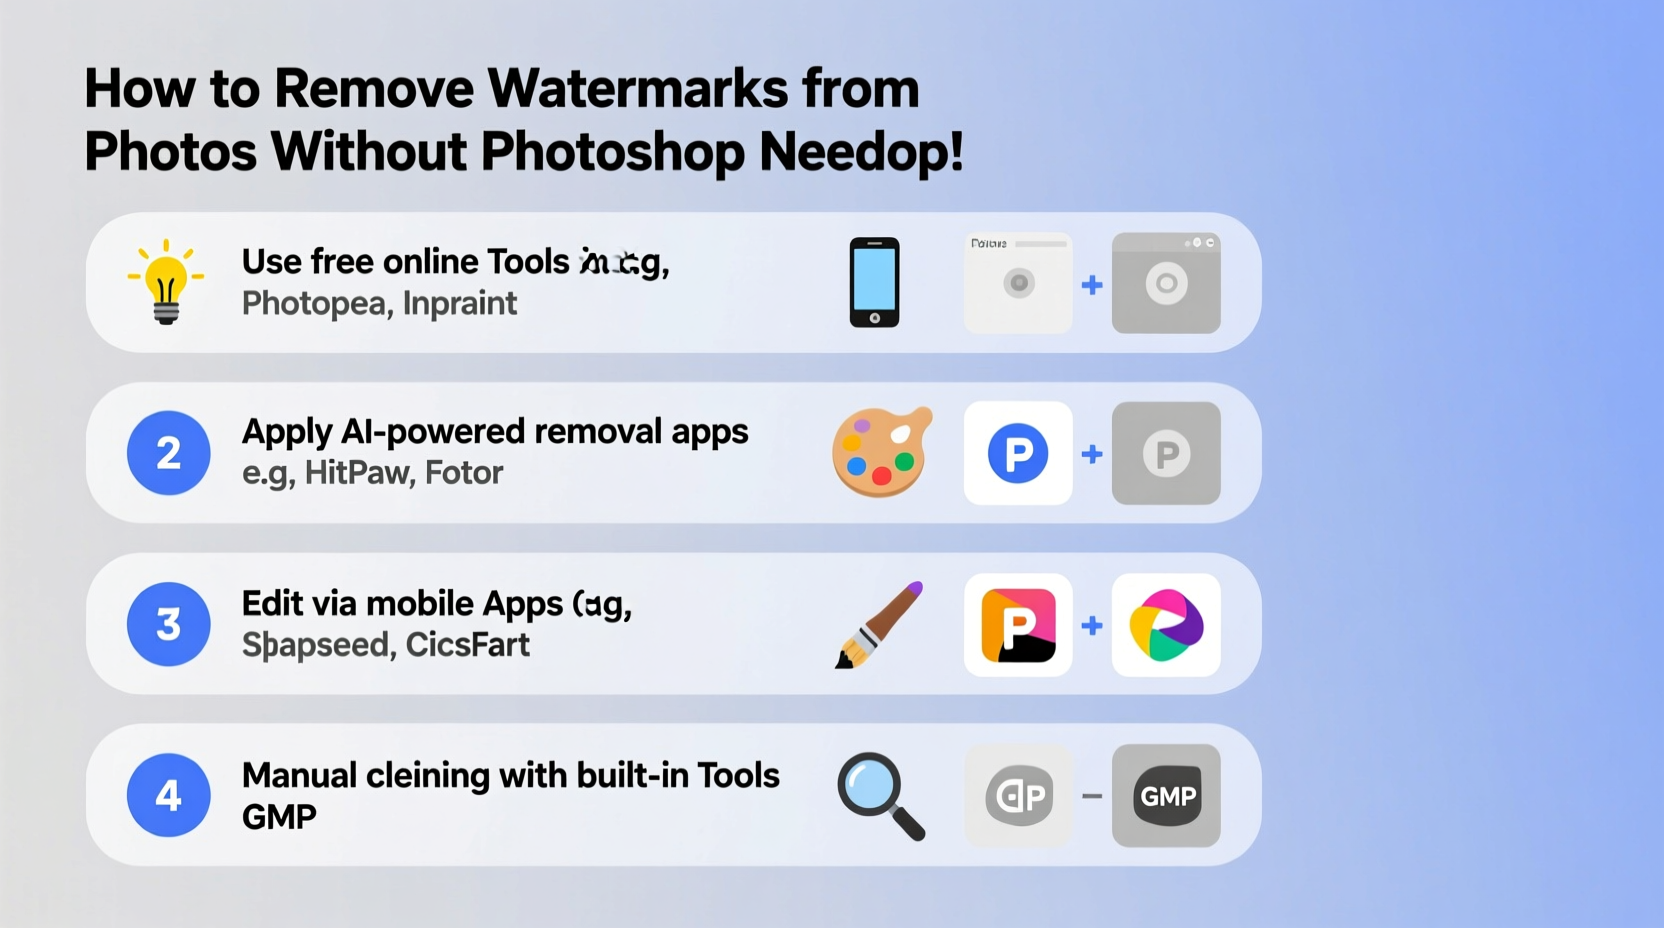
This guide walks through proven methods, trusted tools, and real-world strategies to help you remove watermarks quickly and cleanly—without opening Photoshop once.
Why Watermarks Need Careful Removal
Watermarks serve a purpose: they protect intellectual property and prevent unauthorized use. However, if you have legal permission to use an image—such as purchasing a license, receiving consent from the owner, or working with your own archived photos—it’s reasonable to remove them for final presentation.
The challenge lies in doing so without leaving visible traces. Poorly removed watermarks result in blurry patches, mismatched textures, or unnatural color shifts—signs of amateur editing that undermine credibility. The goal is seamless removal: making it appear as though the watermark was never there.
“Effective watermark removal isn’t about erasing; it’s about reconstructing the underlying image contextually.” — Lena Park, Digital Restoration Specialist
Best Tools for Removing Watermarks Without Photoshop
Several online and desktop applications offer intuitive interfaces and AI-powered repair features capable of handling most watermark scenarios. These tools are designed for speed, precision, and accessibility—even for beginners.
Below is a comparison of five top-rated non-Photoshop solutions:
| Tool | Type | Key Feature | Free Option? | Time per Edit |
|---|---|---|---|---|
| GIMP (with Resynthesizer) | Desktop (Open Source) | Clone stamp + texture synthesis | Yes | 5–10 min |
| Inpaint / Inpaint Online | Web & Desktop | Smart object removal | Limited free version | 2–4 min |
| Fotor | Online Editor | AI Eraser tool | Yes (with watermark on output) | 3–6 min |
| Remove.bg + Touch Up Tools | Online Suite | Background AI + retouch layer | Yes (limited) | 4–7 min |
| Pixlr X / Pixlr E | Browser-Based | Healing brush & clone stamp | Yes | 5–8 min |
Each of these platforms provides at least one form of intelligent inpainting—technology that analyzes surrounding pixels and fills in deleted areas realistically. For most users, Inpaint or Fotor delivers the best balance between ease of use and quality output.
Step-by-Step: Remove a Watermark Using Fotor (No Installation Needed)
Fotor is one of the fastest and most reliable web-based editors for quick watermark removal. Its AI-powered “Object Remover” tool works in seconds and requires zero learning curve.
- Upload your photo – Go to fotor.com and select “Edit a Photo.” Upload the image containing the watermark.
- Open the Retouch Tool – In the left sidebar, click “Beauty,” then choose “Object Remover.” Select “Brush” mode.
- Paint over the watermark – Use the brush to carefully cover the entire watermark area. Adjust brush size using [ or ] keys for precision.
- Let AI process the fix – Once painted, Fotor automatically replaces the selected area with context-aware pixels from nearby regions.
- Review and refine – Zoom in to check for inconsistencies. If needed, undo and repaint with finer strokes.
- Save the cleaned image – Click “Download” and choose your preferred format (JPEG or PNG recommended).
This method typically takes under four minutes and produces clean results for small-to-medium watermarks on uniform or textured backgrounds like skies, walls, or fabric.
When Watermarks Are Complex: Advanced Tactics
Some watermarks pose greater challenges—especially when they span multiple objects, overlap faces, or sit atop detailed patterns like brickwork or foliage. In these cases, basic AI tools may struggle to generate convincing replacements.
To handle complexity, combine multiple approaches:
- Layer manual correction with AI: Start with an automated tool like Inpaint, then open the result in GIMP or Pixlr to manually blend edges using the healing brush.
- Use content-aware fill via browser tools: Some advanced versions of Pixlr E include “Content-Aware Fill,” which mimics Photoshop’s famous feature by analyzing global image data before filling gaps.
- Crop strategically: If the watermark sits near the edge and doesn’t block critical content, consider cropping instead of removing. Sometimes the fastest edit is the simplest.
- Reconstruct missing parts manually: For historical photos or sentimental images, take extra time to rebuild elements—like extending a horizon line or duplicating background tiles using copy-paste layers.
“I restored a 1970s wedding photo where the corner had been stamped with a studio logo. I used Fotor to remove the bulk, then GIMP to redraw part of the groom’s sleeve using adjacent pixels. Took 20 minutes—but the family was thrilled.” — Marcus Reed, Photo Archivist
Checklist: Preparing for Flawless Watermark Removal
Follow this checklist before starting any watermark removal task to maximize success and minimize rework:
- ✅ Confirm you have legal rights to modify the image
- ✅ Back up the original file in a separate folder
- ✅ Assess the watermark size, location, and background complexity
- ✅ Choose the right tool based on skill level and required output quality
- ✅ Work at high zoom (100% or more) for precision
- ✅ Save progress frequently during multi-step edits
- ✅ Export in original resolution or higher if possible
Skipping even one step can lead to poor outcomes. For example, failing to back up means losing the original if something goes wrong. Editing without assessing complexity might mean choosing a simple tool for a job that needs nuance.
Common Mistakes to Avoid
Even experienced editors make errors when rushing through cleanup tasks. Here are frequent pitfalls and how to avoid them:
- Over-smudging textures: Overusing blur or healing tools can flatten surfaces and create “plastic-looking” areas. Limit brush strokes and preserve natural grain.
- Ignoring lighting direction: Reconstructed areas should match the light source. A shadow cast from the left must remain consistent after editing.
- Using low-resolution inputs: Small images lack enough pixel data for AI tools to generate accurate replacements. Whenever possible, start with the highest-quality version available.
- Exporting with compression artifacts: Saving as heavily compressed JPEG introduces new flaws. Use PNG for transparency and lossless quality, especially for archival purposes.
One common issue occurs when users apply automatic removal tools to large watermarks across busy scenes—like a logo stretching over a forest. The AI may misinterpret tree patterns and produce repeating shapes or ghost lines. In such cases, break the removal into smaller sections and process incrementally.
FAQ: Frequently Asked Questions
Is it legal to remove watermarks from photos?
Only if you have explicit permission from the copyright holder or hold usage rights that allow modification. Removing watermarks from copyrighted images without authorization violates U.S. Copyright Law and similar regulations worldwide.
Can AI perfectly remove any watermark?
No technology guarantees perfect results every time. Simple watermarks on flat backgrounds are usually handled well. Complex overlays on detailed scenes may require manual refinement or partial redesign.
Are free tools safe to use?
Most reputable online editors (like Fotor, Pixlr, and Remove.bg) are safe. However, avoid uploading sensitive or private images to unknown platforms. Check privacy policies and delete uploads after processing.
Conclusion: Clean Images Are Within Reach
Removing watermarks doesn’t require expensive software or years of training. With the right combination of AI-powered tools, attention to detail, and ethical awareness, anyone can restore an image to its full visual potential—quickly and effectively.
The key is knowing which tool fits your scenario, preparing properly, and reviewing results critically. Whether you're enhancing product photos for e-commerce, cleaning up visuals for a presentation, or preserving memories, these methods empower you to act confidently and efficiently.


 浙公网安备
33010002000092号
浙公网安备
33010002000092号 浙B2-20120091-4
Comments
No comments yet. Why don't you start the discussion?