
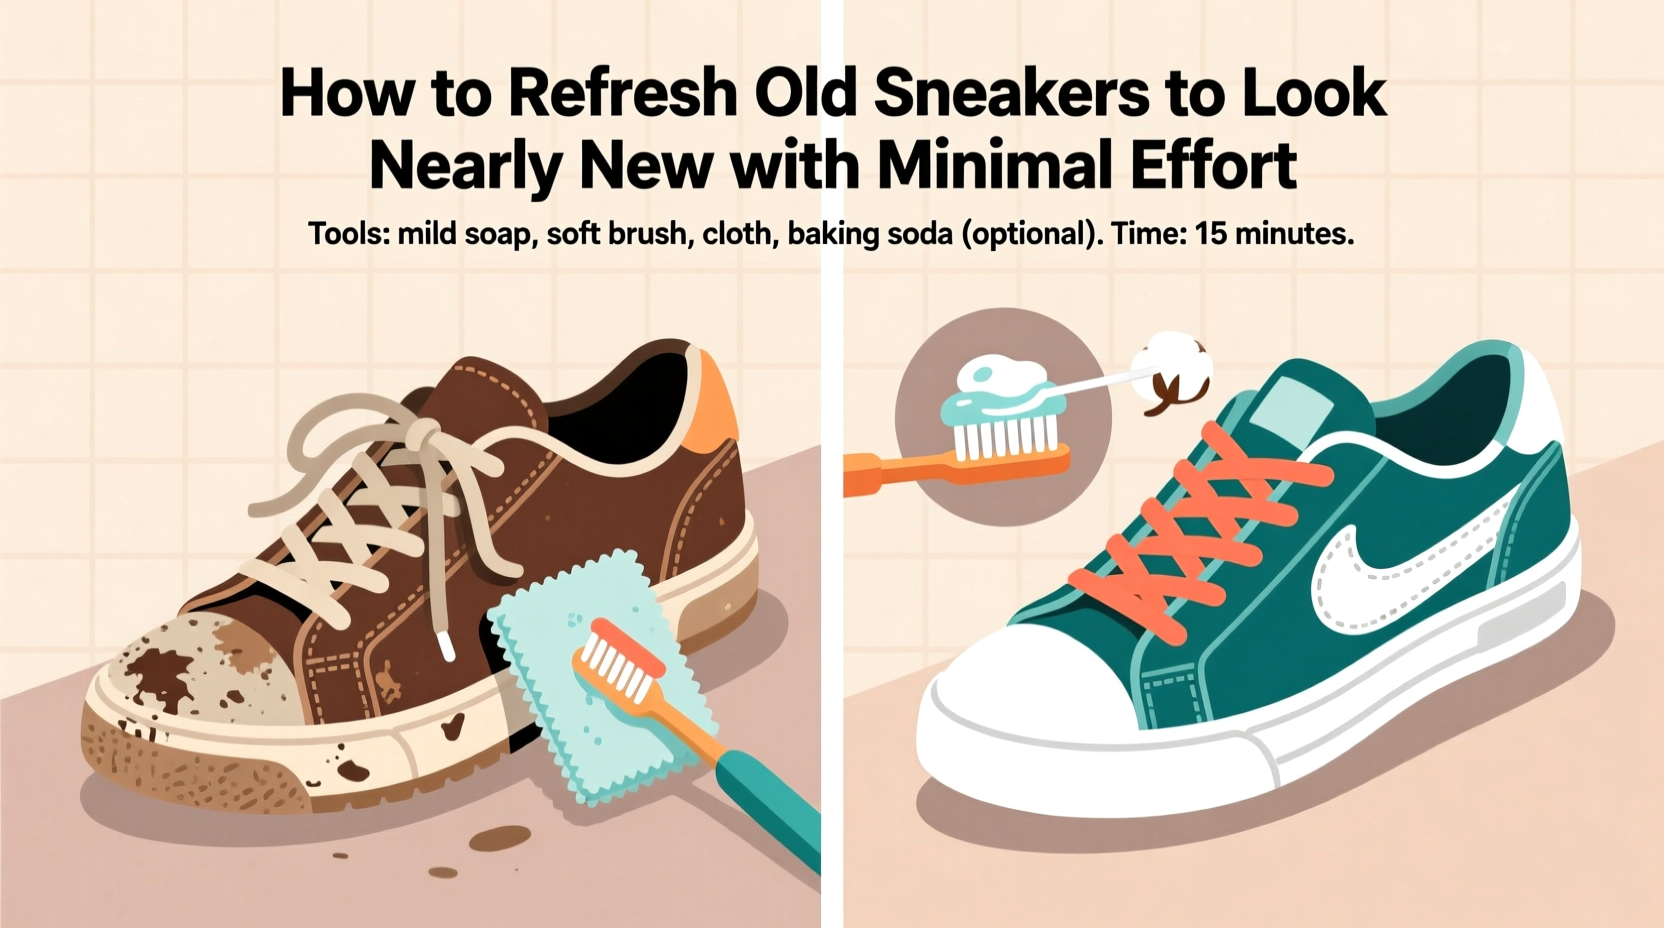
Worn-out sneakers don’t have to be tossed just because they’ve lost their luster. With a few smart techniques and common household items, you can restore scuffed soles, faded uppers, and dingy laces to give your favorite pairs a second life. Whether it’s a sentimental favorite or a once-prized athletic model, reviving old sneakers is not only economical but also sustainable. The process doesn’t require professional tools or hours of labor—just the right approach and attention to detail.
Assessing Your Sneakers’ Condition
Before diving into cleaning, take a moment to evaluate what kind of wear your sneakers have endured. Different materials—canvas, leather, mesh, suede—respond best to specific treatments. A quick inspection helps determine whether your shoes are salvageable or if structural damage (like sole separation) makes restoration impractical.
Look for:
- Surface dirt and stains
- Yellowed midsoles or outsoles
- Frayed or discolored laces
- Odor buildup inside the lining
- Loose stitching or glue degradation
If the shoe still holds its shape and the sole remains intact, cosmetic improvements can make a dramatic difference. Structural issues may require repair beyond basic cleaning, but most surface-level wear can be reversed with consistent care.
Step-by-Step Guide to Refreshing Sneakers
Reviving old sneakers involves targeted cleaning, deodorizing, whitening, and protection. Follow this timeline-based method to achieve near-new results without spending much time or money.
- Prep Work (5 minutes): Remove laces and insoles. Use a dry brush or soft cloth to wipe off loose dirt from the upper, midsole, and tread.
- Clean the Upper (10–15 minutes):
- Canvas/Mesh: Mix mild dish soap with warm water. Dip a soft-bristled toothbrush into the solution and gently scrub in circular motions. Rinse with a damp cloth.
- Leather: Wipe with a microfiber cloth dampened with a 50/50 mix of water and white vinegar. Avoid soaking; dry immediately.
- Suede/Nubuck: Use a suede eraser or specialized brush to lift stains. Never use water unless specified by the manufacturer.
- Tackle Yellowed Soles (30 minutes active, 2–4 hours rest):
Create a paste of baking soda and hydrogen peroxide (2:1 ratio). Apply evenly to yellowed rubber areas using an old toothbrush. Wrap the soles in plastic wrap to prevent drying, then leave in indirect sunlight for 2–4 hours. Sunlight activates the peroxide’s bleaching effect. Rinse thoroughly afterward.
- Refresh Laces and Insoles (15 minutes):
Soak laces in a bowl of warm, soapy water. For white laces, add a splash of oxygen bleach (not chlorine). Scrub lightly, rinse, and air-dry. Insoles can be wiped with a disinfectant cloth or sprayed with odor-neutralizing solution.
- Dry Properly (Overnight): Never place sneakers near direct heat or in a dryer. Stuff them with paper towels to absorb moisture and maintain shape. Allow to air-dry in a well-ventilated area away from sunlight to prevent warping or cracking.
- Protect & Finish (5 minutes): Once fully dry, apply a fabric protector spray for canvas or a leather conditioner for premium finishes. This step extends cleanliness and repels future stains.
Timeline Summary
| Step | Time Required | Tools Needed |
|---|---|---|
| Prep & Dry Brush | 5 min | Toothbrush, cloth |
| Clean Upper | 10–15 min | Soap, water, sponge |
| Whiten Soles | 30 min prep + 2–4 hr wait | Baking soda, H₂O₂, wrap |
| Clean Laces/Insoles | 15 min | Bowl, mild bleach |
| Drying | 6–12 hr | Paper towels, airflow |
| Protectant Application | 5 min | Spray or cream |
Material-Specific Do’s and Don’ts
Using the wrong method on delicate materials can cause irreversible damage. Refer to this guide based on your sneaker’s construction.
| Material | Do’s | Don’ts |
|---|---|---|
| Canvas | Use gentle detergent, hand-scrub with soft brush, air-dry flat | Avoid machine washing, hot water, or bleach |
| Leather | Condition monthly, clean with pH-balanced wipes, store in breathable bag | Never soak or expose to prolonged moisture |
| Suede | Use a suede eraser, brush nap regularly, treat with protective spray | Keep away from water, oil, or alcohol-based cleaners |
| Mesh/Knit | Spot-clean only, use foam cleaner, avoid vigorous rubbing | Don’t machine wash or wring out |
| Rubber Soles | Scrub with baking soda paste, use UV light for whitening | Avoid acetone or abrasive pads that scratch |
“Most people ruin their sneakers during cleaning—not from wear. Using the correct product for the material is non-negotiable.” — Marcus Tran, Footwear Restoration Specialist, SoleRevive Studio
Real Example: Reviving a Forgotten Pair of Classic Trainers
Take the case of Sarah, a college student who dug up her high school basketball sneakers from the back of her closet. The white leather was dull, the midsoles were yellowed, and the laces were frayed. She spent less than $10 on supplies—baking soda, hydrogen peroxide, a $3 toothbrush, and a fabric refresher spray.
Following the six-step process over one weekend, she restored the pair to a condition that drew compliments at her campus job fair. “I didn’t think they’d come back,” she said. “Now I wear them weekly. It feels good knowing I saved them instead of buying new ones.”
This isn’t an isolated success. Millions of sneakers end up in landfills each year due to superficial wear. With awareness and minimal effort, many could be revived—extending usability and reducing waste.
Essential Checklist for Sneaker Revival
Use this checklist each time you plan to refresh a pair. Print it or save it digitally for quick reference.
- ☐ Remove laces and insoles
- ☐ Dry brush all surfaces to remove loose debris
- ☐ Identify material type (canvas, leather, etc.)
- ☐ Clean upper with appropriate solution
- ☐ Treat yellowed soles with baking soda + hydrogen peroxide
- ☐ Soak and clean laces separately
- ☐ Wipe or replace insoles
- ☐ Air-dry completely (stuff with paper)
- ☐ Re-lace and condition/protect the finish
- ☐ Store properly post-cleaning (see tip below)
Frequently Asked Questions
Can I use toothpaste to clean white sneakers?
While some swear by toothpaste, especially older formulas, modern versions often contain abrasives or dyes that can stain or damage materials. A safer alternative is the baking soda and hydrogen peroxide method, which is proven to whiten without residue or risk.
How often should I refresh my sneakers?
For regular wear, aim to deep-clean every 4–6 weeks. Light wipe-downs after heavy use (e.g., after rain or long walks) prevent buildup. Rotate between multiple pairs to extend the life of each.
Will sunlight really whiten yellowed soles?
Yes—when combined with a hydrogen peroxide treatment, UV rays accelerate oxidation, breaking down the compounds that cause yellowing. However, prolonged exposure to sunlight can degrade adhesives and fade fabrics, so limit sun time to 2–4 hours max.
Maintaining the Fresh Look Long-Term
Restoration is only half the battle. To keep sneakers looking newly cleaned, integrate preventive habits into your routine. Think of it like skincare: consistency prevents major damage.
Start by rotating your footwear. Wearing the same pair daily traps moisture and accelerates wear. Let shoes rest for at least 24 hours between uses to allow internal evaporation and recovery of cushioning.
Apply a protective spray suited to the material—water-repellent for canvas, anti-stain for leather. These create a barrier against spills, mud, and everyday grime. Reapply every few weeks, especially after cleaning.
Store sneakers upright in a cool, dry space. Avoid stacking or crushing them under heavier items. If possible, use shoe trees or stuff toes with tissue to maintain shape and absorb residual moisture.
“The best way to keep sneakers looking fresh is to never let them get truly dirty. A quick wipe after use saves hours later.” — Lena Choi, Sustainable Fashion Advocate
Conclusion
Reviving old sneakers doesn’t demand expertise or expensive products. With a little knowledge and consistent care, even heavily worn pairs can regain their original appeal. From removing surface stains to reversing sole yellowing, the methods outlined here are accessible, eco-friendly, and effective. You’re not just saving money—you’re reducing waste and honoring the craftsmanship of well-made footwear.


 浙公网安备
33010002000092号
浙公网安备
33010002000092号 浙B2-20120091-4
Comments
No comments yet. Why don't you start the discussion?