
Command strips are a go-to solution for renters and homeowners alike who want to hang decor, mirrors, or organizers without drilling holes. They promise clean removal—yet all too often, the reality is chipped paint, torn drywall tape, or unsightly residue. When used improperly or removed incorrectly, even trusted adhesive products can leave behind more than just memories.
The good news: it’s entirely possible to remove Command strips without damaging your walls. With the right tools, timing, and technique, you can reclaim your wall surface in near-original condition. This guide compiles field-tested strategies from professional painters, property managers, and DIY experts to help you avoid common pitfalls and preserve your painted surfaces.
Understanding How Command Strips Work
Command strips rely on a unique adhesive technology designed to stretch rather than snap during removal. The manufacturer recommends pulling straight down along the wall at a slow, steady pace to release the bond cleanly. In theory, this prevents paint lifting. However, real-world conditions often interfere—paint type, humidity, age of application, and surface texture all influence how well the strip releases.
The adhesive performs best on smooth, non-textured surfaces like primed drywall, glass, tile, and metal. On porous or uneven walls, especially those with older or poorly adhered paint, the risk of damage increases significantly. Understanding these variables helps explain why some people have flawless removals while others end up with patchwork walls.
“Adhesion isn’t just about the product—it’s about the surface history. Paint layers build up over time, and if the topcoat isn’t bonded well, any pull force can take it with the strip.” — Daniel Reeves, Residential Painting Contractor with 18 years of experience
Step-by-Step Guide to Safe Removal
Removing Command strips safely requires patience and precision. Rushing the process is the most common cause of paint damage. Follow this detailed sequence to maximize your chances of a clean result.
- Inspect the area: Check for cracks, bubbling paint, or loose edges around the strip. If the paint looks weak, proceed with extra caution.
- Clean the surface: Wipe the strip and surrounding wall with a dry microfiber cloth to remove dust. Dirt can increase friction and resistance during removal.
- Warm the adhesive (optional but recommended): Use a hairdryer on low heat, holding it 4–6 inches away, and warm the strip for 20–30 seconds. Heat softens the adhesive, making it less likely to grip the paint aggressively.
- Grip the tab firmly: Pinch the removal tab between your thumb and forefinger. Ensure full contact to prevent slipping.
- Pull straight down slowly: Apply steady pressure downward along the wall’s surface—not outward or upward. The motion should be continuous and controlled, taking 5–10 seconds per strip.
- Monitor resistance: If you feel sudden tension or hear a tearing sound, stop immediately. This indicates the paint may be lifting.
- Switch to alternative method if needed: If the strip resists or starts pulling paint, discontinue pulling and use one of the safer mechanical or thermal techniques outlined below.
Advanced Techniques for Stubborn Strips
Sometimes, even with proper pulling technique, the adhesive remains stubborn. Or worse—the paint begins to lift despite careful handling. In these cases, advanced but gentle interventions can save your wall.
Using Dental Floss or Fishing Line
A thin, strong line can slice through the adhesive bond without applying direct force to the paint layer. This method works especially well when the strip is wide or has been in place for over a year.
- Cut an 18-inch length of dental floss or monofilament fishing line.
- Slide one end behind the edge of the strip, working it underneath as far as possible.
- Hold both ends of the floss and saw back and forth horizontally across the adhesive pad.
- Move the floss progressively across the width of the strip until it separates completely.
This technique minimizes surface stress and targets only the adhesive layer. It’s particularly effective on textured walls where pulling straight down isn’t feasible.
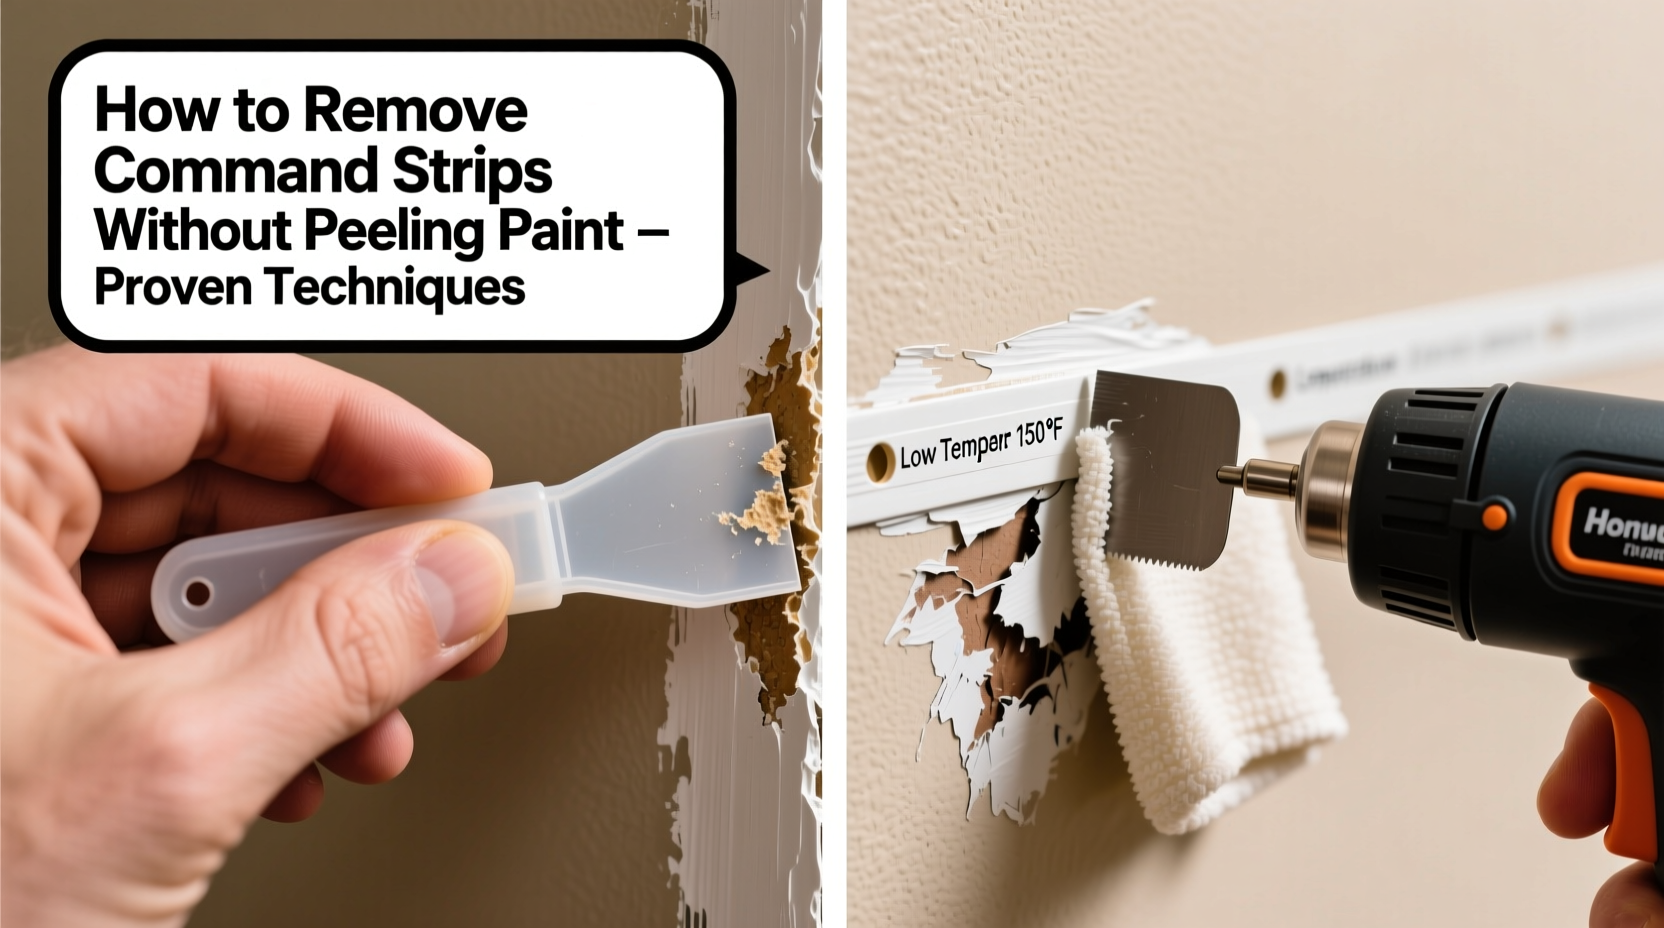
Heat Application with Precision
While a hairdryer is useful, excessive heat can soften paint and make it more prone to peeling. For better control, use a heat gun on its lowest setting (or continue using a hairdryer) but combine it with a plastic scraper.
- Warm the strip for 20–30 seconds.
- Immediately insert a flexible plastic putty knife under the edge.
- Gently pry upward while maintaining heat, separating the adhesive from the wall inch by inch.
- Work slowly—rushing causes the tool to catch on paint edges.
Do’s and Don’ts of Command Strip Removal
| Do’s | Don’ts |
|---|---|
| Test a small area first with light pulling | Yank the strip off quickly or at an angle |
| Use heat to soften adhesive before removal | Apply excessive heat that could blister paint |
| Use dental floss to cut through adhesive | Use sharp knives or box cutters near the wall |
| Clean residue with rubbing alcohol after removal | Scrub aggressively with abrasive pads |
| Allow strips to acclimate before reapplying | Reapply new strips immediately after removing old ones |
Real Example: A Renter’s Near-Disaster Recovery
Sarah, a tenant in a 1970s apartment complex, used multiple large Command strips to mount a heavy mirror in her living room. After nine months, she decided to redecorate—but when she pulled the first strip, a quarter-sized patch of paint came off with it. Panicked, she stopped and researched alternatives before continuing.
She warmed the remaining strips with a hairdryer and used waxed dental floss to carefully saw through each adhesive backing. The second and third strips released cleanly. For the last one, which had begun to lift paint at the corner, she paused, applied a drop of isopropyl alcohol to weaken the bond, and gently worked the floss underneath. The mirror came down fully, and only one minor spot required touch-up paint—easily concealed.
Her landlord later remarked that it was “the cleanest move-out he’d seen in five years.” Sarah credits the outcome to slowing down and switching methods mid-process.
Residue Removal Without Surface Damage
Even after successful removal, sticky residue often remains. Removing it improperly can still harm the paint. Follow these steps to clean safely:
- Moisten a cotton ball or soft cloth with 90%+ isopropyl alcohol.
- Dab—not rub—the residue to begin breaking down the adhesive.
- Wait 30 seconds for the alcohol to penetrate.
- Wipe gently in one direction with a microfiber cloth.
- If residue persists, repeat once. Avoid over-saturating the wall.
- Rinse the area with a water-dampened cloth to remove alcohol traces.
- Let air dry completely before repainting or rehanging items.
Alternative solvents like Goo Gone or WD-40 work but carry higher risks. They can degrade certain paint finishes, especially satin or flat latex. Always test in an inconspicuous area first.
Prevention: Best Practices Before Hanging
The safest wall is one that never gets damaged in the first place. Consider these preventive measures before installing Command strips:
- Check paint adhesion: Press masking tape firmly onto the wall and peel it back. If paint transfers, the surface isn’t ready for adhesive products.
- Prime bare drywall patches: Unprimed areas absorb adhesive differently and increase failure risk.
- Choose the right size: Overloading a small strip invites prolonged exposure and stronger bonding.
- Limit duration: Replace strips every 6–12 months, especially in high-humidity areas like bathrooms.
- Document placement: Take a photo or mark locations lightly in pencil. Helps avoid repeated applications in the same spot.
“The number one mistake I see? People assume ‘damage-free’ means zero effort. All adhesives require proper removal technique—even the best ones.” — Lisa Tran, Property Maintenance Supervisor, Urban Living Management Co.
FAQ
Can I reuse Command strips after removing them?
No. Once removed, the adhesive deforms and loses its bonding strength. Reusing them drastically reduces effectiveness and increases slippage risk.
What should I do if paint still peels off?
Light scuffing can be touched up with matching paint. For larger areas, lightly sand the edges, apply joint compound if needed, prime, and repaint. Keep leftover paint for future repairs.
Are there better alternatives for fragile walls?
Yes. For delicate or historic paint, consider museum putty (like Blu Tack) for lightweight items, or use picture rails and hooks anchored into studs for heavier objects.
Final Checklist for Flawless Removal
- Preparation:
- ✔ Inspect paint condition
- ✔ Gather tools: hairdryer, dental floss, alcohol, microfiber cloths
- ✔ Test pull on one edge
- Removal:
- ✔ Warm adhesive gently
- ✔ Pull straight down slowly
- ✔ Switch to floss or scraper if resistance occurs
- Aftercare:
- ✔ Clean residue with alcohol
- ✔ Dry thoroughly
- ✔ Touch up paint only if necessary
Conclusion
Removing Command strips without peeling paint isn’t magic—it’s method. By understanding the science of adhesion, respecting the limitations of your wall surface, and applying deliberate, tested techniques, you can maintain pristine walls through countless decorating changes. Whether you’re prepping for a move, refreshing your space, or simply correcting a misplaced hook, the right approach makes all the difference.


 浙公网安备
33010002000092号
浙公网安备
33010002000092号 浙B2-20120091-4
Comments
No comments yet. Why don't you start the discussion?