
Rust on scissors is more than just an eyesore—it can impair function, dull the cutting edge, and lead to permanent damage if left untreated. Whether it’s a pair of kitchen shears, fabric scissors, or precision grooming tools, rust compromises performance and longevity. The good news is that with the right methods, you can restore your scissors to near-original condition—without scratching, warping, or weakening the metal. This guide walks through safe, effective, and accessible techniques using common household items, backed by material science and tool maintenance expertise.
Understanding Rust and Why It Forms on Scissors
Rust occurs when iron in metal reacts with oxygen and moisture, forming iron oxide. Most scissors are made from stainless steel, but even this alloy isn’t completely immune—especially when exposed to water, humidity, or acidic substances over time. Kitchen shears used near saltwater or vinegar, fabric scissors stored in damp environments, or grooming tools cleaned with alcohol-based solutions are particularly vulnerable.
The key to removing rust safely lies in understanding the blade composition. High-carbon steel holds a sharp edge well but rusts more easily. Stainless steel resists corrosion but can still degrade if neglected. Aggressive scrubbing or harsh chemicals may strip protective coatings or scratch surfaces, creating new sites for future rust. Therefore, gentle yet effective cleaning methods are essential.
“Rust removal isn’t about brute force—it’s about chemistry and patience. The goal is to dissolve oxidation without compromising the integrity of the underlying metal.” — Dr. Alan Reeves, Materials Scientist at the Institute for Metal Preservation
Step-by-Step Guide: Safe Rust Removal Methods
Below are five proven methods to remove rust from scissors, ranked by effectiveness and safety. Each method uses non-abrasive or minimally abrasive materials to protect the blade edges and pivot points.
Method 1: White Vinegar Soak (Best for Light to Moderate Rust)
Vinegar contains acetic acid, which gently dissolves iron oxide without harming most metals when used correctly.
- Disassemble the scissors if possible (remove the screw or pivot pin).
- Place the blades in a container filled with white vinegar, ensuring full submersion.
- Let soak for 4 to 8 hours—do not exceed 12 hours to avoid potential etching.
- Remove and scrub gently with a soft toothbrush or nylon brush.
- Rinse thoroughly with clean water and dry immediately with a lint-free cloth.
- Apply a light coat of mineral oil to prevent future rusting.
Method 2: Baking Soda Paste (Ideal for Spot Treatment)
Baking soda acts as a mild abrasive and neutralizes acids that contribute to corrosion.
- Mix two parts baking soda with one part water to form a thick paste.
- Apply the paste directly to rust spots using a cotton swab or soft cloth.
- Let sit for 1–2 hours—do not allow it to dry completely.
- Gently rub the area with a non-scratch pad or microfiber cloth.
- Rinse and dry thoroughly.
- Lubricate the joint with a drop of sewing machine oil or food-safe oil (for kitchen shears).
This method is especially useful for scissors with decorative finishes or thin blades that could be damaged by soaking.
Method 3: Lemon Juice and Salt (Natural Acid-Based Solution)
Citric acid in lemon juice breaks down rust, while salt acts as a mild abrasive.
- Sprinkle coarse salt directly onto the rusted areas.
- Squeeze fresh lemon juice over the salt to create a bubbling reaction.
- Let sit for 1–3 hours depending on severity.
- Use a soft brush to remove residue.
- Rinse and dry completely.
- Oil the blades and reassemble.
Note: Avoid prolonged exposure, as citric acid can corrode some metals over time. Always rinse thoroughly after treatment.
Method 4: Potato and Dish Soap (Slow but Effective)
A raw potato contains oxalic acid, which naturally chelates rust. When combined with dish soap, it creates a passive cleaning agent.
- Cut a large potato in half.
- Insert the rusty blade into the cut side and leave it overnight.
- In the morning, remove the blade and wipe away loosened rust.
- For stubborn spots, apply a drop of dish soap and gently scrub.
- Rinse, dry, and lubricate.
This method works slowly but is extremely gentle—ideal for antique or delicate scissors.
Method 5: Commercial Rust Removers (For Severe Cases)
Products like Evapo-Rust, WD-40 Specialist Rust Remover, or Loctite Naval Jelly are formulated to dissolve rust without damaging base metal.
- Follow manufacturer instructions carefully.
- Apply only to rusted areas—avoid plastic or rubber handles.
- Wait the recommended time (usually 10–30 minutes).
- Wipe or rinse off the residue.
- Dry completely and oil the blades.
These products are powerful but should be used as a last resort. Always work in a well-ventilated area and wear gloves.
Do’s and Don’ts of Rust Removal on Scissors
| Do’s | Don’ts |
|---|---|
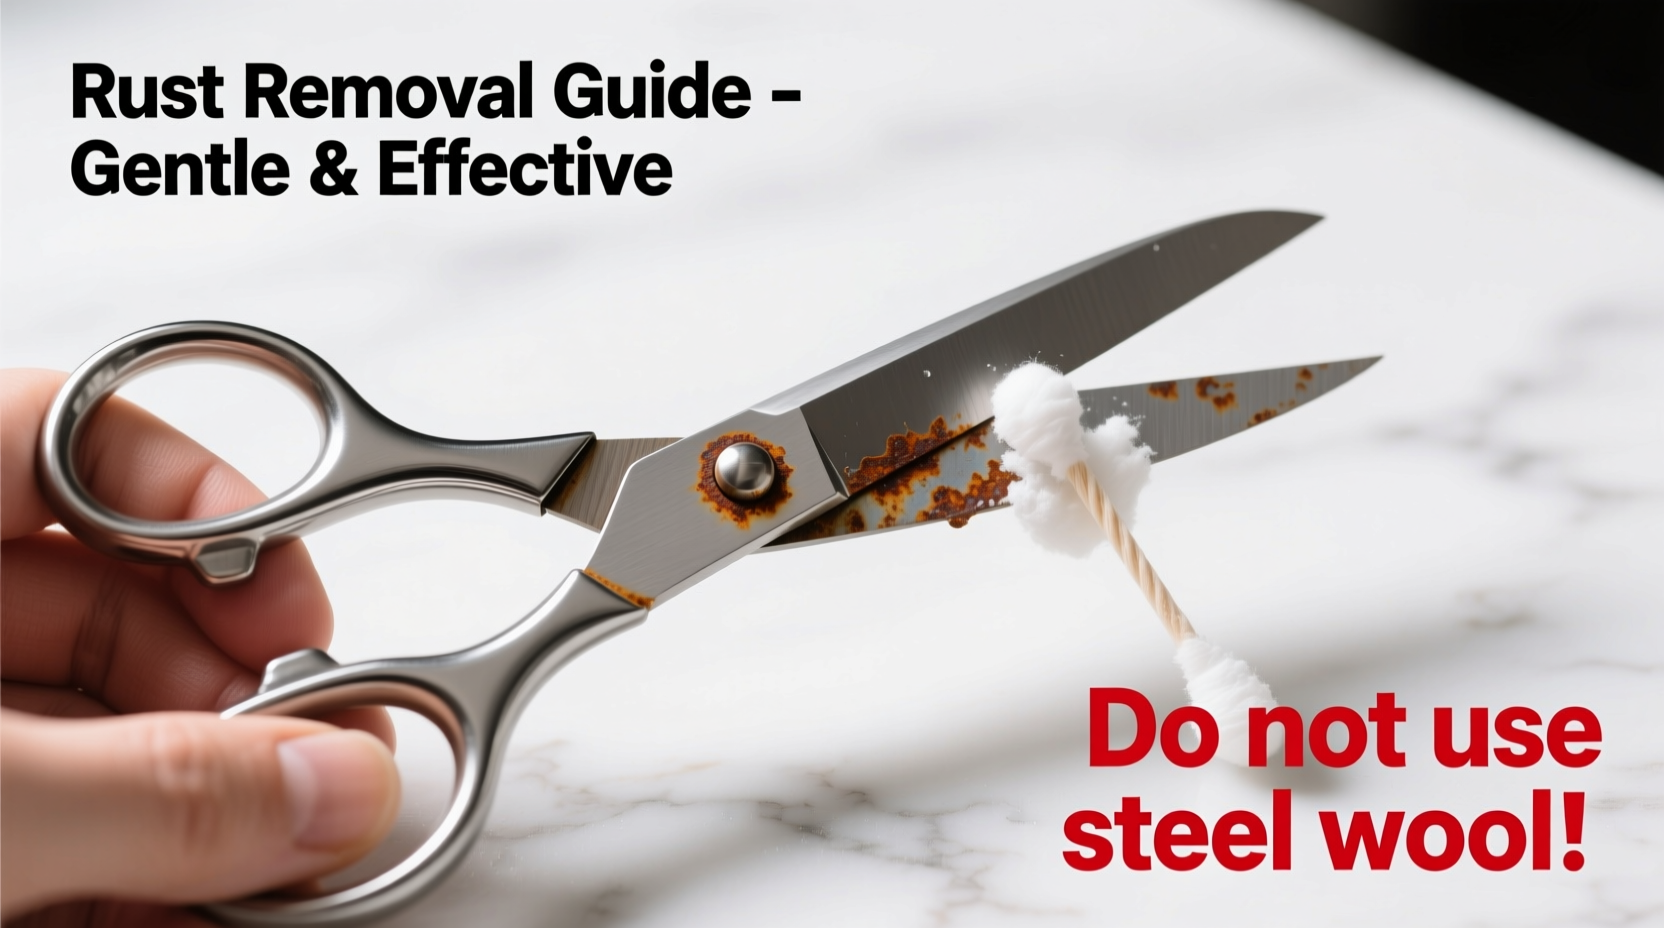
| Disassemble scissors before soaking to ensure full access to joints. | Never use steel wool or metal scrapers—these will scratch and weaken blades. |
| Dry scissors immediately after any liquid treatment. | Don’t leave blades submerged in acidic solutions longer than recommended. |
| Use soft brushes or cloths for scrubbing. | Don’t use bleach or ammonia-based cleaners—they accelerate corrosion. |
| Apply a thin layer of oil post-cleaning to prevent recurrence. | Don’t store scissors in humid environments like under sinks or in bathrooms. |
| Test any method on a small, inconspicuous area first. | Don’t force blades open if they’re stuck—work gradually to avoid bending. |
Real Example: Restoring a Vintage Tailor’s Shears
Sarah, a costume designer in Portland, inherited a pair of 1940s tailoring scissors from her grandmother. Though functional, they were covered in surface rust and difficult to open smoothly. Fearing damage, she avoided commercial removers and opted for the baking soda paste method.
She disassembled the shears, applied the paste to both blades and the pivot screw, and let it sit for 90 minutes. After gentle brushing with a toothbrush, most rust lifted easily. A second application removed remaining speckles. She rinsed, dried, and lubricated the joint with clock oil. The result? Smooth operation and restored luster—without any scratches or loss of sharpness. Sarah now stores them in a lined wooden box with silica gel packs.
This case illustrates how patience and proper technique yield excellent results—even with irreplaceable tools.
Prevention: How to Keep Scissors Rust-Free Long-Term
Removing rust is valuable, but preventing it is far more effective. Implement these habits to extend the life of all your cutting tools.
- Wipe after every use: Especially important for kitchen or garden shears exposed to moisture or organic matter.
- Store in a dry place: Use drawer liners with moisture-absorbing properties or include desiccant packs.
- Oil regularly: Apply a drop of lightweight oil (like 3-in-1 or clipper oil) to the pivot weekly.
- Avoid dishwasher cleaning: High heat and detergents strip oils and promote oxidation.
- Keep blades closed when not in use: Reduces exposure and protects tips.
FAQ: Common Questions About Rust Removal on Scissors
Can I use toothpaste to remove rust?
Toothpaste contains mild abrasives and can help with very light surface discoloration, but it’s not effective against true rust. Some pastes also contain fluoride or whitening agents that may corrode metal over time. Stick to vinegar, baking soda, or commercial rust removers instead.
What if my scissors are still stiff after rust removal?
Residual rust may remain in the pivot mechanism. Disassemble fully, soak the screw and hinge in vinegar for 30 minutes, then clean with a cotton swab. Re-lubricate with a precision oil applicator. If stiffness persists, the internal spring may be worn and need replacement.
Is it safe to use WD-40 on scissors?
WD-40 is primarily a water displacer, not a lubricant. While its Specialist Rust Remover version is safe, regular WD-40 leaves a gummy residue that attracts dust. For long-term lubrication, use sewing machine oil, clipper oil, or food-grade mineral oil depending on the scissor type.
Checklist: Complete Rust Removal & Maintenance Routine
- Disassemble the scissors (if possible).
- Choose a rust removal method based on severity and material.
- Soak or apply treatment according to guidelines.
- Scrub gently with a soft brush or cloth.
- Rinse thoroughly with clean water.
- Dry immediately and completely with a lint-free towel.
- Inspect for remaining rust; repeat treatment if needed.
- Lubricate the pivot point with appropriate oil.
- Reassemble and test cutting action.
- Store in a dry, protected location.
Conclusion
Rust doesn’t have to mean retirement for your favorite pair of scissors. With careful, informed treatment, even heavily tarnished blades can regain their function and shine. The secret lies in choosing the right method for the job—prioritizing gentleness over speed, and prevention over repair. By integrating simple cleaning routines and smart storage practices, you protect not just the metal, but the precision and craftsmanship embedded in every pair.


 浙公网安备
33010002000092号
浙公网安备
33010002000092号 浙B2-20120091-4
Comments
No comments yet. Why don't you start the discussion?