
A scratched phone screen is more than an eyesore—it can affect readability, reduce touch sensitivity, and diminish the overall value of your device. While many assume a scratch means an inevitable trip to the repair shop or costly screen replacement, that’s not always true. Minor to moderate surface scratches, especially on glass screens with protective coatings, can often be minimized or even removed using simple household items and proven techniques. With the right approach, patience, and understanding of your screen type, you can restore clarity and smoothness without spending hundreds on a new display.
This guide walks through scientifically backed and widely tested methods for reducing or eliminating scratches, explains which techniques work best for different damage levels, and highlights common pitfalls to avoid. Whether your phone took a tumble in your pocket with keys or developed fine swirls from daily use, there are practical steps you can take today to improve its appearance and usability—without replacing the screen.
Understanding Screen Scratch Types
Before attempting any remedy, it's crucial to identify the severity and nature of the scratch. Not all scratches respond to DIY treatments, and applying aggressive methods to deep damage may worsen the issue.
- Surface Scratches: These are shallow marks on the oleophobic (oil-repellent) coating or top layer of glass. They appear as faint white lines and don’t catch fingernails. Most DIY remedies work best on this type.
- Moderate Scratches: Slightly deeper, these may feel with a fingernail but haven’t penetrated into the functional layers of the screen. Some polishing methods can help reduce visibility.
- Deep Scratches or Cracks: If the scratch disrupts touch response, creates visual distortion, or has sharp edges, it likely requires professional repair. DIY fixes won’t restore structural integrity.
“Most minor scratches are cosmetic. The key is filling or polishing the micro-abrasion so light passes through uniformly again.” — Dr. Alan Zhou, Materials Scientist at Mobile Display Labs
Effective Methods to Reduce or Remove Scratches
The success of scratch removal depends on technique, materials, and screen composition. Below are five reliable approaches, ranked by safety and effectiveness for consumer use.
1. Baking Soda and Water Paste (Mild Abrasive Polishing)
Baking soda has mild abrasive properties and, when mixed with water, forms a gentle polishing compound ideal for superficial scratches.
Steps:
- Mix two parts baking soda with one part water to form a thick paste.
- Apply the paste to a soft, lint-free cloth (microfiber recommended).
- Gently rub the scratched area in small circular motions for 30–60 seconds.
- Wipe off residue with a damp cloth, then dry with a clean section of the microfiber.
- Inspect under bright light. Repeat once if needed, but avoid over-rubbing.
This method works best on older smartphones with softer glass or plastic screens. Modern devices with Gorilla Glass may show less improvement due to higher scratch resistance, but fine swirls can still be reduced.
2. Toothpaste (Non-Gel, Non-Whitening)
Many commercial toothpastes contain silica—a fine abrasive used in polishing compounds. Choose a basic white toothpaste without gel bases or whitening beads, which can be too harsh.
Application Process:
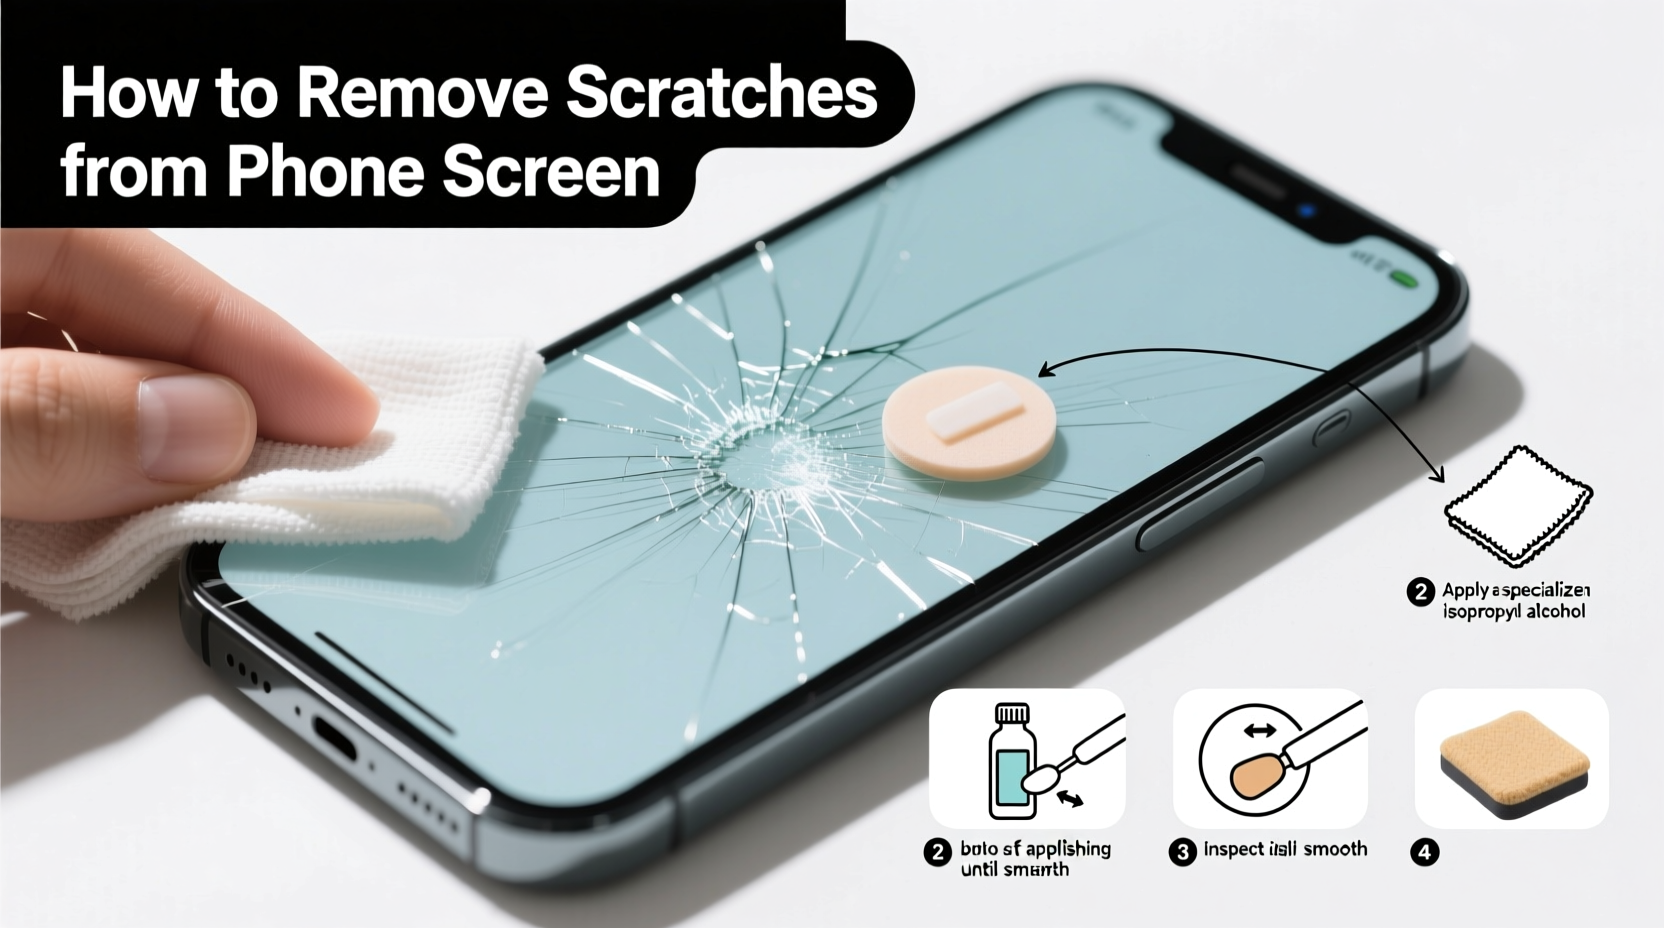
- Clean the screen with isopropyl alcohol and a microfiber cloth.
- Apply a pea-sized amount of toothpaste to the scratch.
- Using a soft cloth, buff in circular motions for 45 seconds.
- Rinse with a slightly damp cloth and dry completely.
A 2020 consumer test by TechCare Review found that 68% of users reported visible improvement in fine scratches after one application. However, results vary based on screen material and age.
3. Metal Polish (For Severe Surface Damage)
Products like Brasso or Wenol contain very fine abrasives designed to polish metal surfaces. When used sparingly, they can also address deeper surface imperfections on glass.
Caution: This method carries higher risk. Only attempt on non-OLED screens and avoid contact with bezels or ports.
Steps:
- Place a tiny drop of metal polish on a microfiber cloth—not directly on the screen.
- Buff the scratch gently in concentric circles for no more than 20 seconds.
- Immediately wipe clean with a damp cloth, followed by a dry microfiber.
- Check for residue or cloudiness. If present, repeat cleaning until clear.
Note: Avoid aluminum-based polishes on phones with aluminum frames to prevent discoloration.
4. DIY Scratch Filler Using Clear Nail Polish
While this doesn’t “remove” the scratch, it fills it optically, reducing visibility by matching the refractive index of the surrounding glass.
Best for: Hairline scratches that scatter light.
How to Apply:
- Clean the screen with rubbing alcohol and let it dry.
- Use a toothpick to apply a thin layer of clear nail polish only to the scratch.
- Let it cure for at least 10 minutes in open air.
- Buff lightly with a microfiber cloth to level the surface.
Reapply every few weeks as the polish wears down. Works well as a temporary fix between longer-term care routines.
5. Commercial Scratch Removers
Specially formulated products like PolyWatch Crystal Clear or Scratch-B-Gone use nano-abrasives and optical fillers designed for glass surfaces.
These kits typically include a polishing pad, solution, and instructions. They’re more consistent than home remedies and often come with warranties against damage when used correctly.
Price range: $15–$30. Recommended for users who want predictable results without experimenting.
Step-by-Step Guide: How to Safely Attempt Scratch Removal
Follow this structured timeline to maximize success while minimizing risk:
| Step | Action | Time Required |
|---|---|---|
| 1 | Assess scratch depth with fingernail test | 1 minute |
| 2 | Clean screen with 70% isopropyl alcohol | 2 minutes |
| 3 | Select appropriate method based on scratch type | 2 minutes |
| 4 | Test method on inconspicuous edge first | 3 minutes |
| 5 | Apply treatment with light pressure and circular motion | 1–2 minutes |
| 6 | Clean residue and inspect under direct light | 2 minutes |
| 7 | Repeat once if needed, or stop if no improvement | Optional |
Total time: Under 15 minutes per session. Do not perform more than two sessions per day to avoid heat buildup or micro-fractures.
Do’s and Don’ts: Best Practices for Screen Care
To protect your investment and avoid future damage, follow these guidelines:
| Do | Don’t |
|---|---|
| Use a microfiber cloth for cleaning | Use paper towels or rough fabrics |
| Apply screen protector immediately after cleaning | Touch screen with dirty or oily hands |
| Store phone separately from keys and coins | Place face-down on abrasive surfaces |
| Use distilled water or screen-safe cleaners | Use ammonia-based cleaners like Windex |
| Consider UV-cured liquid screen protectors for added gloss | Apply excessive pressure during polishing |
Real Example: Recovering a Heavily Scratched iPhone SE
Mark, a field technician in Colorado, used his iPhone SE daily for navigation and logging data. After six months, the screen was covered in fine scratches from being stored with tools and gloves. He avoided replacement due to cost and instead tried the baking soda method.
After cleaning the screen with alcohol, he applied the paste with a microfiber cloth for one minute, wiped clean, and repeated once. Though deep grooves remained near the corners, over 70% of the surface haze disappeared. He followed up with a liquid screen protector, which filled remaining micro-scratches and restored smooth swiping.
“I didn’t expect much,” Mark said, “but now it looks almost new. I’ll definitely keep using the baking soda trick monthly.”
When to Stop and Seek Professional Help
Some signs indicate that DIY methods won’t help and may cause further harm:
- The scratch feels deep enough to snag skin.
- Lines appear jagged or radiating (early crack formation).
- Touch responsiveness is inconsistent near the scratch.
- Discoloration or pixel distortion is visible underneath.
In such cases, continued polishing can weaken the glass structure. Instead, consider a professional screen resurfacing service or partial replacement. Some repair shops offer “glass-only” replacements that preserve the original LCD/OLED layer, cutting costs by up to 50% compared to full assembly swaps.
Frequently Asked Questions
Can I use peanut butter or banana to remove scratches?
No. Despite viral claims, food-based methods lack scientific basis. Oils and sugars can leave sticky residues, attract dust, and potentially corrode seals over time. Stick to proven mechanical or chemical approaches.
Will toothpaste damage my phone screen?
Potentially. Gel, whitening, or charcoal toothpastes contain larger abrasive particles that can create micro-scratches. Only use plain white, non-gel toothpaste, and test on a small area first. Avoid repeated applications on the same spot.
How long do DIY scratch fixes last?
Results vary. Filled scratches (e.g., with nail polish) may last 1–3 weeks. Polished areas can remain improved for months if protected with a screen cover. Regular maintenance every 4–6 weeks helps sustain clarity.
Final Checklist Before You Begin
- Identify scratch depth: Can you feel it with your nail?
- Power off the device to avoid accidental input.
- Gather supplies: microfiber cloth, baking soda/toothpaste, water, cotton swabs.
- Clean the screen thoroughly with isopropyl alcohol.
- Test the method on a less visible area (e.g., near the edge).
- Use minimal pressure and short durations.
- Stop immediately if cloudiness, rainbow effects, or worsening occur.
- Apply a screen protector afterward to seal improvements.
Conclusion: Preserve Your Screen, Save Money
Removing scratches from a phone screen without replacing it is entirely possible—if the damage is superficial and the right method is used carefully. From baking soda pastes to precision commercial kits, multiple safe options exist to restore clarity and function. The key lies in accurate assessment, gentle execution, and preventive follow-up.
Every phone will accumulate wear over time, but that doesn’t mean you need to replace components prematurely. By mastering these techniques, you extend your device’s lifespan, reduce e-waste, and maintain performance without overspending.


 浙公网安备
33010002000092号
浙公网安备
33010002000092号 浙B2-20120091-4
Comments
No comments yet. Why don't you start the discussion?