
Micro Christmas lights add delicate charm to holiday decorations, but their tiny bulbs and fine wires make them prone to failure. When a section goes dark or the entire strand stops working, the instinct is often to toss it and buy new ones. Yet, with a bit of patience and the right techniques, most issues can be resolved—without replacing the entire string. Repairing these lights not only saves money but also reduces waste during a season when sustainability matters.
The root cause of failure in micro light strands usually lies in one of three areas: a single faulty bulb, a loose connection, or a blown fuse. Unlike older incandescent strings, modern micro lights are wired in series, meaning that if one bulb fails or becomes dislodged, it can interrupt the circuit for the rest. However, because they consume less power and generate less heat, identifying and fixing the issue is both practical and rewarding.
Understanding How Micro Lights Work
Micro Christmas lights consist of dozens—even hundreds—of miniature LED or incandescent bulbs connected by thin copper wire. They operate on low voltage and are typically powered through a transformer plug. Most strands include built-in fuses located in the plug itself, designed to protect the circuit from power surges.
These lights are arranged in a series circuit, which means electricity flows from one bulb to the next in sequence. If any point in the chain breaks—whether from a damaged filament, corroded socket, or disconnected wire—the current stops, and the lights go out. This design makes troubleshooting methodical but manageable.
Importantly, many newer LED micro light strands include “shunt” technology. A shunt is a small bypass wire inside the bulb base that activates when the filament burns out, allowing current to continue flowing to the remaining bulbs. Not all bulbs have this feature, especially in older or budget models, so knowing whether your strand uses shunted bulbs affects your repair approach.
“About 70% of strand failures come down to a single bad bulb or a tripped fuse. With basic tools and observation, most people can restore function in under an hour.” — Daniel Ruiz, Holiday Lighting Technician with 15 years of experience
Step-by-Step Guide to Diagnosing and Repairing Micro Lights
Follow this systematic process to identify and fix common problems in micro Christmas light strands. The goal is to isolate the fault efficiently and restore illumination without unnecessary replacements.
- Unplug the strand and inspect visually
Start by laying the lights out on a flat surface. Look for obvious signs of damage: frayed wires, cracked sockets, missing bulbs, or kinks in the cord. Pay close attention to the plug end—check for bent prongs or discoloration indicating overheating. - Check the fuses
Most plug heads contain two small replaceable fuses housed under a sliding panel. Use a small screwdriver to open the compartment. Fuses are usually glass tubes with a visible filament. Hold them up to the light; if the filament is broken, the fuse is blown. Replace with an identical-rated fuse (typically 3A or 5A, 125V). Never substitute with a higher-rated fuse—it’s a fire hazard. - Test the power source
Plug the strand into a known-working outlet. If it still doesn’t light, try another outlet. Some indoor outlets are controlled by switches or GFCI circuits that may have tripped. Rule out environmental causes before assuming the lights are faulty. - Use a light tester or multimeter
A non-contact voltage tester or continuity tester speeds up diagnosis. Turn on the strand and run the tester along the wire. It will beep or light up when detecting current. The point where the signal stops indicates the location of the break. Alternatively, use a multimeter set to continuity mode to test individual bulbs and connections. - Inspect each bulb
If no tester is available, remove bulbs one by one and examine the filament (for incandescents) or check for physical cracks. Reinsert each firmly—sometimes a poor connection is simply due to a bulb being slightly loose. For LEDs, look for dark spots or uneven coloring, which may indicate failure. - Replace suspect bulbs
Swap out any questionable bulbs with spares from the original pack. If you don’t have extras, harvest one from a completely dead strand of the same voltage and size. Ensure polarity is correct for LEDs (though many are designed to work either way). - Repair broken wires (if necessary)
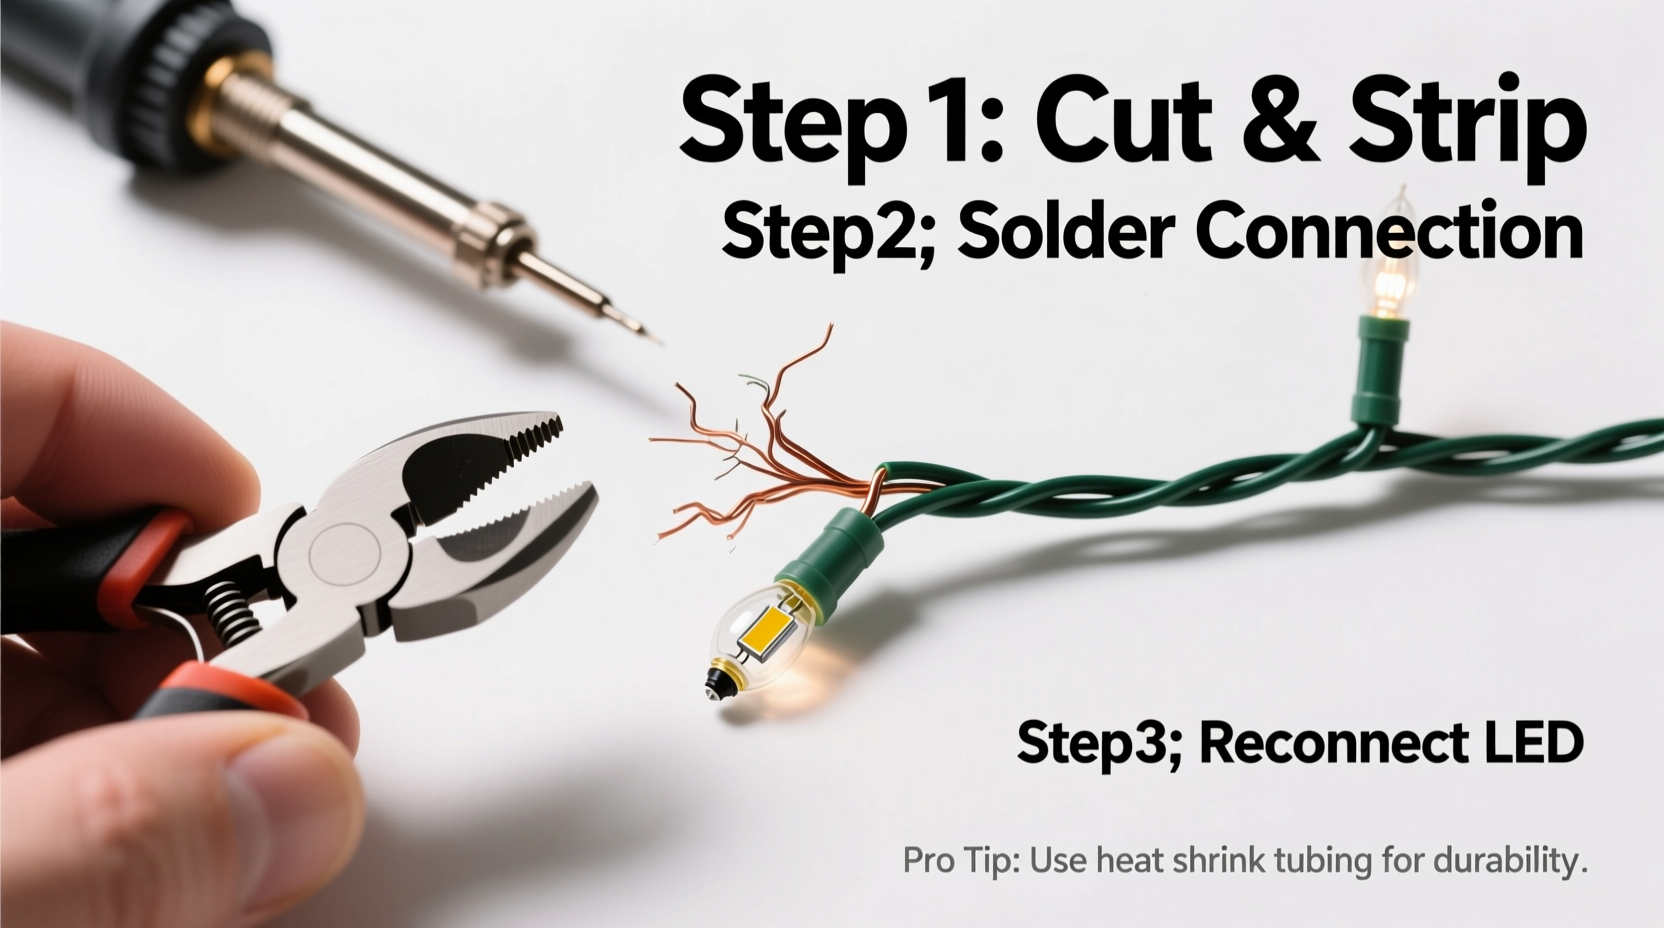
If you find a severed wire between sockets, cut out the damaged section using wire strippers. Strip about 1/4 inch of insulation from both ends, twist the exposed copper together, and secure with a solder joint. Cover with heat-shrink tubing or electrical tape. Avoid leaving bare wire exposed.
Troubleshooting Table: Common Issues and Solutions
| Symptom | Likely Cause | Solution |
|---|---|---|
| No lights at all | Blown fuse, dead outlet, or complete circuit break | Check fuses, test outlet, inspect plug wiring |
| Half the strand lit | Bulb failure in series or broken wire | Test continuity past last working bulb; replace or repair |
| Flickering lights | Loose bulb, intermittent connection, or failing transformer | Reseat all bulbs; check plug temperature; replace if warm |
| One bulb dark | Dead bulb (especially if others stay lit) | Replace bulb; ensure proper seating |
| Blinking or erratic behavior | Faulty controller (in blinking sets), voltage fluctuation | Bypass controller temporarily; test with steady current |
Real Example: Restoring a Vintage Strand
Sarah Thompson inherited a box of micro lights from her grandmother—delicate white LEDs strung on silver wire, used every year since 2008. Last holiday season, only half the strand lit up. She began by checking the fuses: one was blown. After replacing it, the strand flickered briefly then went dark again.
Using a non-contact voltage tester, she traced the current up the strand until it stopped at the 38th bulb. Upon removal, she noticed the socket was slightly charred. The bulb itself had a darkened tip—a sign of internal arcing. She replaced it with a spare from a broken strand of matching specs. After reinserting the fuse, the entire string lit evenly.
Sarah now inspects her lights annually before decorating. She stores them wrapped around a piece of cardboard, labeled by room and color. Her efforts have kept the same set glowing for over 15 seasons, preserving both sentimental value and holiday budget.
Essential Repair Checklist
- Unplug the light strand before inspection
- Gather tools: spare bulbs, fuses, screwdriver, wire cutters, multimeter or tester
- Visually scan for damage—wires, plugs, sockets
- Open plug and inspect both fuses
- Test outlet and power source independently
- Use a continuity tester to locate breaks
- Remove and test individual bulbs
- Reseat all bulbs firmly in their sockets
- Repair or splice broken wires safely
- Label repaired sections for future reference
- Store properly after repair to extend lifespan
Frequently Asked Questions
Can I mix different types of micro bulbs in the same strand?
No. Mixing bulb types—even if they appear identical—can disrupt voltage distribution and lead to premature failure. Always use replacement bulbs with the same voltage, wattage, and base type as the original. Mismatched LEDs may not illuminate or could overload the circuit.
Why do my lights work for a few hours then go out?
This is often due to thermal protection kicking in. Some strands have built-in heat sensors that shut off power when temperatures rise, commonly caused by poor ventilation or overloaded circuits. Let the strand cool, then check for tightly bundled wires or excessive extension cord use. Also verify that you’re not exceeding the maximum connectable length specified by the manufacturer.
Is it safe to solder repairs on micro light wires?
Yes, provided you use rosin-core solder and apply heat carefully. Soldering creates a stronger, more reliable connection than twisting and taping. Always insulate the joint fully with heat-shrink tubing or double-layer electrical tape. Never solder near plastic sockets—heat can melt insulation and create short circuits.
Preventing Future Failures
Once repaired, take steps to prolong the life of your micro lights. Handle them gently during installation and removal. Avoid yanking them from trees or railings by the cord. Instead, unwind them slowly and store them coiled loosely around a cardboard frame or in a dedicated light storage reel.
Keep strands dry and away from extreme temperatures. Moisture accelerates corrosion in sockets and connections, especially in outdoor setups. Even “weather-resistant” lights benefit from sheltered placement and post-season drying before storage.
Before packing away, perform a quick burn test. Plug them in for 15 minutes to confirm all bulbs are functioning. Address minor issues immediately while the strand is accessible. This proactive habit prevents last-minute surprises next December.
“People throw out good lights because they don’t know how simple a fuse swap can be. Ten minutes of maintenance can give you another five years of use.” — Lena Park, Sustainable Holiday Advocate
Conclusion
Repairing broken micro Christmas lights doesn’t require advanced skills—just attention to detail and a willingness to troubleshoot systematically. From checking fuses to replacing a single faulty bulb, most issues are solvable with household tools and a little patience. By mastering these techniques, you preserve not just functional decor, but memories, tradition, and resources.
Don’t let a dark strand dim your holiday spirit. Take action tonight: pull out that box of lights, gather your tools, and bring them back to life. Share your success story or tips with others—because the best part of the season isn’t just the glow of the lights, but the care we put into keeping them shining year after year.


 浙公网安备
33010002000092号
浙公网安备
33010002000092号 浙B2-20120091-4
Comments
No comments yet. Why don't you start the discussion?