
Scheduling Instagram posts from a desktop browser is no longer a luxury—it's a necessity for creators, small business owners, and marketers aiming for consistency without daily manual effort. While Instagram’s native app doesn’t support scheduling for regular accounts, several workarounds and third-party tools make it possible to plan and publish content directly from your computer. This guide breaks down exactly how to do it, which platforms to trust, and what pitfalls to avoid.
Why Scheduling Matters for Instagram Success
Consistency drives engagement. Whether you're building a personal brand or managing a business page, posting at optimal times—without being online every day—is critical. Manually uploading content each time limits scalability and increases the risk of missed opportunities. Scheduling allows you to:
- Maintain a steady presence even during busy weeks
- Align posts with campaigns, product launches, or seasonal trends
- Test different posting times and analyze performance over time
- Reduce last-minute stress and improve content quality through advanced planning
Despite Instagram not offering built-in scheduling for individual users (only Meta Business Suite supports this for eligible accounts), desktop-based solutions have evolved to fill the gap efficiently.
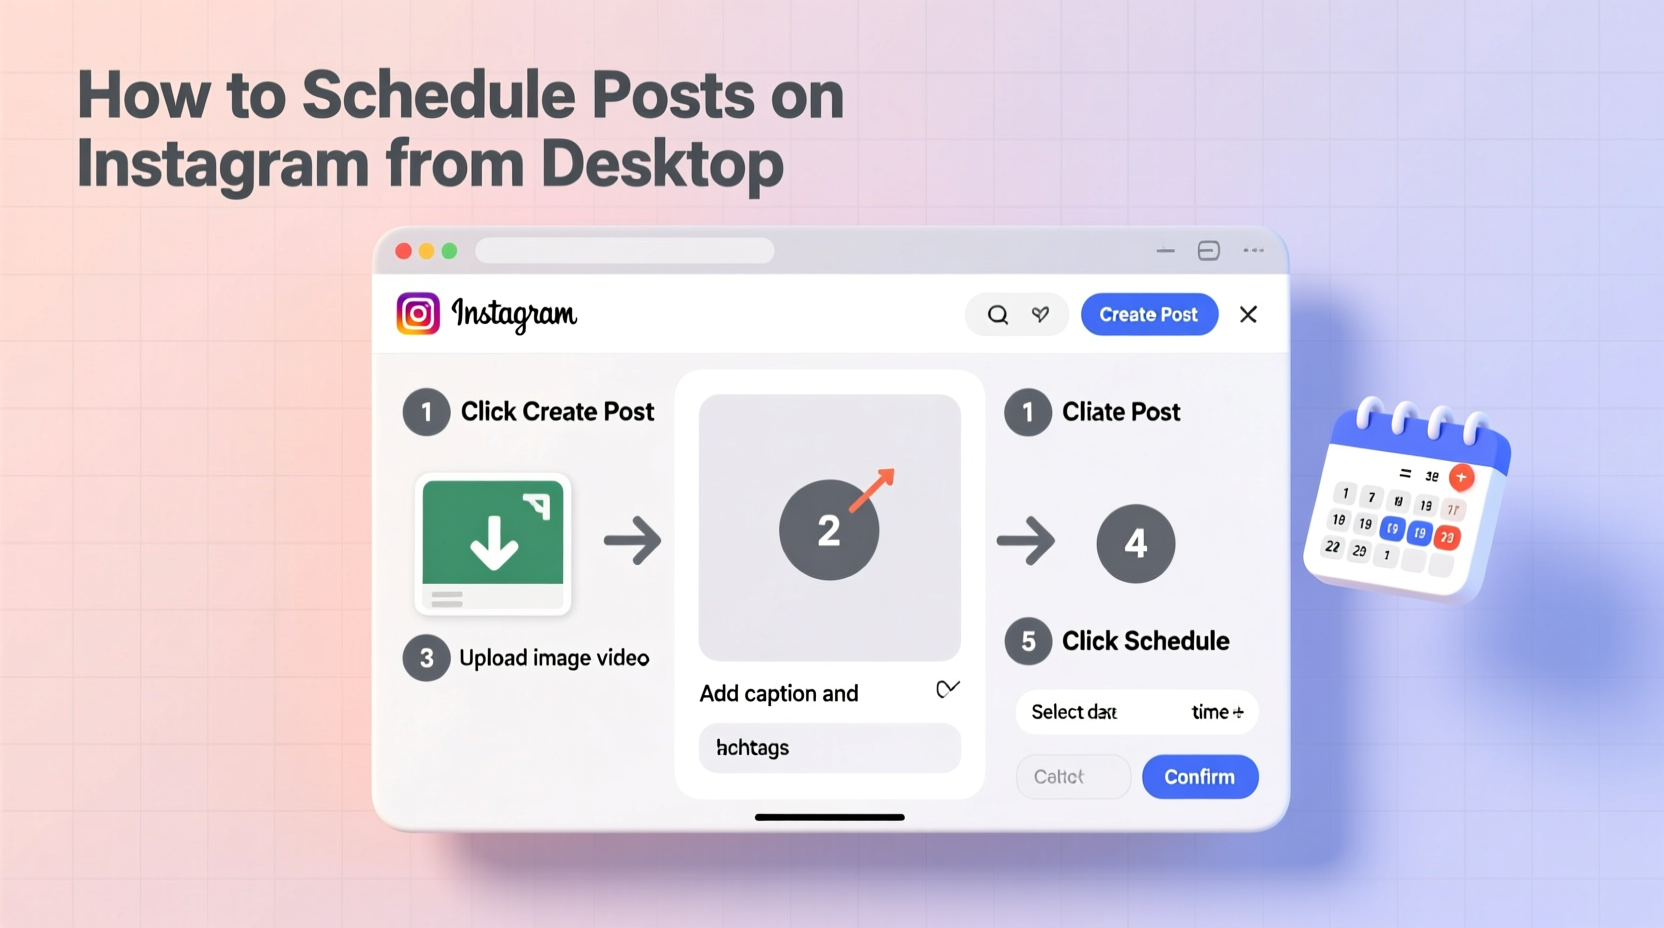
Step-by-Step: How to Schedule Instagram Posts from Desktop
The process involves three core components: preparing your content, selecting a compatible tool, and connecting it securely to your Instagram account. Follow this timeline to set up scheduling successfully.
- Switch your personal account to a Professional Account – Go to Instagram Settings > Account > Switch to Professional Account. Choose either Creator or Business.
- Create a Meta Business Suite account – Visit business.facebook.com and log in with your Facebook credentials linked to your Instagram profile.
- Connect your Instagram account to Meta Business Suite – Navigate to Business Settings > Accounts > Instagram, then add and verify your profile.
- Prepare your post – Draft captions, gather media files (images/videos), and ensure they meet Instagram’s size and format guidelines.
- In Meta Business Suite, click “Create” > “Post” – Select your connected Instagram account, upload media, write your caption, add hashtags, tag locations or products if needed.
- Select “Schedule” instead of “Publish Now” – Choose date and time. You can schedule up to 7 days in advance.
- Review and confirm – Once scheduled, the post will appear in your content calendar.
Using Third-Party Tools: Beyond Meta Business Suite
If you manage multiple clients or need more robust features like bulk uploads, analytics, or team collaboration, third-party tools offer enhanced functionality. Popular platforms include Hootsuite, Buffer, Later, and Sprout Social. Here's how they work:
- Sign up for an account on the platform of your choice.
- Connect your Instagram profile via OAuth authentication through Meta.
- Upload visual content and write captions using their interface.
- Pick a future date and time for publication.
- Confirm the schedule. The tool stores your post and publishes it automatically.
These tools often provide drag-and-drop calendars, content libraries, and performance dashboards that simplify long-term planning.
Comparison of Top Scheduling Platforms
| Tool | Free Plan? | Max Scheduled Posts | Best For | Key Limitation |
|---|---|---|---|---|
| Meta Business Suite | Yes | Unlimited | Businesses already using Facebook Ads | Limited to one-time scheduling per post; no bulk upload |
| Later | Yes (up to 5 posts) | Varies by plan | Visual planners and feed preview lovers | No Reels scheduling on free tier |
| Buffer | Yes (3 channels, 10 posts) | Up to 100+ (Pro plan) | Simplicity and clean UI | Limited customization options |
| Hootsuite | Yes (limited features) | Depends on subscription | Teams and agencies | Steeper learning curve |
| Sprout Social | No | High volume across teams | Enterprise-level reporting and CRM integration | Expensive for solo creators |
Real Example: How a Small Bakery Grew Engagement Using Scheduling
Alice runs a local bakery in Portland and wanted to increase her Instagram visibility without spending hours editing photos every morning. She switched to a Business Account and began using Meta Business Suite to schedule daily posts every Sunday night.
She uploaded high-quality images of fresh pastries, wrote engaging captions highlighting ingredients and baking techniques, and scheduled them for 8:00 AM on weekdays—when foot traffic peaked. Within six weeks, her average engagement rose by 42%, and she gained over 1,000 new followers. By batching content creation and automating posting, Alice freed up two hours each week to focus on customer service and recipe development.
This case illustrates how even simple scheduling can create measurable impact when applied consistently.
“Automation isn’t about doing less—it’s about doing smarter. Scheduling gives creators space to innovate while maintaining reliability.” — Jamal Reeves, Digital Marketing Strategist at BrandFlow Labs
Common Mistakes to Avoid When Scheduling
Even experienced users fall into traps that reduce effectiveness. Here are frequent errors and how to prevent them:
- Over-scheduling without review: Automating too far ahead can lead to tone-deaf posts during unexpected events (e.g., holidays, crises).
- Ignoring engagement windows: Posting at random times defeats the purpose. Use Instagram Insights to identify when your audience is most active.
- Forgetting to enable push notifications: If Instagram requires re-authentication, scheduled posts may fail silently unless monitored.
- Using low-resolution visuals: Desktop uploads sometimes compress images. Always export at 1080x1350 px for portrait or 1080x1080 for square formats.
- Not proofreading captions: Typos hurt credibility. Schedule a buffer time to review all content before final approval.
Do’s and Don’ts Summary
| Do | Don't |
|---|---|
| Use clear filenames for media assets (e.g., “SummerCakeLaunch_Img1.jpg”) | Name files “IMG_1234” or leave them unorganized |
| Test links in Stories or bio updates before scheduling | Assume external links will work without checking |
| Monitor comments and DMs after automated posts go live | Disappear immediately after posting and ignore interactions |
| Update bios or highlights in advance of campaign launches | Forget to align supporting elements with scheduled content |
Checklist: Setting Up Instagram Post Scheduling from Desktop
Follow this checklist to ensure a smooth setup process:
- ☐ Convert Instagram account to Creator or Business type
- ☐ Create or log in to a Meta Business Suite account
- ☐ Connect Instagram and Facebook profiles under Business Settings
- ☐ Verify ownership of both social accounts
- ☐ Prepare at least five posts (images + captions + hashtags)
- ☐ Upload first post in Meta Business Suite or third-party tool
- ☐ Set accurate date and time (check timezone!) and select “Schedule”
- ☐ Confirm appearance in content calendar or dashboard
- ☐ Test with one early post to validate workflow
- ☐ Enable email alerts for publishing status
Frequently Asked Questions
Can I schedule Instagram Reels from my desktop?
Yes, but only through Meta Business Suite or select third-party apps like Later and Hootsuite. Note that Reels must be pre-edited and exported as video files (MP4 recommended) before uploading. Native trimming or audio syncing isn’t supported during scheduling.
Why did my scheduled post not publish?
Common causes include expired access tokens, disabled permissions, or login requirement resets from Instagram. Ensure your account remains logged in to the scheduling platform, and periodically reauthorize connections. Also, check that your internet connection was stable at the scheduled time.
Is it safe to use third-party scheduling tools?
Reputable platforms like Buffer, Later, and Hootsuite use secure OAuth protocols and don’t store passwords. However, avoid unknown services asking for direct login credentials. Stick to well-reviewed tools with transparent privacy policies.
Final Thoughts: Build a Sustainable Content Workflow
Scheduling Instagram posts from a desktop browser transforms sporadic sharing into strategic communication. It empowers you to maintain presence, engage audiences at peak times, and scale your efforts without burnout. While the initial setup takes attention to detail, the long-term payoff in time saved and consistency achieved is substantial.
Start small—schedule just three posts a week. Refine your captions, optimize image quality, and gradually expand your calendar. As your confidence grows, integrate analytics to refine timing and content themes. Over time, automation becomes invisible infrastructure, letting creativity take center stage.


 浙公网安备
33010002000092号
浙公网安备
33010002000092号 浙B2-20120091-4
Comments
No comments yet. Why don't you start the discussion?