
In today’s connected homes, spotty Wi-Fi is more than an annoyance—it disrupts work, streaming, gaming, and smart home automation. Traditional routers often struggle to cover multi-level or large homes, leaving dead zones in basements, back bedrooms, or outdoor areas. Mesh Wi-Fi systems solve this problem by distributing seamless coverage across every corner of your house. The best part? You can install one yourself in under 60 minutes without hiring a technician or touching complex settings.
This guide walks you through the entire setup process—from choosing the right hardware to optimizing signal strength—with practical advice that ensures fast results and lasting performance. Whether you're upgrading from an old router or building a new smart home ecosystem, a well-installed mesh network delivers reliable, high-speed internet where you need it most.
Why Mesh Beats Traditional Routers
Traditional single-router setups rely on one central device broadcasting a signal outward. As walls, appliances, and distance interfere, the signal weakens—especially beyond 30–50 feet. Range extenders attempt to fix this but often halve bandwidth and create separate network names (SSIDs), forcing manual switching between zones.
Mesh networks use multiple nodes (usually one main unit and two satellites) that communicate seamlessly. They form a single, intelligent network with one SSID. Devices automatically connect to the strongest node as you move through the house. Unlike extenders, mesh systems use dedicated wireless backhaul channels or tri-band radios to maintain speed while relaying data between units.
“Modern mesh systems are designed for consumer simplicity and enterprise-grade reliability—they’re the gold standard for whole-home coverage.” — David Lin, Senior Network Engineer at NetSecure Labs
Choosing the Right Mesh System for Your Home
Not all mesh kits are created equal. Selecting the correct model depends on your home size, layout, and usage needs. Most three-pack systems cover 4,500–6,000 sq ft, making them ideal for two-story houses or sprawling ranches. Smaller kits may suffice for condos or apartments under 2,000 sq ft.
Key features to consider:
- Tri-band vs. dual-band: Tri-band systems have a dedicated 5 GHz band for communication between nodes, preserving bandwidth for your devices.
- Wi-Fi 6/6E support: Newer standards offer faster speeds, better handling of multiple devices, and lower latency—ideal for 4K streaming and online gaming.
- App-based management: Look for brands like Google Nest Wifi, Eero, TP-Link Deco, or Netgear Orbi, which offer intuitive apps for monitoring and control.
- Ethernet ports: Some satellite units include LAN ports, useful for connecting TVs, desktops, or game consoles directly.
| Home Size | Recommended Nodes | Suggested Models | Average Setup Time |
|---|---|---|---|
| Under 2,000 sq ft | 1–2 nodes | Google Nest Wifi, Eero Mini | 20–30 min |
| 2,000–4,000 sq ft | 3 nodes | TP-Link Deco X20, Netgear Orbi RBK50 | 30–45 min |
| Over 4,000 sq ft / Multi-building | 4+ nodes | Netgear Orbi Pro, Eero Pro 6E | 45–60 min |
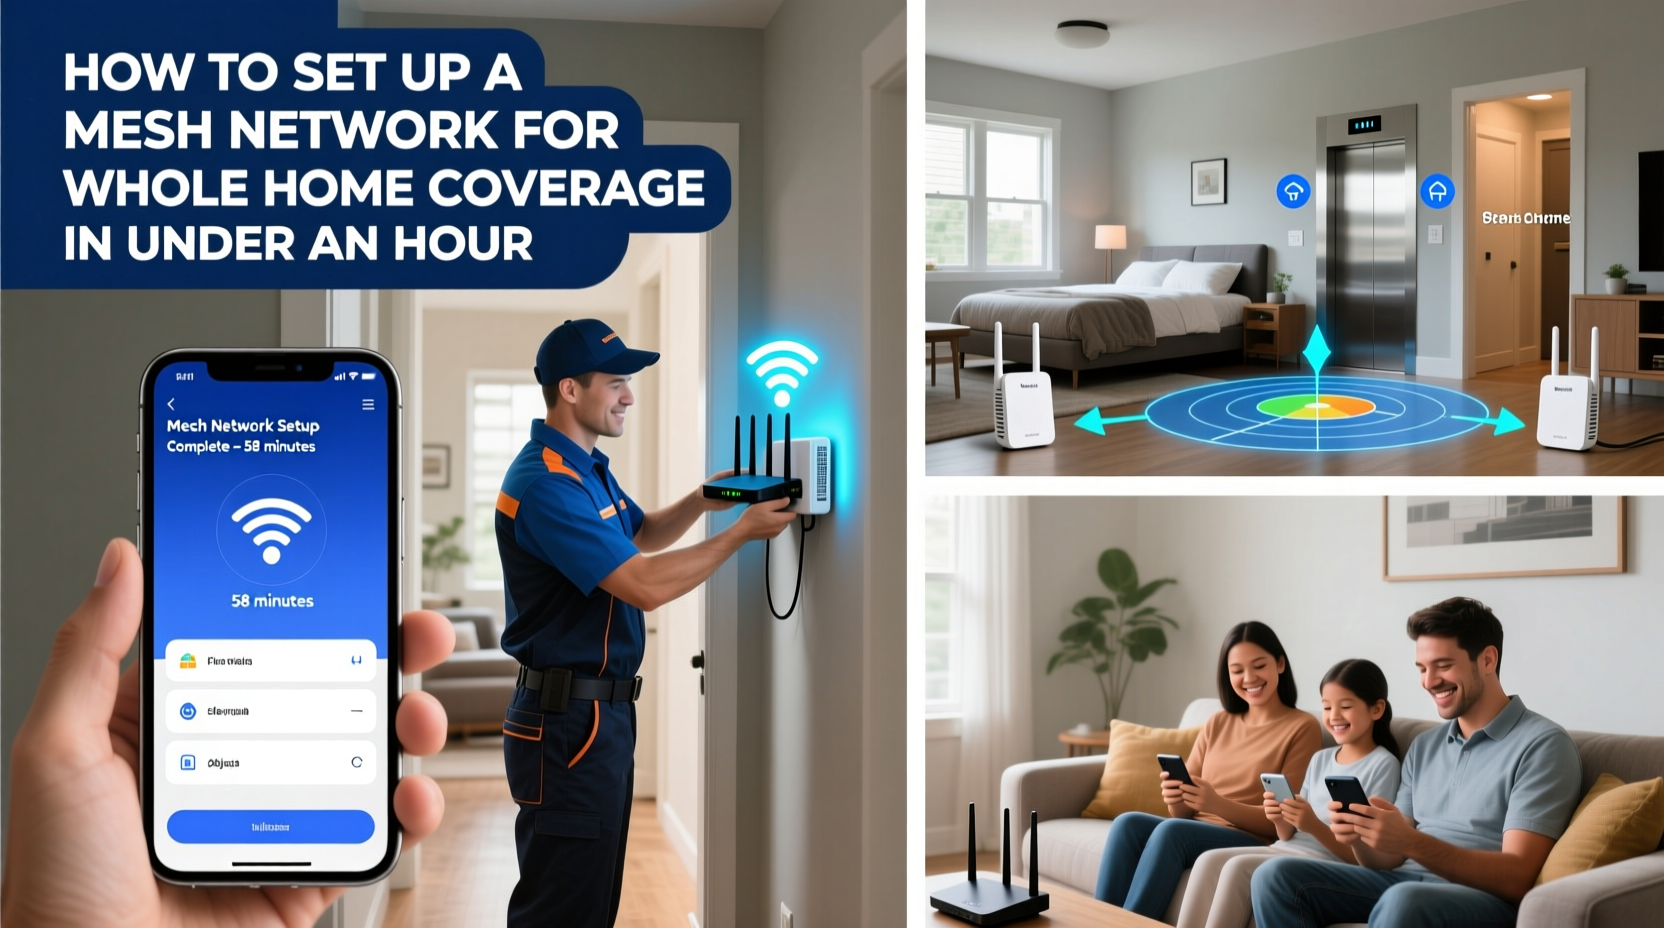
Step-by-Step Setup Guide: Complete in Under 60 Minutes
The following timeline assumes a standard three-node mesh system installed in a typical two-story home. All steps are app-driven and require no technical expertise.
- Unbox and Plan Placement (5–10 minutes)
Place the primary node where your modem is located. Satellite nodes should be placed in central locations on different floors or opposite wings of the house. Avoid closets, basements, or behind furniture. Ideal placement is elevated (on shelves) and within 30–50 feet of each other. - Connect the Main Node (5 minutes)
Plug the main mesh unit into power and connect it to your modem using the included Ethernet cable. Wait 1–2 minutes for lights to stabilize (usually solid blue or white). - Download the Companion App (5 minutes)
Install the brand-specific app (e.g., Google Home, Eero, Deco, Orbi) on your smartphone. Create an account if prompted. - Follow In-App Setup Wizard (10–15 minutes)
Open the app and select “Add New Network” or similar. The app will detect the main node. Follow prompts to name your Wi-Fi network and set a secure password. Choose WPA3 encryption if available; otherwise, use WPA2. - Add Satellite Nodes (10 minutes)
Power on each satellite unit and place it in its planned location. Press the sync button (if required) or wait for automatic detection in the app. Confirm successful connection before moving to the next node. - Run Speed & Coverage Test (10 minutes)
Walk through key rooms—bedrooms, kitchen, garage—and test signal strength using the app’s heat map feature or a free tool like Wi-Fi Analyzer. Note any weak spots and adjust node positions slightly if needed. - Finalize and Optimize (5 minutes)
Rename access points for clarity (e.g., “Living Room,” “Basement”). Enable automatic updates and parental controls if desired. Reboot the entire system once to ensure stable operation.
Real-World Example: Fixing Dead Zones in a Two-Story Home
Jamie lived in a 2,800 sq ft colonial-style home with persistent Wi-Fi issues. Her office on the second floor suffered lag during video calls, and her backyard patio had no signal at all. She used an aging router in the basement, which struggled to reach upper levels.
She purchased a three-pack TP-Link Deco X20 system. Following the app instructions, she placed the main node next to her modem in the basement utility room. One satellite went upstairs in the hallway near the bedrooms, and the second was positioned on the first floor near the sliding glass door leading to the patio.
Within 40 minutes, the system was live. Using the Deco app, she ran a coverage test and confirmed full bars in every tested room—including the patio, now reliably covered thanks to the ground-floor satellite. Video calls stabilized, and her smart speakers began responding instantly again.
No configuration changes were made to her ISP plan or devices—all improvements came purely from optimized signal distribution.
Essential Do’s and Don’ts During Installation
Avoid common pitfalls that undermine mesh performance. Even top-tier hardware fails when placed incorrectly or misconfigured.
| Do’s | Don’ts |
|---|---|
| Place nodes in open, central areas | Hide nodes inside cabinets or behind sofas |
| Use wired backhaul if Ethernet is available | Assume wireless always performs equally |
| Update firmware immediately after setup | Ignore software update notifications |
| Label each node after placement | Forget which unit is where during troubleshooting |
| Test connectivity on multiple devices | Verify only on your phone and assume all is well |
“Proper node spacing is more important than raw power. A well-placed mid-tier mesh system outperforms a poorly arranged premium kit.” — Lena Patel, Residential Network Consultant
Frequently Asked Questions
Can I keep my existing internet plan?
Yes. Mesh systems work with any internet service provider and do not require a speed upgrade. However, if your current plan is below 100 Mbps, upgrading may enhance overall experience—especially with multiple users.
What if one node loses connection?
Mesh networks are self-healing. If a satellite goes offline, devices automatically reconnect to the nearest active node. Once restored, the system resumes normal operation. Check power, restart via the app, or reposition if disconnections persist.
Do I need to replace my modem?
Only if it’s outdated. Most mesh systems connect to any standard modem. However, if your modem is over five years old or provided by your ISP as a combined modem-router, disable its routing function (bridge mode) to prevent double-NAT conflicts.
Checklist: Quick Mesh Setup Success
- ☐ Unboxed all components and verified contents
- ☐ Identified optimal node locations (central, elevated, spaced)
- ☐ Connected main node to modem via Ethernet
- ☐ Installed companion app and created account
- ☐ Completed in-app setup wizard and set network name/password
- ☐ Powered and paired all satellite nodes
- ☐ Tested signal strength in key rooms
- ☐ Enabled automatic firmware updates
- ☐ Labelled nodes for future reference
- ☐ Rebooted entire system once setup complete
Maximizing Long-Term Performance
After initial setup, ongoing maintenance ensures consistent performance. Most mesh systems handle channel selection and interference mitigation automatically, but periodic checks help prevent degradation.
Reposition nodes seasonally if large furniture moves or new construction occurs. Run monthly speed tests using tools like Fast.com or Speedtest.net to monitor consistency. Consider enabling Quality of Service (QoS) settings to prioritize critical devices—such as laptops during work hours or gaming consoles during evenings.
If adding smart home hubs, security cameras, or IoT gadgets, ensure they’re spread across the network rather than clustered on one node. Overloading a single unit can bottleneck performance even with strong signal.
Conclusion
Setting up a mesh network for whole-home coverage doesn’t require technical skills or hours of effort. With the right equipment and a methodical approach, you can eliminate dead zones and enjoy seamless connectivity in less time than it takes to watch a TV episode. From strategic node placement to app-guided configuration, every step is designed for accessibility and immediate impact.
The benefits go beyond convenience: improved productivity, smoother entertainment, and stronger smart home integration all stem from a reliable foundation. Now that you know how simple it is, there’s no reason to tolerate patchy Wi-Fi any longer.


 浙公网安备
33010002000092号
浙公网安备
33010002000092号 浙B2-20120091-4
Comments
No comments yet. Why don't you start the discussion?