
A sharp kitchen knife is not just a convenience—it’s a safety essential. Contrary to popular belief, dull blades are more dangerous than sharp ones because they require more force and are more likely to slip. Yet, many home cooks avoid sharpening their knives, intimidated by the process or unaware of the tools available. The truth is, learning how to sharpen kitchen knives at home using a whetstone is simpler than it seems. With consistent practice and the right technique, even a beginner can achieve professional-level results.
Whetstones—also known as water stones—are among the most effective tools for sharpening. Unlike pull-through sharpeners that remove excessive metal or electric models that generate heat, a whetstone allows precise control over the angle, pressure, and edge formation. This guide walks you through everything you need to know to start sharpening your knives confidently and correctly.
Understanding Whetstones: Types, Grits, and Preparation
Before sharpening, it’s crucial to understand the tool in your hand. A whetstone isn’t just a slab of rock—it’s a precision instrument designed to refine metal at a microscopic level. Whetstones come in various materials and grit levels, each serving a specific purpose in the sharpening process.
The most common types are:
- Natural stones: Mined from quarries, often prized for their cutting performance but typically expensive.
- Synthetic stones: Manufactured for consistency, widely available, and ideal for beginners.
Grit refers to the coarseness of the abrasive particles embedded in the stone. Lower numbers indicate coarser grits; higher numbers mean finer finishes.
| Grit Level | Use Case | Typical Grit Range |
|---|---|---|
| Coarse | Repairing chips or reshaping a damaged edge | 200–600 |
| Medium | General sharpening and realigning dull edges | 800–1200 |
| Fine | Refining and polishing the edge | 2000–4000 |
| Extra Fine | Final polish for slicing precision (e.g., sashimi) | 6000–8000+ |
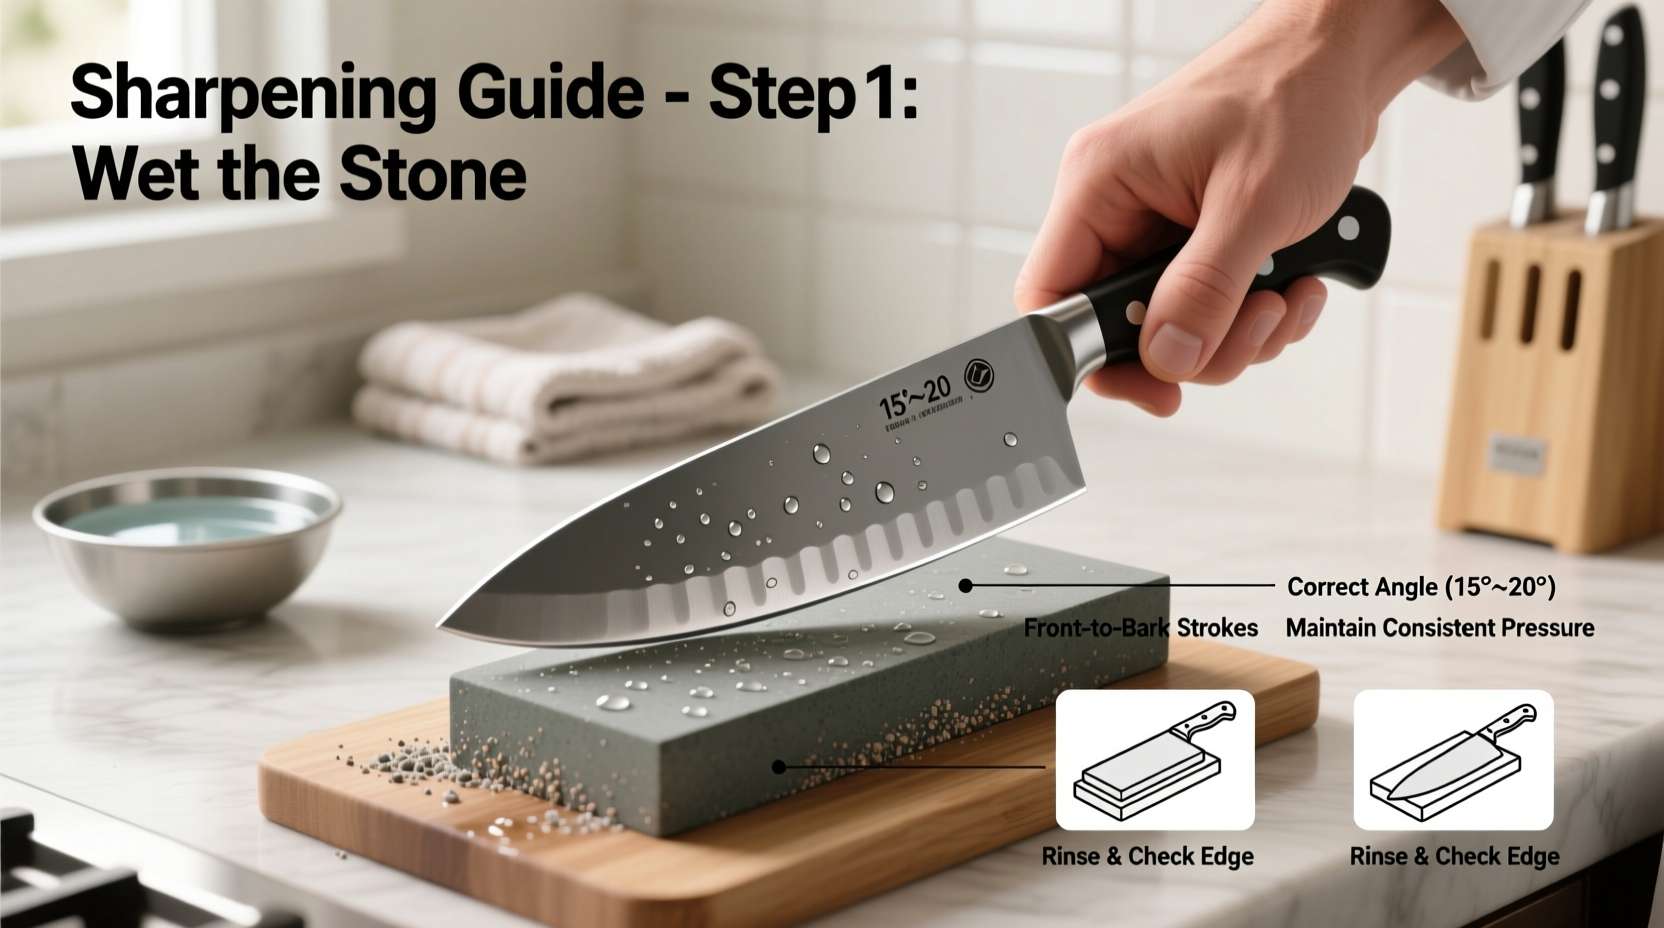
For beginners, a dual-sided stone (e.g., 1000/6000 grit) offers excellent value and versatility. Before use, soak the stone in water for 10–15 minutes if it’s a water-based synthetic or natural stone. Oil stones exist too, but water stones are more common and easier to maintain for kitchen use.
Step-by-Step Guide to Sharpening Your Knife
Sharpening with a whetstone requires patience, consistency, and attention to angle. Follow this sequence carefully for repeatable success.
- Secure the Stone: Place the whetstone on a non-slip surface. Use a damp cloth or a stone holder to prevent movement during use.
- Position the Knife: Hold the knife in your dominant hand. Place the heel of the blade near the bottom end of the stone.
- Set the Angle: For most Western-style kitchen knives, aim for a 15–20 degree angle between the blade and the stone. To visualize this, hold your thumb at about a quarter-inch height off the stone—the thickness of a standard pencil eraser.
- Start Sharpening: Using light to moderate pressure, push the blade forward and across the stone in a sweeping motion, dragging the edge from heel to tip as if slicing a thin layer off the stone. Maintain the same angle throughout.
- Repeat Strokes: Perform 10–15 strokes per side, checking for a burr—a slight lip of metal formed along the opposite edge. The presence of a burr indicates metal has been properly abraded.
- Switch Sides: Flip the knife and repeat the process on the other side. Consistency is key—match the number of strokes and pressure.
- Progress Through Grits: If using multiple stones, move from coarse to fine. After shaping with 1000 grit, refine with 3000, then polish with 6000.
- Deburr: Once finished, gently run the edge across a piece of wood, leather, or cardboard in a trailing motion to remove the burr. Alternatively, do a few very light alternating passes on the finest stone.
- Rinse and Dry: Clean the blade with water and dry thoroughly to prevent rust, especially on high-carbon steel.
After several sessions, muscle memory will develop. At first, focus on maintaining a steady angle rather than speed. It’s better to take your time and build proper form than to rush and create an uneven edge.
Common Mistakes Beginners Make
Even with the best intentions, new users often fall into predictable traps that hinder progress or damage their knives.
- Inconsistent angle: Fluctuating angles result in a wavy or weak edge. Use visual cues or angle guides until confident.
- Excessive pressure: Let the stone do the work. Heavy pressure accelerates wear on the stone and can roll the edge.
- Skipping grit progression: Jumping straight to a fine stone won’t fix a severely dull blade. Always start with a medium or coarse grit when needed.
- Drying the stone after use: Always air-dry your whetstone completely before storing. Never leave it soaking or store it wet—this can cause cracking or mold.
- Ignoring maintenance: Flatten your stone periodically with a lapping plate or silicon carbide paper. A warped stone leads to uneven sharpening.
“Most people think sharpening is about removing metal quickly. It’s actually about controlling the geometry of the edge. Precision beats power every time.” — Rafael Palomar, Cutlery Technician & Blade Educator
Real Example: Maria’s First Sharpening Experience
Maria had used the same chef’s knife for five years without sharpening it. “It started slipping through tomatoes,” she said. “I thought it was just old.” After watching a video tutorial, she bought a 1000/6000 dual-sided whetstone. Her first attempt was shaky—she pressed too hard and lost her angle midway. But after reading up and practicing on an old utility knife, she refined her technique.
On her third try, she followed a simple routine: 15 strokes per side at 18 degrees on the 1000 grit, then 10 lighter strokes on the 6000. She tested the edge by slicing a tomato. “It went through like butter,” she recalled. “I couldn’t believe I’d lived with a dull knife for so long.” Now, she sharpens her knives every six weeks and keeps the stone on her counter for quick touch-ups.
Maria’s story illustrates a common journey: initial hesitation, early mistakes, and eventual mastery through repetition. You don’t need perfection on day one—just consistency.
Essential Checklist for Beginner Knife Sharpening
Follow this checklist each time you sharpen to ensure quality and safety:
- ✅ Soak the whetstone (if required) for 10–15 minutes
- ✅ Secure the stone on a stable, non-slip surface
- ✅ Identify the correct sharpening angle (15°–20°)
- ✅ Start with appropriate grit (medium for regular maintenance)
- ✅ Apply consistent angle and light pressure across full blade length
- ✅ Alternate sides evenly (same number of strokes)
- ✅ Check for burr formation to confirm edge renewal
- ✅ Progress to finer grits for refinement and polish
- ✅ Deburr the edge gently using wood, cardboard, or stropping motion
- ✅ Clean and dry both knife and stone after use
- ✅ Store stone flat and dry to preserve integrity
Frequently Asked Questions
How often should I sharpen my kitchen knives with a whetstone?
Frequency depends on usage. For average home cooking, sharpening every 2–3 months is sufficient. Light honing with a steel rod between sessions helps maintain the edge. If you notice slipping or tearing instead of clean cuts, it’s time to sharpen.
Can I use oil instead of water on my whetstone?
Only if the stone is designed for oil. Most modern whetstones sold for kitchen use are water stones. Using oil on a water stone can clog the pores and reduce effectiveness. Always check the manufacturer’s instructions.
Why is my knife still dull after sharpening?
This usually stems from inconsistent angle or insufficient strokes. Ensure you’re maintaining a steady angle throughout and applying enough passes to form a burr. Also, verify you’re using the correct grit—fine stones alone can’t restore a very dull edge.
Final Thoughts and Call to Action
Learning how to sharpen kitchen knives at home using a whetstone transforms the way you cook. It restores confidence in your tools, improves safety, and enhances precision. More importantly, it fosters a deeper respect for your equipment. A well-maintained knife can last decades, becoming a trusted companion in countless meals.
You don’t need special talent—just patience and practice. Start with an older knife to build confidence. Track your progress by testing cuts on paper, tomatoes, or herbs. Over time, you’ll develop a rhythm that feels natural and efficient.


 浙公网安备
33010002000092号
浙公网安备
33010002000092号 浙B2-20120091-4
Comments
No comments yet. Why don't you start the discussion?