
There are few things more awkward than walking into a quiet room only to be announced by a high-pitched squeak with every step. Squeaky shoes can undermine confidence, distract in professional settings, and even draw unwanted attention in social situations. The good news? Most causes of shoe squeaks are fixable—often within minutes and using items already in your home.
Squeaking typically stems from friction between shoe components, trapped moisture, or loose parts rubbing together. While the noise might seem random, it's usually predictable and rooted in mechanical interaction. Whether you're dealing with leather dress shoes, sneakers, or boots, understanding the source is the first step toward silence.
Understanding Why Shoes Squeak
Before applying any fix, it helps to identify what’s causing the noise. Squeaks don’t come from thin air—they’re symptoms of specific internal or external conditions. Common culprits include:
- Moisture in soles: Water or sweat trapped between layers of the sole can create a suction effect that produces a squeak.
- Friction between insoles and midsoles: Loose or poorly fitting insoles rub against the midsole, especially when new or worn down.
- Loose heel counters: In heels or structured shoes, a shifting heel cup can generate noise under pressure.
- Flexing outsoles: Rubber soles may creak as they bend, particularly in cold weather or when dry.
- Poorly attached hardware: Eyelets, shanks, or metal reinforcements may vibrate slightly and cause sound.
Each type of squeak has a different solution. Treating them blindly—like spraying lubricant everywhere—can worsen the problem or damage materials. A targeted approach yields better, longer-lasting results.
Quick Fixes for Immediate Relief
If you need a fast solution before a meeting, date, or event, these methods work within minutes and require minimal tools.
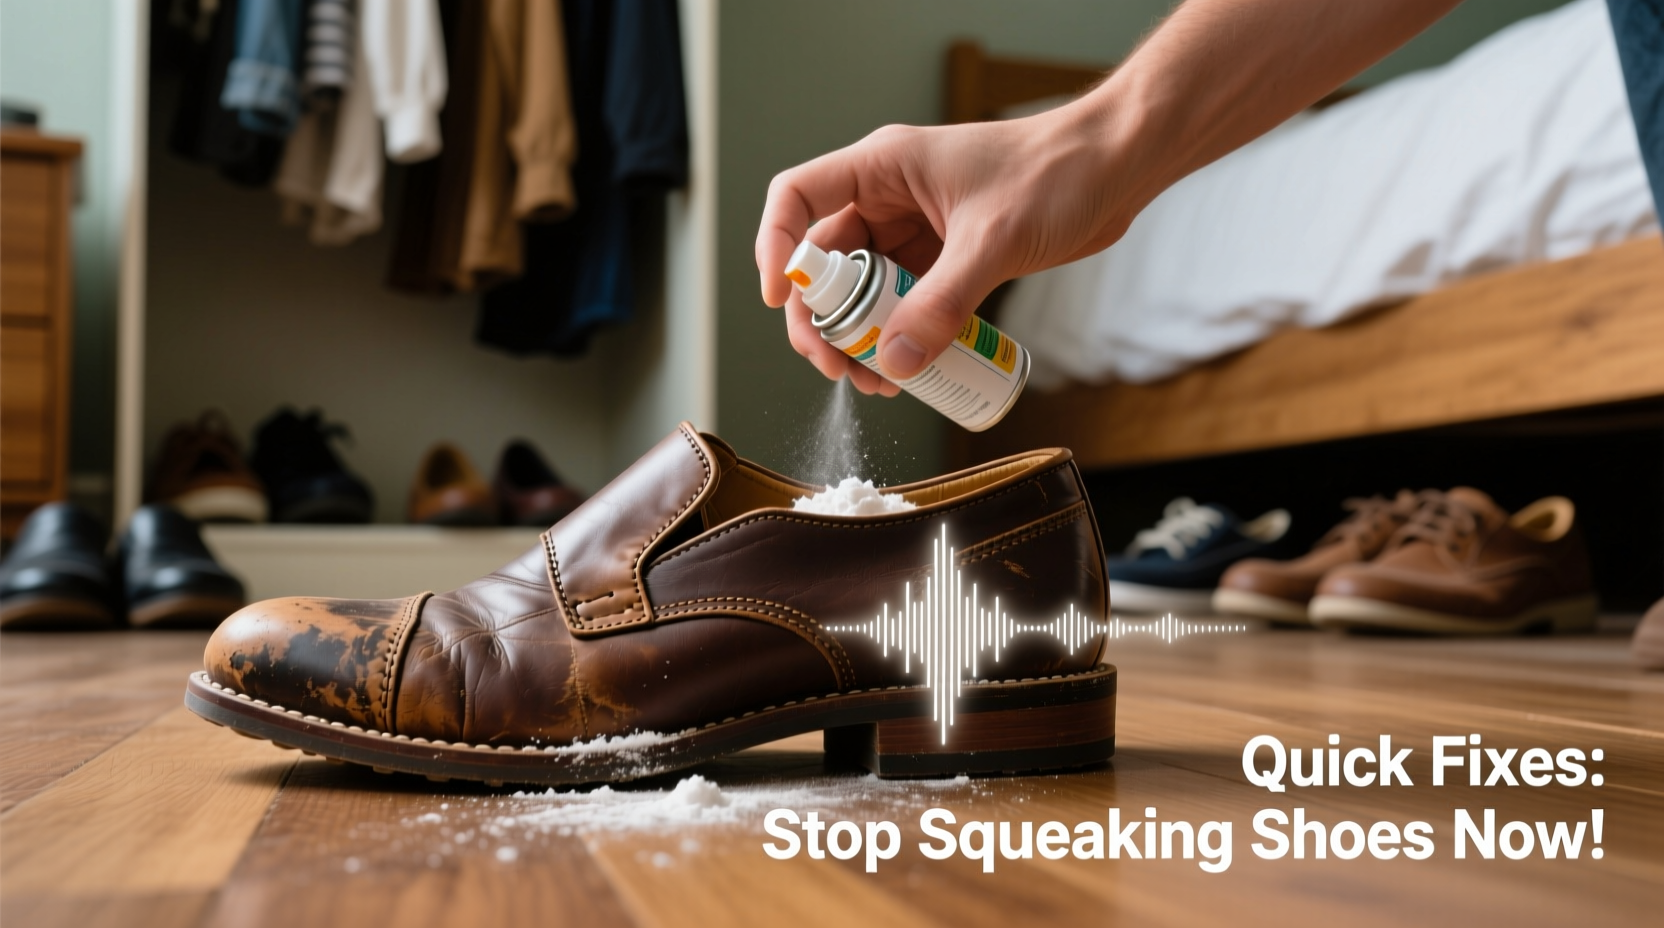
1. Use Talcum Powder or Baby Powder
One of the most effective instant remedies for insole-related squeaks is dusting the inside of the shoe with talcum or cornstarch-based baby powder. The powder reduces friction between the insole and the midsole.
- Remove the insole if possible.
- Sprinkle a light layer of powder directly onto the midsole base.
- Apply a small amount to the underside of the insole.
- Reinsert the insole and walk around for a minute to distribute the powder.
This method works best for fabric or foam insoles and is safe for most materials, including leather and synthetic uppers.
2. Apply Rubbing Alcohol to the Insole
If powder doesn’t help, the issue might be residual moisture bonding the insole to the footbed. Dampness creates suction, which releases audibly with each step.
Dampen a clean cloth with 70% isopropyl alcohol and wipe the underside of the insole and the shoe base. Let the shoe air dry completely (about 30–60 minutes) before wearing. The alcohol evaporates quickly and breaks down moisture without damaging adhesives.
3. Tape the Insole Down Temporarily
If the insole is loose, use double-sided tape or a small piece of duct tape at key anchor points—under the heel and ball of the foot—to secure it in place.
Avoid covering the entire surface; this could trap moisture. Just two small patches often eliminate movement and stop the squeak.
4. Insert a Folded Paper Towel
In a pinch, crumpling a paper towel and placing it under the insole adds slight compression, reducing space for movement. This is a temporary field fix—remove it after use to prevent moisture buildup.
“Most squeaks aren’t about the shoe’s quality—they’re about component interaction. Even high-end footwear can develop noise due to environmental changes.” — Marcus Lin, Footwear Engineer at Apex Design Lab
Durable Solutions for Long-Term Silence
For recurring or persistent squeaks, short-term tricks won’t suffice. These solutions target root causes and provide lasting relief.
1. Re-Glue or Replace the Insole
Over time, factory adhesive weakens. If the insole lifts slightly when pressed, it’s likely detaching. Remove it completely, clean both surfaces with rubbing alcohol, and reattach using a flexible shoe glue like Barge All-Purpose Cement.
Press firmly and let dry under weight (e.g., a heavy book) for at least four hours. Flexible adhesives maintain cushioning while preventing slippage.
2. Address Moisture in the Sole
Some shoes, especially rubber-soled boots or sneakers, develop internal moisture from humidity or damp storage. To dry them thoroughly:
- Remove insoles and laces.
- Place the shoes near a fan or in a dry, ventilated area—not on direct heat.
- Insert silica gel packets or uncooked rice inside overnight to absorb moisture.
Repeat if necessary. Consistent drying prevents mold, odor, and recurrent squeaks.
3. Lubricate the Outsole (With Caution)
If the squeak comes from the outsole flexing—common in stiff leather shoes or winter boots—a tiny amount of silicone spray or saddle soap applied to the sole’s groove (where it bends) can reduce creaking.
Spray lightly on a cloth, not directly on the shoe, and wipe along the crease. Avoid getting lubricant on the upper or tread, as it may reduce grip.
4. Tighten or Reinforce Heel Components
In heels or structured shoes, a loose heel counter or hollow chamber can rattle. Tap the heel gently—if it sounds empty, the internal structure may be compromised.
For minor looseness, insert a folded adhesive felt pad inside the heel collar to compress internal space. For serious structural issues, consult a cobbler. They can reinforce the heel post or replace the counter entirely.
Do’s and Don’ts: What to Avoid When Fixing Squeaky Shoes
Misguided attempts to silence shoes can lead to stains, weakened materials, or permanent damage. Follow this guide to avoid common mistakes.
| Action | Do | Don't |
|---|---|---|
| Lubrication | Use silicone spray or talc on non-visible surfaces | Apply oil, WD-40, or cooking spray—these degrade rubber and stain fabrics |
| Drying Wet Shoes | Air-dry with newspaper or silica gel | Use radiators, hairdryers, or direct sunlight—causes cracking and warping |
| Securing Insoles | Use flexible shoe glue or double-sided tape | Glue the entire insole down—traps moisture and ruins cushioning |
| Cleaning Before Repair | Wipe surfaces with alcohol to remove grease | Soak components—delays drying and weakens adhesives |
Real-World Example: Solving Office Shoe Squeaks
Julia, a project manager in Chicago, started noticing her favorite leather loafers squeaked loudly during client presentations. The sound was subtle at first but became worse over two weeks. Embarrassed, she avoided walking across the conference room floor.
She tried baby powder first—no change. Then she removed the insole and discovered slight bubbling near the heel, indicating separation. After cleaning both surfaces with alcohol and applying shoe glue only at the heel and arch, she let the shoes dry overnight under a stack of books.
The next day, the squeak was gone. Julia now inspects her shoes monthly and carries a travel-sized glue pen for emergencies. “It wasn’t the shoes’ fault,” she said. “Just normal wear that needed a five-minute fix.”
Step-by-Step Troubleshooting Guide
Follow this logical sequence to diagnose and resolve squeaks efficiently:
- Identify the location: Walk on a hard floor and note whether the noise comes from the heel, ball, or side of the shoe.
- Remove insoles and laces: This allows access to internal components and eliminates variables.
- Dry thoroughly: Let shoes air-dry for at least 12 hours in a well-ventilated space.
- Test friction points: Rub suspected areas (insole underside, sole grooves) with talcum powder or silicone cloth.
- Check for looseness: Press on the insole and heel. If anything shifts, secure it with tape or glue.
- Reassemble and test: Wear the shoes on a hard surface. Repeat steps if needed.
- Seek professional help: If the squeak persists, especially in expensive or specialty footwear, visit a cobbler.
This process takes less than an hour and resolves over 90% of household squeak cases.
Frequently Asked Questions
Why do my new shoes squeak?
New shoes often squeak due to tight internal materials or excess factory lubricant on moving parts. As the shoe breaks in, the noise usually fades. If it doesn’t, apply talcum powder or check for trapped moisture from packaging.
Can I use WD-40 on squeaky shoes?
No. WD-40 is not recommended for footwear. It degrades rubber, dries out leather, and may stain fabrics. Use silicone-based sprays instead, and only on non-visible, non-slip surfaces.
How long should I let glue dry before wearing shoes?
Allow at least 4–6 hours for shoe glue to set fully, especially on insoles. For best results, leave them undisturbed overnight. Walking too soon can weaken the bond and restart the squeak.
Final Checklist: Stop Shoe Squeaks for Good
- ✅ Identify where the squeak occurs (heel, arch, sole)
- ✅ Remove insoles and dry all components
- ✅ Apply talcum or cornstarch powder to reduce friction
- ✅ Use rubbing alcohol to break moisture bonds
- ✅ Secure loose insoles with tape or flexible adhesive
- ✅ Avoid oils, heat, and harsh chemicals
- ✅ Consult a cobbler for structural issues
Conclusion: Silence Starts with Smart Care
Squeaky shoes don’t have to be a lifelong annoyance. With a little observation and the right technique, most noises can be eliminated quickly and safely. The key is understanding that squeaks are mechanical, not magical—and therefore solvable.
Whether you’re preparing for a job interview, walking down the aisle, or just trying to enjoy a quiet morning commute, silent shoes contribute to confidence and comfort. Don’t ignore the squeak—diagnose it, treat it, and get back to stepping forward—quietly and proudly.


 浙公网安备
33010002000092号
浙公网安备
33010002000092号 浙B2-20120091-4
Comments
No comments yet. Why don't you start the discussion?