
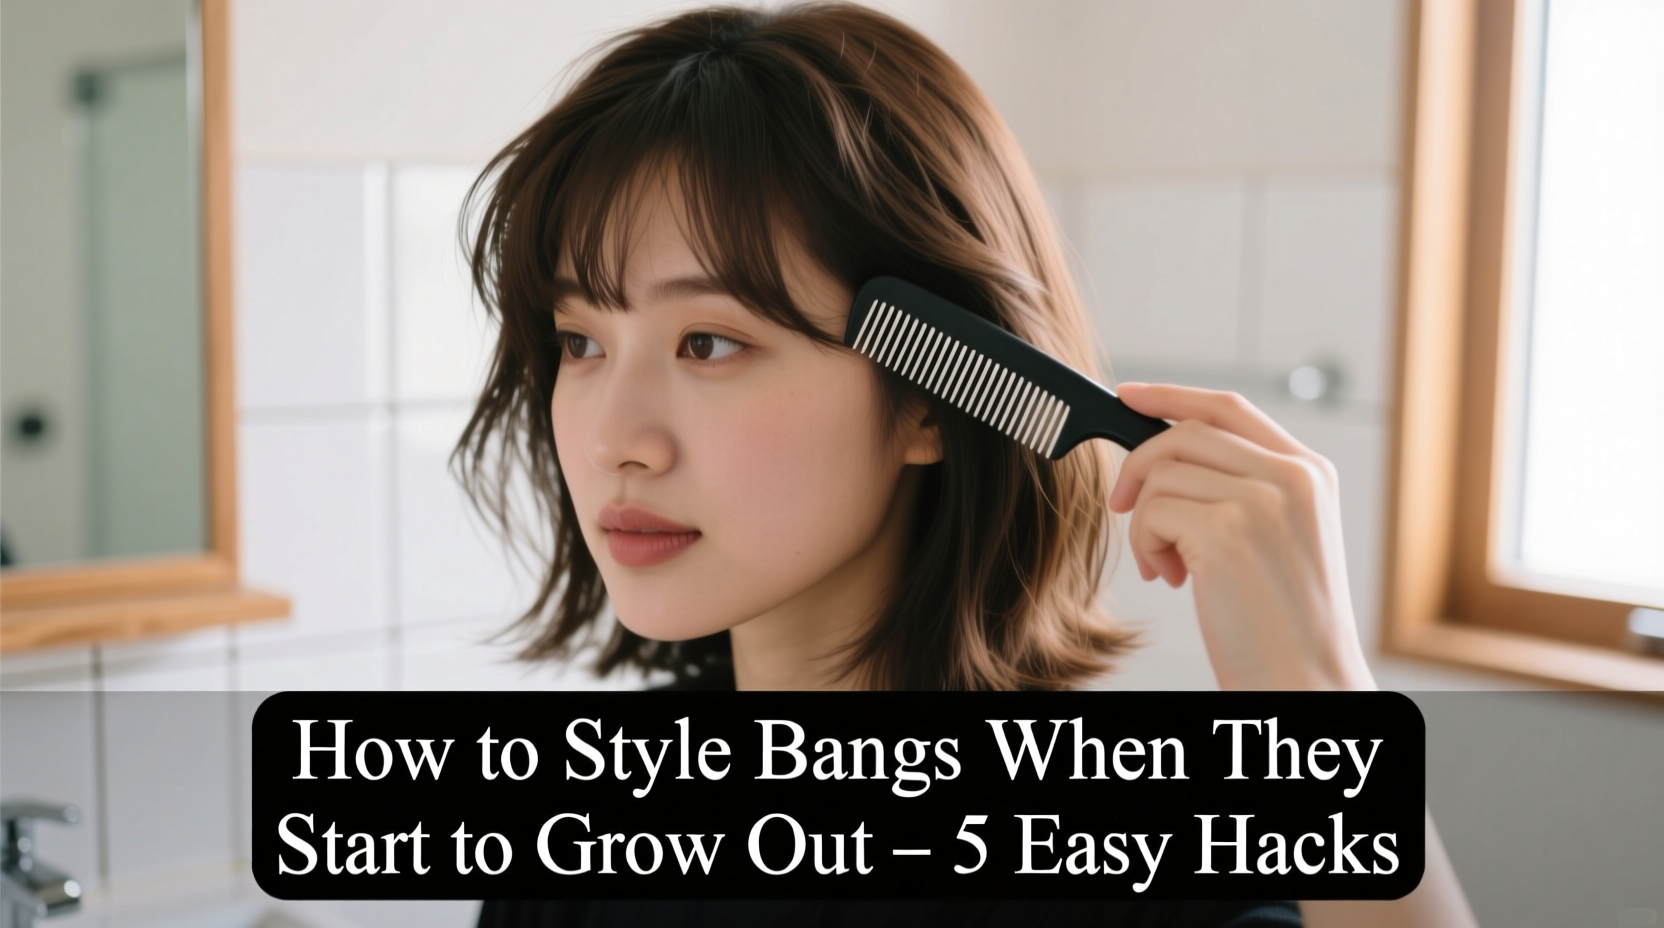
There’s a universal truth every person who’s ever cut bangs comes to accept: the growing-out phase is inevitable—and often frustrating. What once was a bold, flattering fringe slowly transforms into an unruly curtain that falls just above the eyes, refusing to stay put and constantly demanding attention. But this awkward stage doesn’t have to mean weeks of hiding behind hats or surrendering to messy buns. With the right techniques, tools, and mindset, you can not only survive the transition but actually look polished and intentional while doing it.
The key lies in understanding your hair type, leveraging simple styling tricks, and embracing creativity. Whether your bangs are blunt, side-swept, or wispy, there are practical solutions to keep them looking styled and controlled—without resorting to drastic trims or chemical treatments.
Understanding the Awkward Phase
The “awkward stage” typically begins when bangs grow past chin-length but aren’t long enough to pull back comfortably or blend seamlessly into the rest of your hair. At this length—usually between 3 to 6 inches—they lack structure, tend to fall into the eyes, and resist staying in place. This transitional period can last several weeks to months, depending on growth rate and desired end style.
Hair texture plays a major role in how difficult this stage feels. Fine, straight hair tends to lie flat and become greasy faster, making bangs look limp and lifeless. Curly or wavy textures may puff up or frizz, creating volume where you don’t want it. Thick hair can feel heavy and stubborn, resisting movement. Recognizing your hair’s natural behavior allows you to choose the most effective styling approach.
Styling Techniques for Growing-Out Bangs
Instead of fighting your growing bangs, work with their current length and texture. The following methods help redirect, disguise, or enhance their appearance so they look intentional rather than neglected.
1. Side-Sweeping Magic
One of the most effective ways to manage longer bangs is to train them to sweep to one side. This creates asymmetry and mimics a more sophisticated, face-framing style. Use a round brush and blow dryer to direct the hair across your forehead at a diagonal angle. Hold tension as you dry to set the shape.
Once dry, lock in the position with a light-hold hairspray. For extra staying power, apply a tiny dab of pomade or wax to the roots to prevent slippage throughout the day.
2. Tease and Tuck
If your bangs are long enough (around 5 inches), try teasing the root area slightly and tucking the ends under and back into your hair. Secure with bobby pins hidden beneath the top layer. This keeps the front smooth while concealing the awkward length.
This method works especially well for thick or layered bangs that won’t lie flat. It also adds subtle volume at the crown, giving your hairstyle more dimension.
3. Half-Up Twists and Braids
Incorporate your bangs into small front twists or micro-braids pinned back. A simple two-strand twist starting from the temple and wrapping backward gives a bohemian flair while keeping hair off your face.
For formal occasions or polished looks, create a mini Dutch braid along the hairline, merging into a low bun or ponytail. This draws attention upward and frames the face beautifully.
4. Headbands and Clips
Accessories are your best friend during the awkward phase. Wide headbands pull hair back smoothly and add a retro-chic vibe. Thin metallic clips or pearl-tipped pins can secure short sections without looking bulky.
Try placing two small clips just above each temple to hold the sides of your bangs back, leaving the center section to drape softly. This creates a “peekaboo” effect that’s trendy and functional.
“Bangs in transition don’t need to be hidden—they can be reimagined. A little product and strategic pinning can turn frustration into fashion.” — Lena Torres, Celebrity Stylist & Art Director at Luxe Mane Studio
Essential Tools and Products
Having the right products on hand makes all the difference in managing growing-out bangs. These items help control flyaways, add texture, and extend time between washes.
| Product Type | Purpose | Recommended Use |
|---|---|---|
| Light-hold hairspray | Secures style without stiffness | Spray lightly from 10 inches away after styling |
| Texturizing spray | Adds grip and volume | Rub a small amount into damp or dry bangs |
| Clear brow gel | Tames baby hairs and edges | Brush upward for a sleek finish |
| Mini flat iron (0.5–1 inch) | Smooths or flips ends | Use low heat to avoid damage |
| Dry shampoo | Refreshes roots and absorbs oil | Apply at roots before brushing through |
Avoid heavy gels or serums, which can weigh down fine bangs and make them appear greasy by midday. Instead, opt for mousse on damp hair for lift or a pea-sized amount of cream for definition.
Step-by-Step Guide: Daily Styling Routine for Transitioning Bangs
Follow this five-step process every morning to keep your growing bangs looking fresh and intentional.
- Wash Strategically: If your bangs get oily quickly, rinse only the front section with cool water and a drop of clarifying shampoo. Let air-dry or blow-dry immediately to prevent frizz.
- Apply Product: While damp, use a texturizing spray or mousse to add body. Focus on the roots for lift and mid-lengths for separation.
- Blow-Dry with Direction: Use a round brush to pull bangs sideways or upward. Cool-shot button locks in the shape. For curly hair, diffuse on low heat.
- Set with Finish: Once dry, mist with light-hold spray. Run a mini flat iron over ends if needed to flip outward or smooth split ends.
- Pin or Accessorize: If bangs still fall into your eyes, use a small clip or headband. Adjust throughout the day as needed.
Consistency in routine trains the hair to fall in a preferred direction over time. Within 2–3 weeks, you may notice your bangs naturally parting or sweeping where you want them.
Real-Life Example: From Frustration to Flair
Take Sarah, a graphic designer from Portland, who cut blunt bangs on a whim. By week six, she was frustrated—her bangs were too long to style like before but too short to tie back. She found herself constantly pushing them aside or covering them with sunglasses indoors.
After trying a YouTube tutorial on side-swept styles, she began using a 1-inch curling wand to gently flick the ends outward. She paired this with a matte paste applied at the roots to prevent slipping. On busy mornings, she clipped them back with a vintage-inspired barrette.
Within three weeks, coworkers started complimenting her “new asymmetrical look.” What began as a styling challenge became a signature element of her personal style. By month four, her bangs had blended into her lob, and she realized she never wanted to go back to full fringe again.
Do’s and Don’ts: Quick Reference Checklist
- ✅ Do experiment with parting your hair differently to shift bang volume.
- ✅ Do trim split ends monthly to maintain healthy appearance.
- ✅ Do use dry shampoo to refresh second- or third-day bangs.
- ✅ Do visit your stylist for a “feathered touch-up” to soften the edge.
- ❌ Don’t cut your own bangs mid-transition—uneven results are hard to fix.
- ❌ Don’t overuse heat tools daily; protect with a heat shield.
- ❌ Don’t ignore scalp health—oily roots weaken styling hold.
Remember: the goal isn’t perfection—it’s adaptability. Your hair will grow, and so can your styling confidence.
Frequently Asked Questions
How often should I trim my bangs while growing them out?
Every 4–6 weeks, schedule a light dusting or shaping with your stylist. Ask for a “blended trim” that softens the edge without shortening them significantly. This maintains shape and prevents blunt lines from becoming more noticeable as they grow.
Can I layer my bangs to speed up the blending process?
Yes, but only with professional help. Layering introduces texture and helps longer pieces integrate with the rest of your hair. However, DIY layering risks creating thin, see-through sections. A skilled stylist can point-cut or razor-cut layers for a seamless transition.
What if my bangs curl up or flip outward?
This is common with fine or permed hair. To correct it, blow-dry with a round brush pulling downward, then seal with a cool shot. Alternatively, use a flat iron on low heat to smooth the ends inward. Avoid over-styling, which can cause breakage.
Final Thoughts: Embrace the Journey
Growing out bangs isn’t just a waiting game—it’s an opportunity to explore new styles, refine your routine, and develop a deeper relationship with your hair. The awkward stage doesn’t define your look; how you handle it does.
With patience, the right tools, and a few clever tricks, you can transform what feels like a styling setback into a chance to elevate your everyday appearance. Whether you’re mastering the art of the side sweep or discovering the power of a well-placed clip, each small adjustment builds confidence.


 浙公网安备
33010002000092号
浙公网安备
33010002000092号 浙B2-20120091-4
Comments
No comments yet. Why don't you start the discussion?