
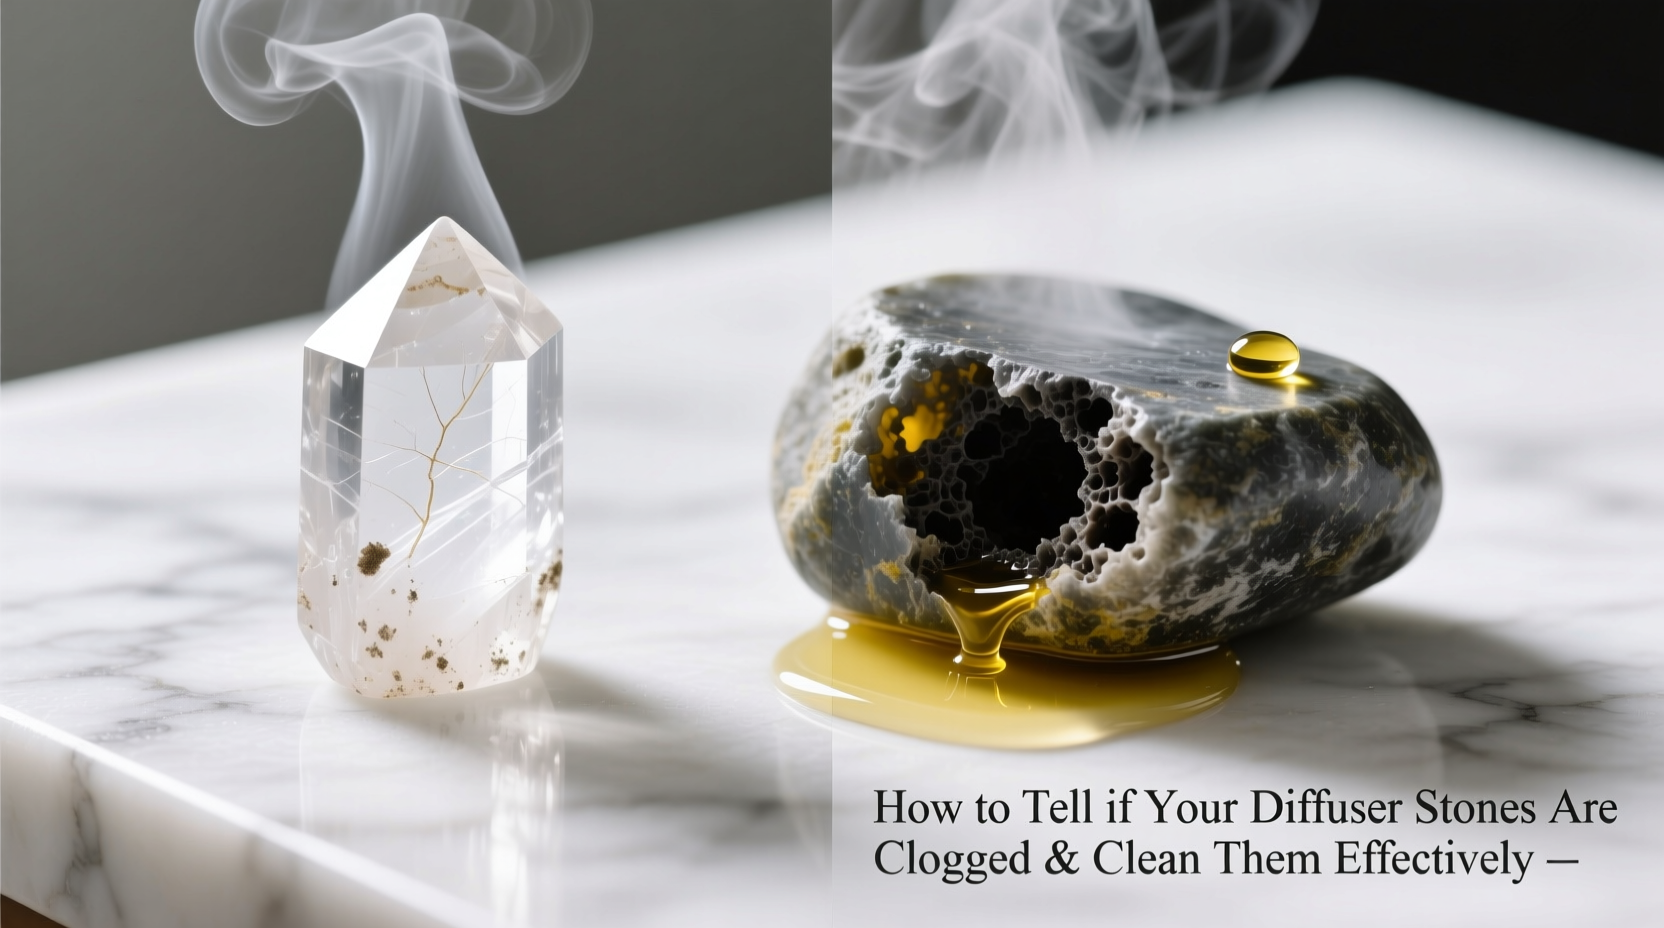
Diffuser stones play a vital role in ultrasonic and nebulizing essential oil diffusers by regulating airflow and breaking oils into fine mists. Over time, residue from essential oils, mineral deposits from water, and environmental dust can accumulate on and inside the stone, reducing its efficiency. A clogged diffuser stone not only diminishes mist output but can shorten the lifespan of your diffuser. Recognizing early signs of blockage and knowing how to clean the stone properly ensures consistent performance and extends the life of your aromatherapy equipment.
Understanding Diffuser Stones and How They Work
Diffuser stones are typically made from porous materials like ceramic, activated charcoal, or sintered glass. These materials allow air to pass through microscopic channels while resisting oil buildup—up to a point. In nebulizing diffusers, a stream of air is forced through the stone, creating a Venturi effect that pulls essential oil up through a wick and disperses it as a fine mist. The stone acts as both a filter and an atomizer. When functioning correctly, it produces a steady, visible plume of aromatic mist without sputtering or gurgling sounds.
The effectiveness of a diffuser stone depends on the integrity of its internal pores. As essential oils evaporate, they leave behind sticky resins and terpenes—especially from thicker oils like patchouli, frankincense, or vetiver. Water-based diffusers may also introduce limescale if tap water is used. Gradual buildup restricts airflow, leading to diminished mist production and inconsistent diffusion.
“Maintaining your diffuser stone isn’t just about cleanliness—it’s about preserving the precision engineering behind effective aromatherapy delivery.” — Dr. Lena Torres, Holistic Wellness Engineer
Signs Your Diffuser Stone Is Clogged
Catching clogs early prevents permanent damage and maintains therapeutic-grade diffusion. Here are the most common indicators:
- Reduced or no mist output: The most obvious sign. If your diffuser runs but produces little to no mist, the stone may be blocked.
- Unusual noises: Gurgling, spitting, or sputtering sounds suggest air is struggling to pass through the stone.
- Inconsistent mist pattern: Instead of a smooth, continuous plume, you may see intermittent bursts or uneven spray.
- Oil pooling at the base: Essential oil accumulates instead of being drawn up and diffused, indicating poor wicking or airflow.
- Faint or altered scent throw: If the aroma seems weaker than usual—even with fresh oil—the stone may not be atomizing efficiently.
- Longer warm-up time: A healthy stone should produce mist within 30–60 seconds. Delays signal restricted flow.
Step-by-Step Guide to Cleaning Diffuser Stones
Cleaning your diffuser stone restores airflow and prolongs its usability. Follow this methodical process to deep-clean without damaging the fragile structure.
- Turn off and unplug the diffuser. Allow it to cool completely before disassembly.
- Remove the stone carefully. Consult your user manual for location—often found at the base of the oil chamber or beneath a protective cap.
- Rinse under lukewarm water. Use a soft brush (like a clean toothbrush) to gently remove surface debris. Avoid hot water, which can crack ceramic.
- Soak in isopropyl alcohol (70% or higher). Submerge the stone in a small container for 1–2 hours. Alcohol dissolves resinous oil residues effectively.
- Agitate lightly. Swirl the container or use a soft brush to dislodge loosened particles. Do not press or crush the stone.
- Rinse again with distilled water. This removes any alcohol residue and prevents contamination during next use.
- Air-dry completely. Place the stone on a clean towel in a well-ventilated area for at least 4–6 hours. Never reinstall a damp stone.
- Reassemble and test. Reinsert the stone and run the diffuser with water (no oil) to verify proper mist output.
Alternative Cleaning Methods
For users avoiding alcohol, white vinegar offers a natural alternative. Soak the stone in a 50/50 mix of white vinegar and distilled water for 2–3 hours. While less effective on thick resins, vinegar helps dissolve mineral deposits from hard water. After soaking, rinse thoroughly and dry fully before reuse.
Do’s and Don’ts of Diffuser Stone Maintenance
| Do’s | Don’ts |
|---|---|
| Use distilled water in water-based diffusers to prevent mineral buildup. | Use tap water regularly, especially in hard water areas. |
| Clean the stone every 4–6 weeks with regular use. | Wait until performance drops significantly before cleaning. |
| Store spare stones in a sealed container away from dust. | Leave stones exposed to open air or humid environments. |
| Rotate between multiple stones to extend individual lifespan. | Use sharp tools to scrape or poke the stone surface. |
| Replace stones every 6–12 months, even with maintenance. | Continue using a stone that no longer produces mist after cleaning. |
Real-World Example: Reviving a High-End Nebulizing Diffuser
Sarah, a holistic therapist in Portland, relied on her nebulizing diffuser during client sessions. After six months of daily use with heavy-resin oils like myrrh and sandalwood, she noticed the mist had become weak and uneven. The diffuser made a bubbling noise, and clients commented on the faint scent. Initially assuming the motor was failing, she considered replacing the $200 unit.
Instead, she removed the diffuser stone and inspected it under a magnifying glass. The once-light-gray surface appeared dark and greasy. She soaked it in isopropyl alcohol overnight. The next morning, the solution was cloudy with dissolved resin. After rinsing and drying, she reinstalled the stone. The diffuser immediately produced a strong, steady mist. Sarah now cleans her stone monthly and keeps two spares on rotation, extending her device’s life and saving hundreds in replacement costs.
“Cleaning the stone took 10 minutes and cost nothing. It felt like getting a brand-new diffuser back.” — Sarah M., Aromatherapist
When to Replace vs. Clean
Not all stones can be saved. While regular cleaning preserves functionality, physical damage or deep-seated clogs may render a stone unusable. Consider replacement if:
- The stone has visible cracks or chips.
- Mist output remains weak after multiple cleanings.
- The stone emits a burnt or chemical odor during operation.
- It has been in continuous use for over a year without maintenance.
Most manufacturers recommend replacing diffuser stones every 6 to 12 months, depending on usage frequency and oil types. Keeping a log of cleaning dates helps track lifespan and anticipate replacements.
Extending Stone Longevity: Best Practices
Prolonging the life of your diffuser stone starts with smart usage habits:
- Dilute thick oils: Mix viscous essential oils with lighter carriers like fractionated coconut oil or ethanol to improve flow.
- Limit continuous runtime: Run diffusers in 30- to 60-minute intervals to reduce heat and residue accumulation.
- Avoid blending resins: Oils high in sesquiterpenes (e.g., vetiver, patchouli) are more prone to clogging. Use sparingly or alternate with citrus oils, which have natural cleansing properties.
- Clean immediately after heavy use: Don’t wait weeks—clean the stone within 24–48 hours after using dense blends.
FAQ: Common Questions About Diffuser Stone Care
Can I clean a diffuser stone with hydrogen peroxide?
Yes, but with caution. Hydrogen peroxide can disinfect and break down organic matter, but prolonged exposure may degrade certain stone materials. If used, limit soaking to 30–60 minutes and rinse thoroughly. Alcohol remains the preferred solvent for resin removal.
How often should I clean my diffuser stone?
For daily users, clean the stone every 4–6 weeks. Occasional users can stretch this to every 2–3 months. Signs of reduced mist or odd sounds mean it’s time to clean, regardless of schedule.
Are all diffuser stones replaceable?
Most nebulizing and ultrasonic diffusers use standardized or manufacturer-specific stones that are replaceable. Check your model’s manual or contact the brand directly. Some compact or proprietary units may have integrated, non-replaceable components.
Conclusion: Maintain for Maximum Aroma and Efficiency
Your diffuser stone is a small component with an outsized impact on performance. Recognizing clogs early and maintaining a simple cleaning routine ensures your essential oils are dispersed effectively, safely, and consistently. Whether you use aromatherapy for relaxation, respiratory support, or ambiance, a clean diffuser stone enhances every experience. By incorporating regular inspections, gentle cleaning, and timely replacements, you protect your investment and enjoy uninterrupted wellness benefits.


 浙公网安备
33010002000092号
浙公网安备
33010002000092号 浙B2-20120091-4
Comments
No comments yet. Why don't you start the discussion?