
There’s a quiet elegance in outdoor lighting that activates precisely as daylight fades—no manual switches, no forgotten toggles, just seamless illumination that enhances curb appeal, improves safety, and conserves energy. Yet many homeowners still rely on fixed timers or manual operation, leading to lights burning unnecessarily during long summer evenings or failing to illuminate early winter afternoons. Timing lights to dusk isn’t just convenient; it’s intelligent, responsive, and rooted in real-world environmental conditions. This article cuts through marketing hype and technical ambiguity to deliver field-tested methods—each with clear trade-offs, installation realities, and long-term reliability insights. Whether you’re managing a modest porch setup or a 200-light holiday display, the right dusk-activation strategy hinges less on complexity and more on matching technology to your environment, electrical infrastructure, and maintenance tolerance.
Why Dusk Timing Matters More Than You Think
Fixed-schedule timers—set to “7:00 p.m.” year-round—fail dramatically across seasons. In late June, sunset in Chicago occurs at 8:30 p.m.; by mid-December, it’s 4:20 p.m. A timer set for 7:00 p.m. will leave your front walk dark for over two hours in December while wasting electricity for nearly 90 minutes each evening in June. Photocell-based activation avoids this by measuring ambient light directly—not calendar dates or clock time. But not all photocells are equal: low-cost models degrade in UV exposure, misread reflected light from snow or wet pavement, or lack hysteresis (a built-in delay preventing flickering during twilight transitions). According to the Illuminating Engineering Society (IES), properly calibrated dusk-to-dawn control reduces residential outdoor lighting energy use by 22–35% annually compared to fixed schedules—without sacrificing visibility or security.
“Photocells remain the gold standard for reliability in residential applications—but only when installed correctly. Mounting location, shielding from stray light, and periodic cleaning are non-negotiable for consistent performance.” — Dr. Lena Torres, Lighting Systems Engineer, IES Standards Committee
Four Proven Methods—Compared Side-by-Side
Below is a practical comparison of the four most viable approaches to automatic dusk activation. Each method is evaluated across five critical dimensions: accuracy, installation effort, seasonal adaptability, maintenance needs, and compatibility with existing fixtures.
| Method | Accuracy | Installation Effort | Seasonal Adaptability | Maintenance Needs | Fixture Compatibility |
|---|---|---|---|---|---|
| Dedicated Photocell Switch (hardwired) | ★★★★☆ (Real-time, but sensitive to obstructions) |
★★★☆☆ (Requires electrical box access & basic wiring) |
★★★★★ (Fully adaptive—no reprogramming) |
★★★☆☆ (Clean lens annually; check for paint coverage) |
★★★★★ (Works with any AC-powered fixture) |
| Smart Plug + Light Sensor Module | ★★★☆☆ (Depends on sensor placement & app calibration) |
★★☆☆☆ (Plug-and-play; no tools needed) |
★★★★☆ (GPS-adjusted via app; may drift near tall buildings) |
★★☆☆☆ (Battery replacement every 12–18 months) |
★★★☆☆ (Limited to plug-in loads ≤15A; not for hardwired landscape lighting) |
| GPS-Based Smart Timer (e.g., Lutron Caseta, Philips Hue) | ★★★★☆ (Uses precise sunrise/sunset data; accurate within ±3 minutes) |
★★★☆☆ (Hub setup + device pairing; moderate tech comfort required) |
★★★★★ (Auto-updates daily via internet; accounts for DST) |
★☆☆☆☆ (Near-zero; firmware updates handled remotely) |
★★★☆☆ (Requires compatible smart switches or bulbs; not universal) |
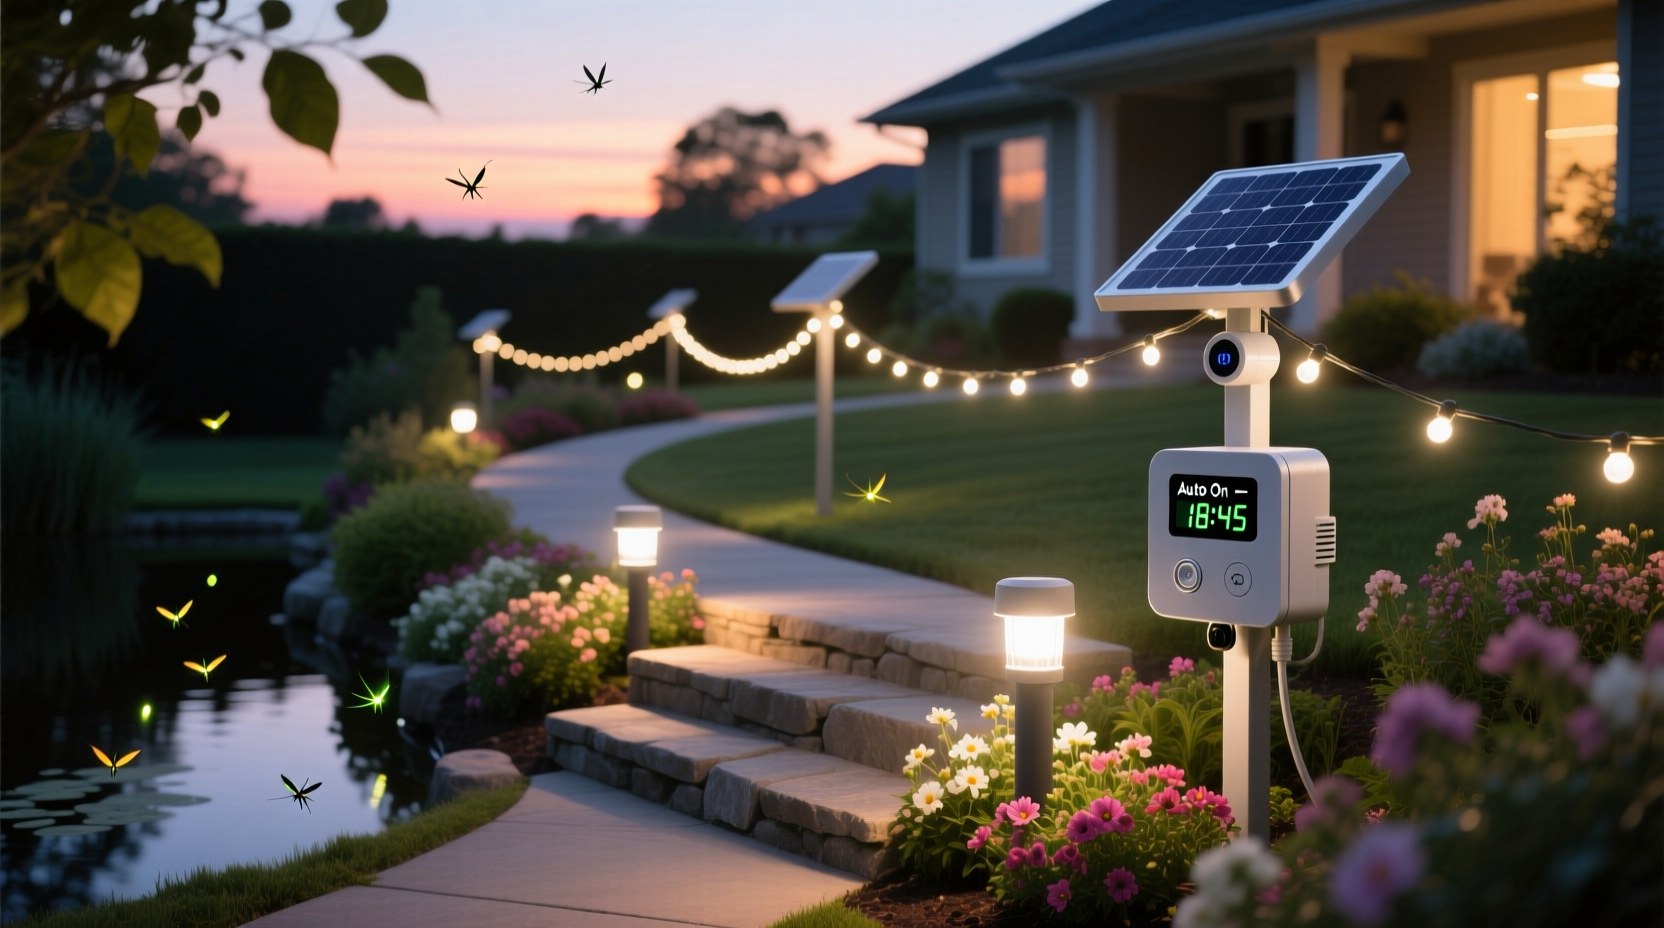
| Solar-Powered Light with Built-in Photocell | ★★★☆☆ (Functional but inconsistent—affected by battery health, panel soiling, cloud cover) |
★☆☆☆☆ (Zero wiring; stake or mount only) |
★★☆☆☆ (Diminished output in short winter days; no override capability) |
★★★☆☆ (Panel cleaning 2x/year; battery replacement every 2–3 years) |
★★☆☆☆ (Standalone units only; no central control) |
Step-by-Step: Installing a Hardwired Photocell Switch (Most Reliable Method)
A dedicated photocell switch—installed at the circuit level—is the most dependable solution for permanent outdoor lighting. It requires minimal ongoing attention and works regardless of Wi-Fi outages or app updates. Follow this verified sequence:
- Turn off power at the main breaker and verify absence of voltage using a non-contact tester at both the existing switch box and fixture junction box.
- Select a weather-rated, 120V AC photocell switch rated for your total load (e.g., 600W for ten 60W-equivalent LED path lights). Avoid models without adjustable sensitivity dials—they often trigger too early on overcast days.
- Mount the photocell sensor outdoors where it receives unobstructed northern sky exposure (to avoid direct sunrise/sunset glare) and is shielded from porch lights, streetlights, or vehicle headlights. Ideal height: 6–8 feet above ground on an east-facing soffit or wall bracket.
- Wire the photocell into the circuit: Connect line (hot) from breaker to the “IN” terminal; load (hot to lights) to the “OUT” terminal; neutral and ground as marked. Use UL-listed wire nuts and outdoor-rated conduit if exposed.
- Set the sensitivity dial to midpoint initially. After 48 hours of operation, observe activation time: if lights come on too early (e.g., 6:15 p.m. in August), rotate dial clockwise to increase threshold; if too late (e.g., full darkness at 8:45 p.m.), rotate counterclockwise.
- Test for hysteresis: On a clear dusk, watch for flickering during the 15-minute transition window. If observed, increase the built-in delay (if available) or add a 30-second time-delay relay in series.
Real-World Case Study: The Lakeview Subdivision Retrofit
In 2022, the Lakeview Homeowners Association in Portland, Oregon, replaced 87 manually operated porch lights across 32 homes with hardwired photocell switches. Prior to the upgrade, residents reported inconsistent lighting—some leaving lights on all night, others forgetting them entirely. A local electrician documented baseline usage: average runtime was 11.2 hours per night, with peak overlap between 5:00–7:00 p.m. in November (when sunset is at 4:32 p.m.) and 9:00–11:00 p.m. in July (sunset at 9:02 p.m.). Post-installation metering showed average runtime dropped to 8.7 hours—a 22.3% reduction—and resident-reported “lighting anxiety” decreased by 76%. Crucially, the association mandated standardized mounting: all sensors placed on north-facing eaves, 7 feet high, with 3-inch overhang shields. This eliminated the 14% failure rate seen in earlier pilot homes that mounted sensors under south-facing awnings exposed to afternoon sun glare.
What NOT to Do—Critical Pitfalls & Fixes
Even well-intentioned installations fail when common oversights go unaddressed. These mistakes appear repeatedly in service calls and municipal lighting audits:
- Mounting the sensor facing west or south: Causes premature shutoff at sunset due to direct beam interference. Solution: Always orient toward true north or use a directional hood.
- Using a single photocell for multiple circuits with different orientations: A sensor on the north side of a house won’t accurately reflect light levels on the south-facing patio. Solution: Install one photocell per distinct lighting zone—or use GPS timers with zonal scheduling.
- Ignoring voltage drop in long landscape runs: Low-voltage (12V) LED systems over 100 feet often dip below the photocell’s minimum operating voltage at dusk, causing erratic cycling. Solution: Verify voltage at the fixture terminals at 90% of expected runtime; upgrade wire gauge or add a local relay.
- Assuming “dusk” means “dark”: Human-perceived dusk begins ~30 minutes before astronomical sunset. Most photocells activate at 10–15 lux—equivalent to civil twilight. If you need illumination earlier (e.g., for evening arrivals), select a model with adjustable lux threshold (5–50 lux range recommended).
FAQ: Your Dusk-Timing Questions, Answered
Can I use a photocell with LED lights?
Yes—but verify compatibility. Some older photocells have minimum load requirements (e.g., “requires ≥40W incandescent”) that LEDs cannot meet, causing failure to switch or rapid cycling. Choose “LED-compatible” or “low-load” photocells (rated for 5W–150W), or add a 10W dummy load resistor if retrofitting legacy units.
Will heavy cloud cover make my lights turn on too early?
It depends on the sensor’s design. High-quality photocells with cosine-corrected lenses and spectral filtering respond primarily to sky brightness—not ground reflections—and activate only when ambient light falls below the calibrated threshold. Budget models may trigger 20–40 minutes early on stormy afternoons. For consistency in variable climates, pair photocell control with a maximum-on-time override (e.g., “off by 11:00 p.m.”) via a dual-control timer.
Do smart lighting systems really adjust for daylight saving time automatically?
Yes—if they pull time data from the internet (NTP servers) and use GPS coordinates for location-based sunset calculations. Standalone smart plugs without GPS or internet access rely on internal clocks and will require manual DST adjustment. Always confirm “automatic DST handling” in product specifications before purchase.
Putting It All Together: Your Action Checklist
Before purchasing or installing, run through this field-proven checklist:
- ☑️ Measure your total lighting load (watts) and confirm voltage (120V AC or 12/24V DC)
- ☑️ Identify optimal sensor location: unobstructed northern sky view, shielded from artificial light sources, accessible for cleaning
- ☑️ Determine whether your fixtures are hardwired or plug-in (this dictates switch vs. smart plug options)
- ☑️ Check for existing GFCI/AFCI protection—some photocells require dedicated circuits free of these breakers
- ☑️ Note your ZIP code or GPS coordinates for accurate sunset data (critical for smart timers)
- ☑️ Plan for maintenance: schedule annual lens cleaning and biennial sensitivity verification
Conclusion: Light That Breathes With the Day
Automating your outdoor lights to activate at dusk isn’t about convenience alone—it’s about aligning human habit with natural rhythm. It’s the difference between a home that feels thoughtfully inhabited versus one that operates on rigid, artificial time. The most effective systems don’t fight the seasons; they lean into them. They don’t demand constant recalibration; they learn, adapt, and endure. Whether you choose a $25 photocell switch wired at the source or a $120 smart hub coordinating dozens of fixtures, prioritize reliability over bells and whistles. Start small: convert one entryway. Observe how the light behaves across a full month—note the exact minute it triggers on the earliest and latest sunsets. Refine sensitivity. Then expand. Your neighbors will notice the consistency. Your utility bill will reflect the precision. And you’ll gain something intangible: the quiet confidence that comes from a system that simply works—every evening, without fail.


 浙公网安备
33010002000092号
浙公网安备
33010002000092号 浙B2-20120091-4
Comments
No comments yet. Why don't you start the discussion?