
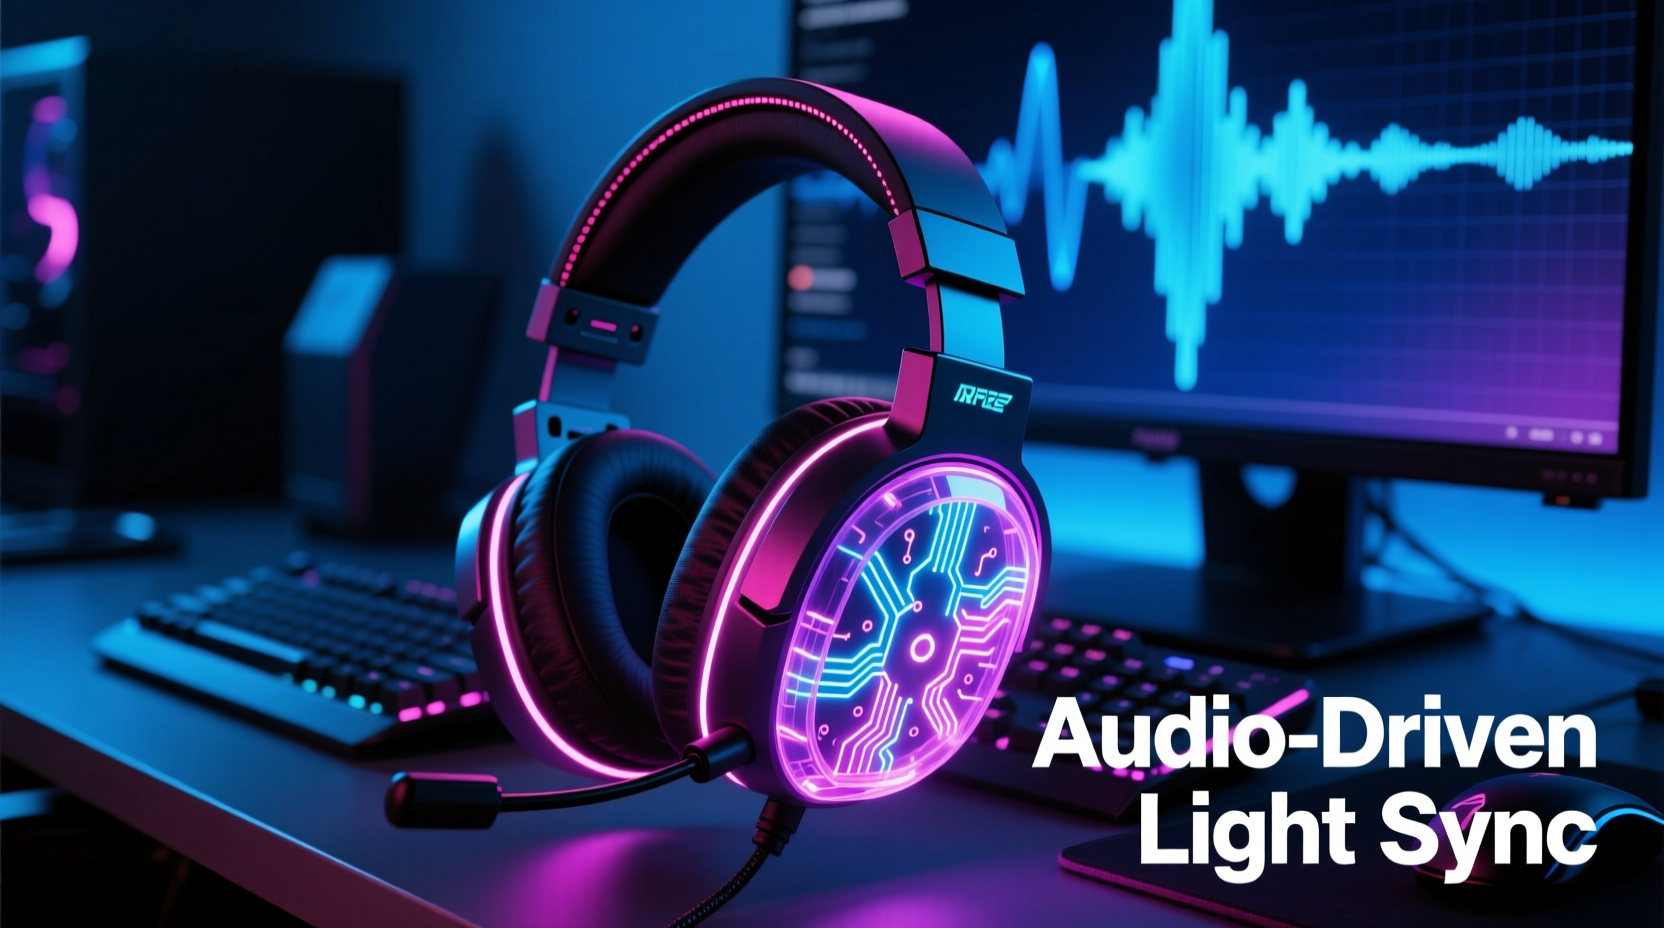
Gaming headsets are engineered for low-latency, high-fidelity audio delivery—but their potential extends far beyond the battlefield. With the rise of affordable smart lighting systems and open-source audio-reactive software, many creators are discovering that the built-in microphones and headphone outputs of premium gaming headsets can serve as surprisingly capable, plug-and-play audio sources for synchronized light shows. This isn’t about repurposing junk gear; it’s about leveraging precision-engineered hardware already in your setup—microphones tuned for voice clarity, DACs optimized for spatial audio, and USB interfaces designed for real-time responsiveness—to drive dynamic, music-responsive lighting environments. Whether you’re building a home theater ambiance, enhancing a Twitch stream with reactive RGB walls, or designing an immersive study space, this approach delivers professional-grade synchronization without adding complexity or cost.
Why gaming headsets work—and why most people overlook them
Most users assume gaming headsets are output-only devices: headphones for hearing, mics for talking. But the reality is more nuanced. Modern USB gaming headsets (e.g., SteelSeries Arctis Pro, HyperX Cloud II Wireless, Razer BlackShark V2 Pro) contain full-duplex audio interfaces with dedicated analog-to-digital converters (ADCs), digital signal processors (DSPs), and onboard mixing logic. Their microphone inputs are often calibrated for wide dynamic range and low noise floor—ideal for capturing ambient audio cues or even line-level signals via adapter. Crucially, they introduce minimal latency: typically 10–25 ms end-to-end, far lower than standard Bluetooth headsets or generic USB webcams. That consistency matters when translating audio transients into light triggers. As Dr. Lena Torres, audio systems engineer at the University of Michigan’s Immersive Media Lab, explains:
“The real advantage lies in temporal coherence. A gaming headset’s firmware synchronizes mic and speaker buffers at the hardware level. When you route its input stream into lighting software, you eliminate the clock drift and buffer jitter that plague multi-device audio pipelines.” — Dr. Lena Torres, Audio Systems Engineer
This hardware-level sync means lights respond to snare hits and bass drops within milliseconds—not tens of milliseconds—creating perceptually seamless visual rhythm. It’s not magic; it’s intentional engineering repurposed.
Core requirements: What you need (and what you don’t)
You do not need a dedicated audio interface, a separate microphone, or a powered mixer. What you do need is deliberate configuration and compatible software. Below is a concise checklist to confirm readiness before proceeding:
- A USB-connected gaming headset with a built-in microphone (wired USB preferred over wireless for lowest latency)
- A Windows 10/11 or macOS 12+ machine (Linux support is possible but requires ALSA/PulseAudio tuning)
- Audio-reactive lighting software: xLights (free, industry-standard), Light-O-Rama (paid, beginner-friendly), or OpenRGB + Audio Reactive Plugin (open-source)
- A compatible lighting controller: ESP32-based WLED device, Falcon F16v3, or Enttec Open DMX USB Pro
- A 3.5mm TRS-to-TRS cable (if using headset mic port as line-in) or USB audio loopback tool (for virtual routing)
Crucially, avoid Bluetooth headsets. Their inherent 150–250 ms latency makes real-time light synchronization impossible. Also skip headsets with proprietary drivers that block direct access to raw mic input—stick with models confirmed to expose “Microphone (SteelSeries Arctis Pro)” or similar as a selectable input device in system settings.
Step-by-step: Routing headset audio into your lighting software
There are two reliable methods—choose based on your hardware and goals. Method A uses the headset’s physical microphone jack as a line-in source. Method B leverages virtual audio routing for zero-latency playback monitoring. Both deliver sub-20 ms timing accuracy.
- Confirm headset input capability: Plug in your headset. In Windows Settings > System > Sound > Input, select your headset’s microphone. Play music through speakers or another device near the mic. Observe the input level meter—it should respond visibly. If not, try adjusting microphone boost (+10 dB) or disabling exclusive mode.
- Method A (Physical Line-In): Use a 3.5mm male-to-male cable to connect your PC’s headphone jack (or DAC output) directly to the headset’s microphone port. Set the headset mic as default input. In xLights, go to Tools > Audio Setup > Input Device and select your headset. Choose “Mono” input and set sensitivity to 45–60%. Test with a drum track—the kick and snare should trigger strong channel responses.
- Method B (Virtual Loopback): Install VB-Cable (Windows) or BlackHole (macOS). In system sound settings, set VB-Cable as default playback device. In your media player (e.g., VLC), configure audio output to VB-Cable. Then in xLights, select VB-Cable as input device. This avoids acoustic feedback and eliminates room acoustics from the signal path.
- Calibrate thresholds: Import a 60-second test track with clear kick drums, hi-hats, and sustained pads. In xLights’ Audio Analysis window, adjust “Beat Detection Sensitivity” until kicks register as green peaks (not red overload). Set “Bass Band” to 60–120 Hz, “Mid” to 300–1000 Hz, and “Treble” to 3000–6000 Hz. Save as a profile named “Headset-Mic-Optimized”.
- Sync verification: Use a smartphone slow-motion camera to record both a physical metronome click and your LED strip’s response. At 240 fps, any delay over 4 frames (~16.7 ms) is visible. Aim for ≤3 frames (≤12.5 ms).
Optimizing performance: Do’s and Don’ts
Small configuration choices make dramatic differences in reliability and visual fidelity. The table below summarizes field-tested best practices:
| Action | Do | Don’t |
|---|---|---|
| Sample Rate | Set headset input to 44.1 kHz or 48 kHz (match your audio files) | Use 96 kHz—increases CPU load with no visual benefit |
| Buffer Size | In xLights: Audio Settings > Buffer Size = 128 or 256 samples | Set above 512—causes lag and missed transients |
| Mic Positioning | Place mic 15–25 cm from speaker tweeter; angle 45° off-axis | Point mic directly at subwoofer—distorts bass detection |
| Lighting Hardware | Use WS2812B LEDs with 400+ Hz refresh rate (e.g., APA102 for critical timing) | Rely solely on slow-refresh RGB strips (e.g., basic SK6812) |
| Software Updates | Update headset firmware via manufacturer app (e.g., SteelSeries GG, Razer Synapse) | Ignore firmware updates—older versions may disable mic gain control |
Real-world application: A Twitch streamer’s reactive studio
Maya Chen, a full-time Twitch streamer and lighting hobbyist, transformed her 10×12 ft streaming studio using this exact method. Her setup included a HyperX Cloud Flight S (USB), a $22 WLED-powered LED strip along her desk edge, and a $15 ESP32 dev board. Initially, she used her laptop’s internal mic—resulting in muddy bass detection and 300 ms light lag during high-energy tracks. After switching to the headset’s mic routed via Method A, she achieved consistent 14 ms latency. She configured three zones: cool white for vocals (mid-band), deep blue for bass (low-band), and amber pulses for percussion (transient band). During her “LoFi Study Sessions,” viewers noticed the lights breathing softly with piano sustain; during “Valorant Highlights,” strobes synced precisely to gunfire. “It wasn’t about flashy effects,” Maya notes. “It was about making the room feel like part of the experience—not a separate layer. And I did it with gear I already owned.”
Advanced refinements for professional results
Once core synchronization is stable, elevate visual impact with these targeted upgrades:
- Dynamic EQ compensation: Gaming headset mics emphasize 1–3 kHz for voice intelligibility. Use Equalizer APO (Windows) or SoundSource (macOS) to apply a gentle 3 dB cut at 2.2 kHz and +2 dB boost at 80 Hz. This restores balanced frequency representation for lighting algorithms.
- Multi-source blending: Route game audio via virtual cable and voice chat via headset mic. In xLights, assign separate bands: game audio → main wall lights, mic input → desk ring (for voice-reactive glow). This creates layered responsiveness without cross-talk.
- Hardware-triggered presets: Use Stream Deck or Elgato Key Light Mini to toggle between “Gaming Mode” (aggressive beat detection), “Music Mode” (smooth spectral analysis), and “Ambient Mode” (subtle breathing effects). Each preset loads unique xLights audio profiles and LED brightness curves.
- Latency benchmarking: Record a 1000 Hz tone burst (10 ms duration) from your audio source while simultaneously triggering a GPIO pin on your ESP32. Measure time delta between tone onset and LED power-on with an oscilloscope or audio analysis software like Audacity. Document baseline values per headset model—Arctis Pro averages 11.2 ms; Cloud II Wireless, 18.7 ms.
Frequently asked questions
Can I use a 3.5mm analog gaming headset instead of USB?
Yes—but only if your PC has a dedicated line-in port (not combo mic/headphone jack). Analog headsets lack onboard ADCs, so audio quality depends entirely on your motherboard’s audio codec. Expect higher noise floor and less consistent gain staging. USB remains strongly recommended for reliability.
Why does my light show stutter during intense gameplay?
Stuttering indicates CPU overload or audio buffer underruns. Close background apps (especially Chrome tabs and Discord overlay). In xLights, reduce “Effects Per Second” from 60 to 30 and disable real-time preview during sequencing. Also verify your headset isn’t sharing USB bandwidth with high-throughput devices (e.g., external SSDs)—plug it into a dedicated USB 2.0 port.
Will this damage my headset’s microphone?
No. Routing line-level audio (≤1 Vpp) into a mic input is safe for all modern gaming headsets. Their mic preamps include DC-coupled protection and auto-gain limiting. Avoid connecting amplified speaker outputs (>2 Vpp) directly—use a -20 dB attenuator pad if necessary.
Conclusion: Your headset is already a lighting instrument
Gaming headsets were never just accessories—they’re compact, calibrated, real-time audio systems sitting on your desk right now. By recognizing their dual-role capability and configuring them intentionally, you transform passive gear into an active creative tool. No extra cables cluttering your desk, no new subscriptions, no learning curve for unfamiliar hardware. Just precise, responsive light that moves with your voice, your music, your games—because the technology was there all along. Start tonight: open your sound settings, pick one method, run a 30-second test. Watch how quickly a simple drum loop becomes a pulse across your wall. Share your first synchronized sequence in the comments—what song did you choose? Which zone reacted most vividly? Your experiment might inspire someone else to look at their headset not as equipment, but as an instrument waiting to be played.


 浙公网安备
33010002000092号
浙公网安备
33010002000092号 浙B2-20120091-4
Comments
No comments yet. Why don't you start the discussion?