
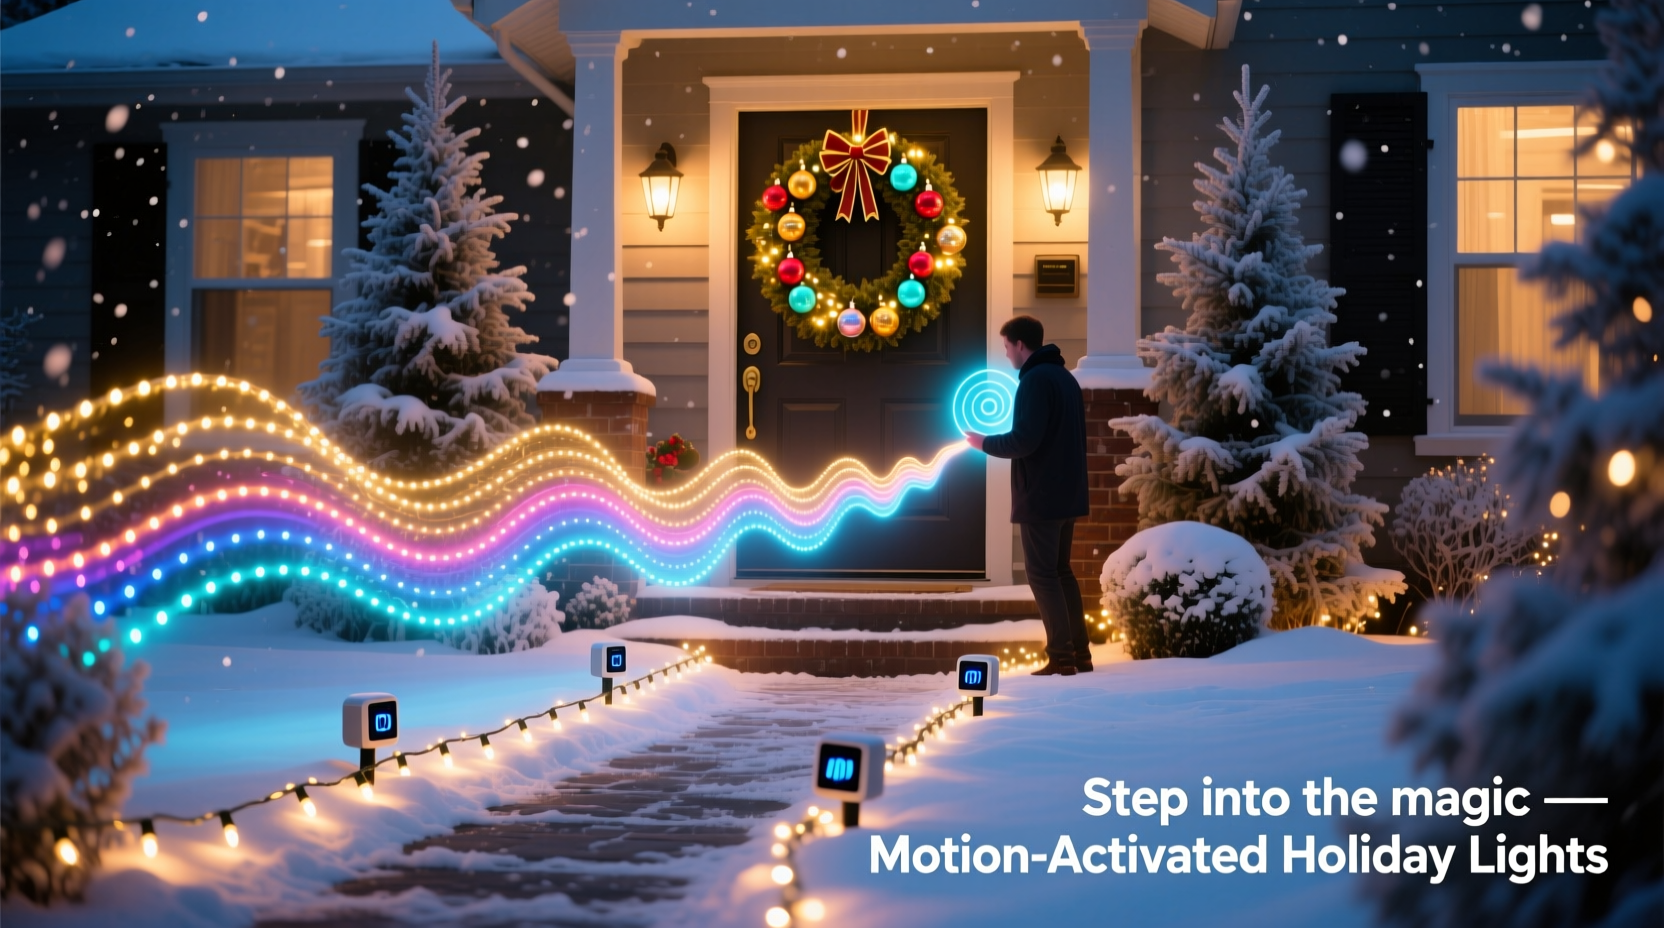
The holidays are a time for wonder, warmth, and creativity. As technology becomes more accessible, homeowners are no longer limited to static light shows. By integrating motion sensors with Christmas lights, you can transform your display into an engaging, responsive experience that reacts to movement—surprising visitors, conserving energy, and adding a dynamic layer of fun. Whether it’s triggering a cascade of twinkling lights when someone walks up the driveway or activating a themed sequence as kids approach the front porch, motion-activated lighting brings holiday magic to life in real time.
This guide covers everything you need to know about combining motion sensors with Christmas lights: how they work together, what equipment to choose, installation best practices, creative ideas, and troubleshooting tips. With the right setup, your home can become the talk of the neighborhood—not just for its brightness, but for its intelligence.
How Motion Sensors Work with Holiday Lighting
Motion sensors detect changes in infrared radiation (heat) or movement within a defined range. When a warm body—like a person or animal—passes through the sensor's field of view, it triggers an electrical signal. This signal can be used to activate connected devices, such as strings of Christmas lights, relays, or smart controllers.
There are three primary types of motion sensors used in outdoor lighting applications:
- Passive Infrared (PIR): Detects heat emitted by moving objects. Most common and cost-effective.
- Microwave: Sends out microwave pulses and measures reflection. More sensitive but prone to false triggers.
- Dual-Tech: Combines PIR and microwave sensors to reduce false alarms. Ideal for reliable outdoor use.
For Christmas light setups, PIR sensors are typically sufficient and widely compatible with standard plug-in light strings and smart home systems. They’re also weather-resistant when properly housed, making them ideal for seasonal outdoor installations.
Equipment You’ll Need for an Interactive Display
Creating a motion-responsive light display doesn’t require advanced engineering. With a few key components, you can build a system that activates only when someone is nearby—saving electricity and increasing visual impact.
Core Components
- Motion Sensor Unit: Choose between standalone outdoor-rated PIR sensors or smart motion detectors (e.g., those compatible with Alexa or Google Home).
- Christmas Lights: LED string lights are preferred due to low power draw and durability. Consider addressable RGB strips if you want color-changing effects.
- Power Relay or Smart Plug: A relay allows the low-voltage signal from the sensor to control high-voltage light circuits. For simpler setups, use a Wi-Fi smart plug triggered by the sensor.
- Extension Cords & Waterproof Enclosures: Outdoor-rated cords and junction boxes protect connections from moisture.
- Controller (Optional): Microcontrollers like Arduino or ESP8266 enable custom animations and timing sequences upon detection.
Do’s and Don’ts of Equipment Selection
| Do | Don’t |
|---|---|
| Use UL-listed, outdoor-rated components | Use indoor-only sensors or lights outdoors |
| Choose LED lights for lower heat and energy use | Overload circuits beyond their rated capacity |
| Test sensor sensitivity before final mounting | Install sensors where wind-blown foliage may trigger false alerts |
| Use surge protectors on all outdoor circuits | Leave wire splices exposed to rain or snow |
Step-by-Step Guide to Installing Motion-Activated Lights
Follow this logical sequence to set up a responsive lighting display that activates when people approach.
- Plan Your Layout: Sketch where lights will go and identify high-traffic areas—front walkway, porch steps, driveway entrance. Mark where the sensor should be placed for optimal coverage.
- Connect the Sensor to Power: Plug the motion sensor into an outdoor outlet using a GFCI-protected circuit. If hardwired, ensure power is off and follow local electrical codes.
- Link Lights via Relay or Smart Plug:
- For analog setups: Wire the output of the motion sensor to a relay that controls the light circuit.
- For smart setups: Connect a smart plug to the lights and configure automation rules in the app (e.g., “When motion detected, turn on for 30 seconds”).
- Mount the Sensor: Securely install the sensor using screws or brackets. Point it directly toward the zone you want to monitor. Avoid aiming at roads or public sidewalks unless intended.
- Adjust Sensitivity and Duration: Most sensors have dials for range (5–30 ft), time delay (5 sec to 5 min), and light level (to activate only at night). Set accordingly.
- Test Thoroughly: Walk through detection zones at different speeds and angles. Ensure lights turn on reliably and shut off after the set duration.
- Weatherproof Connections: Seal any exposed wiring with waterproof tape or silicone gel caps. Use conduit or cord covers where needed.
Creative Applications for Interactive Displays
Once the technical foundation is in place, the real fun begins: designing experiences that delight viewers.
Imagine a path lined with glowing reindeer that flicker to life as guests approach. Or a nativity scene where the star above slowly brightens only when someone stands before it. These moments feel magical because they respond to presence.
Ideas to Inspire Your Setup
- Entryway Welcome Sequence: As visitors step onto the porch, warm white lights bloom outward like a wave along railings and columns.
- Animated Character Activation: Pair motion with sound modules—when motion is detected, a grumpy snowman “comes alive” with blinking eyes and jingle music.
- Staircase Safety Lights: Illuminate steps only when someone ascends or descends, improving safety while reducing light pollution.
- “Santa Tracker” Pathway: Create a trail of motion-triggered red and green dots across the lawn—each one lighting up sequentially as kids chase the “footsteps.”
- Photo Op Zone: Designate a corner of your yard where motion triggers a full spotlight and festive music, encouraging neighbors to stop and take pictures.
“We installed motion-activated icicle lights under our eaves last year. The first time a child jumped and waved to make them turn on—it was pure joy. It wasn’t just decoration anymore; it became play.” — Lisa Tran, DIY Holiday Enthusiast, Portland, OR
Troubleshooting Common Issues
Even well-designed systems can encounter hiccups. Here’s how to resolve frequent problems:
Frequent False Triggers
If lights turn on without apparent cause, check for:
- Nearby heat sources (vents, exhaust fans)
- Swinging tree branches or bushes in the sensor’s view
- Pets moving through the detection zone
Solution: Re-angle the sensor, reduce sensitivity, or switch to a dual-tech model.
Lights Not Turning On
Possible causes include:
- Dead batteries (in wireless sensors)
- Tripped GFCI outlet
- Loose wiring or blown fuse in the circuit
- Photocell preventing activation during daylight
Solution: Test each component individually. Use a multimeter to verify voltage at critical points.
Lights Stay On Permanently
This usually means the sensor is stuck or misconfigured.
- Check the time-delay dial—is it set to “on” indefinitely?
- Inspect for physical damage or moisture inside the unit.
- Replace faulty relays or smart plugs.
Mini Case Study: The Johnson Family’s Animated Yard
The Johnsons in suburban Chicago wanted to elevate their annual Christmas display. Known for elaborate decorations, they decided to add interactivity in 2023. Their goal: create a “living” yard where elements responded to guests.
They installed four PIR sensors around the property—one near the sidewalk, two flanking the driveway, and one overlooking the front porch. Each controlled a different section of lights:
- Sensor 1: Triggered blue-and-white wave patterns on roofline lights.
- Sensor 2: Activated a motorized sleigh animation with accompanying jingle bells (via Bluetooth speaker).
- Sensor 3: Turned on pathway markers leading to a mailbox decorated as Santa’s workshop.
- Sensor 4: Illuminated a large inflatable snow globe only when someone stood within 5 feet.
Using smart plugs and a central automation hub, they programmed delays so sequences didn’t overlap chaotically. Neighbors reported stopping by multiple times—just to see what would happen when they moved through different zones. Local news even featured their home in a “Best Lights in the City” segment.
Total cost: under $300. Time invested: two weekends. Impact: unforgettable.
FAQ
Can I use battery-powered motion sensors for Christmas lights?
Yes, but with limitations. Battery-powered sensors work well for low-power LED strings or wireless smart bulbs. However, they require regular battery replacement and may lose sensitivity in cold weather. For permanent or heavy-duty displays, hardwired or AC-powered sensors are more reliable.
Will motion sensors work in snowy or rainy conditions?
Outdoor-rated sensors are designed to withstand precipitation, but heavy snow buildup can block the lens or reflect heat signatures unpredictably. Clear snow from the sensor housing regularly, and mount it under a small overhang if possible—without obstructing its field of view.
Can I combine motion sensors with voice assistants?
Absolutely. Smart platforms like Amazon Alexa, Google Assistant, or Apple HomeKit allow you to create routines where motion detection triggers specific lighting scenes, sounds, or even announcements (“Santa has been spotted!”). Just ensure your lights and sensors are on the same ecosystem (e.g., Wi-Fi or Zigbee).
Checklist: Building Your Motion-Activated Display
- ☐ Define the purpose and zones for interactivity
- ☐ Select appropriate motion sensors (outdoor-rated, PIR or dual-tech)
- ☐ Choose energy-efficient LED lights compatible with your control method
- ☐ Acquire relays, smart plugs, or microcontrollers as needed
- ☐ Plan power sources and circuit loads to avoid overloading
- ☐ Install sensors at optimal height and angle
- ☐ Test detection range and adjust sensitivity
- ☐ Weatherproof all electrical connections
- ☐ Program desired light sequences or durations
- ☐ Perform a full-system test with family members walking through zones
Conclusion
Motion sensors transform Christmas lights from passive decor into dynamic storytelling tools. They conserve energy, enhance safety, and most importantly, create moments of surprise and delight that resonate long after the season ends. With thoughtful planning and basic technical knowledge, anyone can build a responsive holiday display that feels alive.
The technology is accessible, affordable, and increasingly user-friendly. Whether you're illuminating a single doorway or orchestrating a multi-zone spectacle, the principles remain the same: detect movement, trigger response, refine the experience.


 浙公网安备
33010002000092号
浙公网安备
33010002000092号 浙B2-20120091-4
Comments
No comments yet. Why don't you start the discussion?