
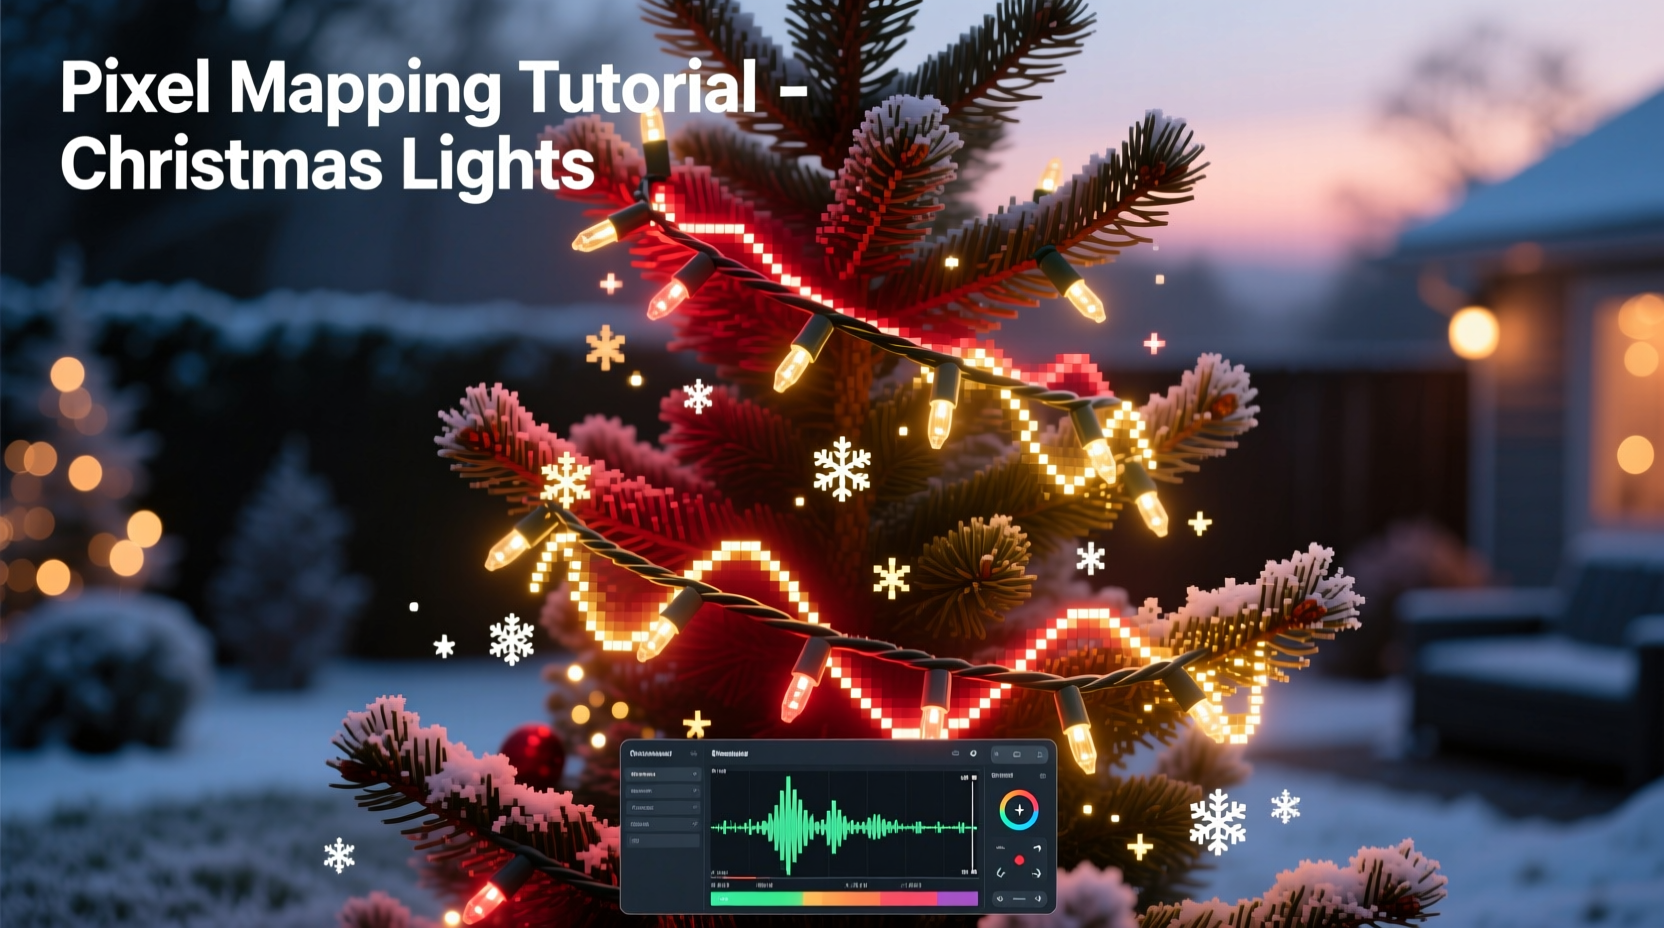
Transforming a static string of Christmas lights into a dynamic, dancing display is no longer reserved for professional designers or theme parks. With the rise of addressable LED pixels and accessible control software, homeowners and hobbyists can now craft mesmerizing light animations using pixel mapping. This technique allows each individual LED in a strand to be precisely controlled—turning them into pixels on a living canvas. When done right, the result is a synchronized spectacle that pulses, swirls, and responds to music like digital art wrapped around your home.
Pixel mapping isn’t just about turning lights on and off—it’s about spatial awareness, timing, and creative expression. Whether you're outlining a roofline, wrapping a tree, or designing a 3D structure, understanding how to map physical LEDs to virtual coordinates unlocks full creative control. The process combines hardware setup, software configuration, and artistic vision to produce effects that feel alive.
Understanding Pixel Mapping: The Foundation of Animated Lighting
At its core, pixel mapping is the process of assigning real-world LED positions to virtual points in animation software. Each LED becomes a “pixel” in a digital layout, allowing you to program movement, color transitions, and patterns as if editing a video frame by frame. Unlike traditional lighting where entire sections turn on together, pixel-mapped systems let you control every single bulb independently.
This level of control enables effects such as chasing sequences that follow architectural lines, rippling waves across a flat surface, or even simulating falling snow from gutters. The key lies in accurately representing your physical light layout within the software so that animations play back exactly as intended.
Addressable LEDs—commonly known as NeoPixels (WS2812B), APA102, or similar—are essential. These strips or nodes contain built-in controllers that receive data signals and adjust brightness and color accordingly. A microcontroller like an ESP32 or Raspberry Pi sends instructions based on pre-designed sequences, often synced to music or timers.
The Step-by-Step Process of Creating Animated Effects
Bringing animated Christmas lights to life involves careful planning and execution. Follow this timeline to go from idea to illumination:
- Design Your Layout: Sketch your house or display area and mark where lights will go. Decide whether you’ll use linear runs (e.g., along eaves) or grid-based panels (e.g., a lit window).
- Select Addressable Lights: Choose between flexible strips, rigid bars, or individual nodes depending on surface type and desired density. Aim for consistent spacing—typically 3–6 inches apart—for smooth motion effects.
- Install Hardware: Mount LEDs securely using clips or adhesive backing. Run power and data cables neatly, avoiding sharp bends. Use waterproof connectors outdoors.
- Set Up Controller: Connect your microcontroller (like WLED-enabled ESP32) to the first LED in each segment. Ensure proper voltage regulation and consider splitting long runs with amplifiers.
- Create Virtual Map: In software like xLights, Falcon Player, or Jinx!, define each LED’s position numerically. For straight lines, assign sequential numbers; for complex shapes, plot X/Y coordinates.
- Test Basic Functions: Send simple tests—color wipes, chases, flashes—to confirm all LEDs respond correctly and are mapped in the right order.
- Design Animations: Build sequences using fade-ins, rotations, bouncing balls, or audio-reactive triggers. Layer effects for depth and rhythm.
- Synchronize to Music: Import a soundtrack and align beats, lyrics, or crescendos with visual peaks. Adjust timing down to the millisecond for precision.
- Preview and Refine: Use simulation mode to watch how animations appear before deploying live. Make adjustments for flow and clarity.
- Deploy and Enjoy: Activate your show on schedule or via remote trigger. Invite neighbors and share the joy.
Each step builds toward a seamless experience. Skipping calibration or rushing the mapping phase leads to glitches—like reversed chases or misaligned patterns—that break immersion.
Essential Tools and Software for Precision Mapping
While the lights do the shining, the software does the thinking. Choosing the right tools ensures accuracy and flexibility in design.
xLights remains the gold standard for serious creators. It supports multi-universe setups, advanced layering, and extensive effect libraries. Its preview window lets you simulate 2D and 3D layouts, making it easier to visualize outcomes before powering up hardware. Alternatives like Vixen Lights offer simpler interfaces but may lack support for large-scale installations.
Falcon Player (FPP) is ideal for standalone operation. Once programmed, it runs without a PC, reading sequences from SD cards or network sources. Combined with xLights authoring, FPP handles playback efficiently, especially in outdoor environments where leaving a computer running isn’t practical.
For those starting out, WLED offers a lightweight web interface that works directly with ESP32 boards. Though less powerful than xLights, it excels at quick prototyping and small projects, supporting basic animations and real-time controls via smartphone apps.
| Software | Best For | Learning Curve | Hardware Support |
|---|---|---|---|
| xLights | Large, complex displays with music sync | High | Extensive (Falcon, E1.31, Art-Net) |
| Vixen Lights | Beginners and moderate setups | Medium | Moderate (Arduino, DMX) |
| Falcon Player (FPP) | Autonomous, repeatable shows | Medium-High | Falcon controllers, E1.31 |
| WLED | Small DIY projects, instant effects | Low | ESP8266/ESP32 only |
No matter which platform you choose, consistency in naming channels, organizing layers, and backing up configurations saves hours later. Always test changes incrementally rather than overhauling entire sequences at once.
Avoiding Common Pitfalls: Do’s and Don’ts
Even experienced builders encounter issues when scaling up. Learning from common mistakes prevents frustration and wasted materials.
| Do | Don’t |
|---|---|
| Use twisted-pair data cables to reduce signal interference | Run data lines parallel to high-voltage wiring |
| Power inject every 5 meters on long LED runs | Daisy-chain more than 500 LEDs without amplification |
| Label controller ports and corresponding light zones | Assume all strands start at the same end |
| Simulate animations before live testing | Upload untested sequences during peak viewing hours |
| Keep spare fuses, connectors, and LEDs on hand | Ignore early signs of flickering or dead segments |
One frequent error is assuming uniform brightness across all LEDs. In reality, voltage drop over distance causes dimming at the far end of a strip. Power injection—feeding 5V or 12V at multiple points—maintains consistent output. Similarly, grounding all components to a common point minimizes noise and erratic behavior.
Real-World Example: Mapping a Roofline Wave Effect
Consider a homeowner installing 300 WS2812B LEDs along the gabled roof of their two-story house. They want to create a cascading water effect that flows from peak to eaves, mimicking gentle rainfall.
They begin by dividing the roof into three segments: left slope, ridge line, right slope. Each section uses 100 LEDs spaced evenly. Using xLights, they draw a mirrored ‘V’ shape and assign pixel numbers sequentially from top-left down to bottom-left, then across the base, and up the right side. This creates a continuous path for the animation to follow.
In the software, they apply a \"comet\" effect with a blue-white gradient, short tail, and moderate speed. By adjusting the direction and curvature settings, they make the light appear to drip downward realistically. To enhance realism, they add slight randomization in delay times—so not all “drops” fall in perfect sync.
After previewing the simulation, they notice the effect feels too mechanical. So they introduce secondary elements: faint twinkles in the background imitating stars, and occasional brighter streaks to represent heavier drops. Audio syncing adds ambient thunder rumbles timed with flash bursts.
On opening night, visitors describe the display as “hypnotic” and “cinematic.” What started as a simple chase evolved into an immersive weather scene—all because of thoughtful pixel mapping and layered design.
“Great lighting isn’t about how many bulbs you have—it’s about how well they tell a story.” — Marcus Tran, Architectural Light Designer
Checklist: Launching Your First Pixel-Mapped Display
- ✅ Measure total length of lighting areas and calculate number of LEDs needed
- ✅ Purchase addressable LEDs, controller, power supplies, and weatherproof enclosures
- ✅ Install lights with secure mounting and protected connections
- ✅ Wire controller with correct data, ground, and power links
- ✅ Configure software with accurate pixel count and layout shape
- ✅ Test communication: verify all pixels respond to basic commands
- ✅ Create and simulate at least one full animation sequence
- ✅ Sync animation to a holiday track (optional but impactful)
- ✅ Perform nighttime test run under real conditions
- ✅ Schedule automated playback or prepare manual activation plan
Completing this checklist ensures technical readiness and creative satisfaction. Many creators keep a printed copy for future seasons, updating it as new features are added.
Frequently Asked Questions
Can I mix different types of LED pixels in one display?
It’s technically possible but not recommended unless using compatible protocols and voltages. Mixing WS2812B (5V) with SK6812 (also 5V) is generally safe, but combining them with 12V strips requires separate power and data lines. Mismatches cause inconsistent colors, flickering, or damage.
How much does a basic pixel-mapped setup cost?
A small to medium residential display typically ranges from $300 to $800, depending on scale. Key costs include addressable LEDs (~$10–$25 per meter), microcontrollers ($20–$40), power supplies ($30–$60), and accessories. Larger homes with full coverage may exceed $1,500.
Is programming knowledge required?
No. While understanding logic helps, modern tools rely on graphical interfaces. You drag and drop effects, adjust sliders, and preview results without writing code. However, learning basic JSON or scripting can unlock advanced customization in platforms like WLED.
Bring Your Vision to Light
Pixel mapping turns holiday lighting from decoration into performance. With precise control over every point of light, you’re no longer limited by switches or timers—you become a conductor of color and motion. The effort invested in planning and calibration pays off in awe-struck neighbors, joyful children, and a sense of pride that lasts beyond the season.
Start small. Master one effect. Then expand. Every great display began with a single pixel. Now that you understand how to map, animate, and synchronize, there's nothing stopping you from creating something unforgettable.


 浙公网安备
33010002000092号
浙公网安备
33010002000092号 浙B2-20120091-4
Comments
No comments yet. Why don't you start the discussion?