
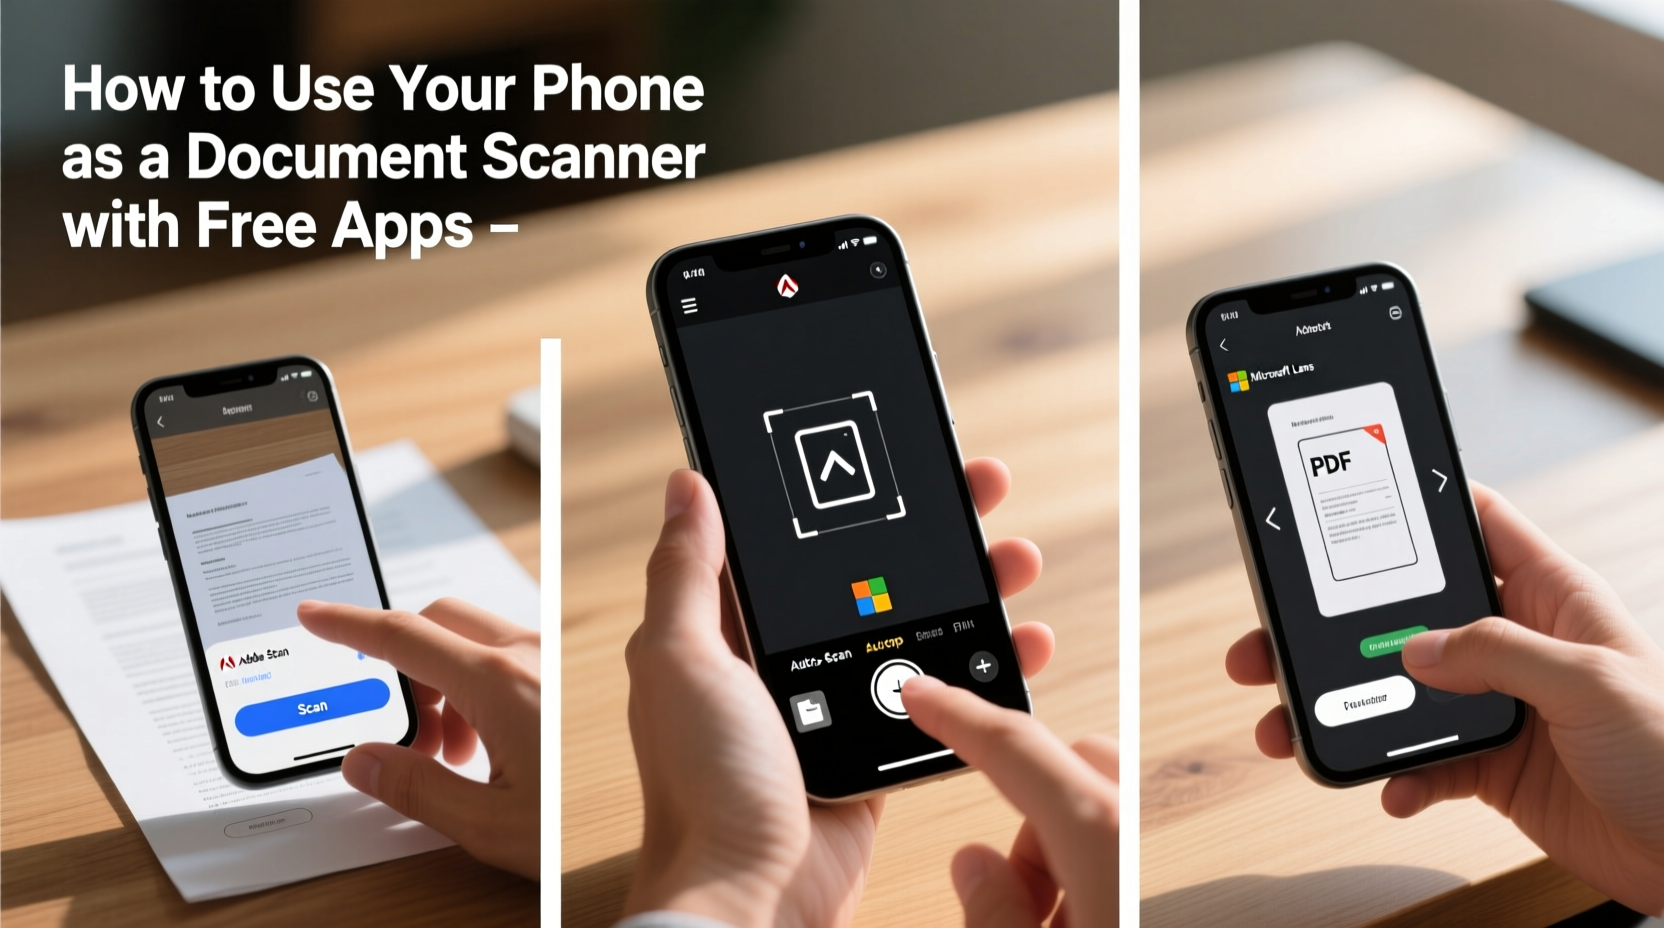
In today’s mobile-first world, carrying a physical scanner is unnecessary. Your smartphone already has a high-resolution camera, powerful processing, and access to intelligent software that can transform it into a full-featured document scanner. Whether you're digitizing receipts for expense reports, signing a contract remotely, or archiving handwritten notes, turning your phone into a portable scanning station is fast, convenient, and completely free with the right tools.
The key isn’t just pointing and shooting—it’s knowing which apps enhance image quality, automate edge detection, and export files in useful formats like PDF or searchable text. With minimal setup and no special equipment, you can achieve results comparable to dedicated office scanners. This guide walks through the best practices, top-rated free apps, and pro techniques to get professional-looking scans anytime, anywhere.
Why Use Your Phone as a Scanner?
Traditional scanners are bulky, require cables, and often lack portability. In contrast, your smartphone is always within reach, connected to the cloud, and capable of instant sharing via email, messaging, or collaboration platforms. Using your phone as a scanner supports remote work, simplifies personal organization, and reduces reliance on paper.
Modern scanning apps leverage AI-powered features such as automatic page detection, perspective correction, and text recognition (OCR), making them far more than simple photo tools. These capabilities allow users to extract editable text from printed documents, search through scanned files, and even translate content—all without paying for premium hardware.
Top Free Apps That Turn Your Phone Into a Scanner
Not all scanning apps are created equal. Some prioritize speed, others focus on OCR accuracy or integration with cloud services. Below is a comparison of five reliable, free-to-use apps available on both iOS and Android platforms.
| App Name | Platform | Key Features | Export Options | Offline Use |
|---|---|---|---|---|
| Microsoft Lens | iOS, Android | Auto-crop, OCR, whiteboard mode, integration with OneNote/OneDrive | PNG, PDF, Word, PowerPoint | Yes (limited) |
| Adobe Scan | iOS, Android | AI-powered edge detection, OCR, Adobe Document Cloud sync | PDF only (free tier) | No (requires internet for processing) |
| Google Drive (built-in scanner) | Android, iOS (via app) | Direct scanning into Drive, auto-PDF creation, Google Workspace integration | Limited (scanning works offline but uploads later) | |
| CamScanner (Free Version) | iOS, Android | Batch scanning, QR code generation, multi-page support | PDF, JPG | Yes |
| Notebloc Scanner | iOS only | No watermark, ad-free, excellent color correction | PDF, JPG | Yes |
Each of these apps offers robust functionality at no cost, though some include optional subscriptions for advanced features. For most users, Microsoft Lens and Google Drive provide the best balance of performance, compatibility, and ecosystem integration.
“Smartphone scanning has reached a point where it's not just convenient—it's often more efficient than traditional methods.” — Dr. Lena Patel, Digital Productivity Researcher at MIT Media Lab
Step-by-Step Guide to Scanning Documents with Your Phone
Getting a clean, readable scan involves more than opening an app and tapping the shutter. Follow this sequence to ensure consistently high-quality results:
- Prepare the Document: Flatten creased papers, remove staples if necessary, and ensure text is legible. Avoid glossy surfaces that cause glare.
- Choose a Well-Lit Area: Natural light from a nearby window is ideal. Avoid direct overhead lighting that creates harsh shadows.
- Stabilize Your Phone: Hold the device steady with both hands or rest it on a surface. For consistent angles, consider using a small tripod or stand.
- Open Your Preferred App: Launch Microsoft Lens, Adobe Scan, or another scanning tool. Select “Document” mode if multiple options exist.
- Capture the Image: Position the phone directly above the document. Most apps automatically detect edges; tap the screen to manually adjust corners if needed.
- Review and Edit: Crop out background clutter, enhance contrast, or convert text using OCR settings. Some apps allow you to reorder pages in multi-document scans.
- Save or Share: Export as PDF for universal compatibility or choose editable formats like Word when supported. Save locally or upload directly to cloud storage.
This process typically takes under two minutes per document and improves with practice. Over time, you’ll develop a rhythm that makes scanning feel seamless during daily tasks.
Pro Tips for Crisp, Professional-Quality Scans
Even with great apps, poor technique can result in blurry, skewed, or hard-to-read outputs. Apply these expert strategies to elevate your scanning game:
- Aim for Perpendicular Alignment: Hold your phone so the lens points straight down at the document. Angled shots distort proportions and make text harder to read.
- Use Edge Detection Wisely: While automatic corner detection saves time, review the highlighted borders before confirming. Misaligned edges cut off critical content.
- Enable Grid Lines: Many apps offer a grid overlay to help align your shot. Turn this on until you’re confident in freehand positioning.
- Scan One Page at a Time: Avoid stacking pages unless using batch-scan mode. Overlapping sheets create confusion for autofocus and edge detection algorithms.
- Optimize File Size: If sharing via email, compress large PDFs using built-in app settings or online tools. Most scanning apps offer low, medium, and high-quality export tiers.
Mini Case Study: Digitizing Rental Paperwork Remotely
Sophie, a freelance graphic designer based in Portland, recently signed a new apartment lease while traveling. Her landlord emailed a nine-page agreement requiring wet-ink signatures on three sections. Instead of printing, signing, and mailing, she used her iPhone and Microsoft Lens to complete the task digitally.
She opened the PDF in Files, marked the signature spots, and used the annotation tool to insert her initials and full signature. Then, she scanned each signed page individually using natural light near a window. Microsoft Lens automatically cropped and enhanced the images, which she compiled into a single PDF and returned via email within 20 minutes.
Her landlord accepted the scanned copy without issue, and Sophie saved both time and postage. She now uses the same method for client contracts, invoices, and tax documentation—keeping everything organized in OneDrive with searchable text enabled.
Common Mistakes to Avoid When Scanning on Your Phone
While smartphone scanning is straightforward, certain habits degrade quality or compromise usability:
- Shooting Under Poor Lighting: Dim rooms or uneven illumination produce grainy, low-contrast images. Shadows can obscure text, especially on photocopied originals.
- Ignoring Glare from Shiny Surfaces: Laminated documents or glossy paper reflect light, creating bright spots. Rotate the document slightly or dim artificial lights to minimize reflections.
- Skipping the Preview Step: Always check the final image before exporting. Missing a page or cutting off margins can invalidate legal documents.
- Overloading Multi-Page Scans: Some free apps limit the number of pages per file or restrict editing in longer documents. Break very long forms into smaller batches.
- Assuming All Scans Are Legally Binding: While most institutions accept digital signatures, verify requirements for official submissions like government forms or real estate deals.
Checklist: Optimized Mobile Scanning Workflow
Use this checklist every time you scan to maintain consistency and avoid errors:
- ✅ Ensure adequate lighting (natural preferred)
- ✅ Clean the camera lens with a microfiber cloth
- ✅ Place document on a flat, dark-colored surface
- ✅ Open scanning app and select “Document” mode
- ✅ Align phone perpendicular to the page
- ✅ Confirm automatic edge detection is accurate
- ✅ Tap to capture or let auto-shoot trigger
- ✅ Review and adjust crop boundaries if needed
- ✅ Enhance brightness/contrast for readability
- ✅ Choose appropriate export format (PDF recommended)
- ✅ Save with a descriptive filename
- ✅ Back up to cloud storage or email a copy
Frequently Asked Questions
Are phone-scanned documents legally valid?
Yes, in most cases. The U.S. Electronic Signatures in Global and National Commerce Act (ESIGN) grants legal validity to electronic records and signatures, provided all parties consent. However, certain documents—such as wills, divorce papers, or court orders—may still require original ink signatures. Always confirm institutional policies before relying solely on digital copies.
Can I extract text from scanned images using free apps?
Yes. Microsoft Lens, Adobe Scan, and Google Drive all include optical character recognition (OCR) in their free versions. This allows you to search within documents, copy text, and sometimes translate content. Accuracy depends on print quality, font type, and resolution.
Do I need an internet connection to scan?
Not always. Apps like Microsoft Lens and Notebloc allow offline scanning and local storage. However, cloud syncing, OCR processing, and advanced enhancements usually require connectivity. You can scan offline and upload later when service is available.
Maximize Efficiency with Smart Scanning Habits
Digitizing documents on your phone isn't just about convenience—it's about reclaiming time, reducing clutter, and improving accessibility. By choosing the right app, applying proper technique, and establishing a consistent workflow, you eliminate the friction of paper-based processes.
Imagine walking into a meeting with all your contracts, IDs, and references stored securely on your phone, ready to share with a tap. Or submitting insurance claims from your couch instead of waiting in line at a fax machine. These small efficiencies compound over time, freeing mental space and boosting productivity.
The technology exists. The tools are free. Now it’s up to you to put them into action.


 浙公网安备
33010002000092号
浙公网安备
33010002000092号 浙B2-20120091-4
Comments
No comments yet. Why don't you start the discussion?