
Purchasing a used or refurbished mobile phone can save money, but it comes with risks. Hidden defects—like a failing battery, unresponsive touchscreen, or malfunctioning camera—can turn a bargain into a burden. Whether you're buying secondhand, receiving a gift, or preparing to sell your own device, verifying full functionality is essential. This guide walks through a comprehensive, practical checklist to ensure every critical component works as expected.
Step 1: Inspect the Physical Condition
Before powering on the device, conduct a thorough visual and tactile inspection. Physical damage often hints at deeper issues, especially if internal components were affected by drops or moisture.
- Check for cracks or scratches on the screen and back panel. Even minor surface damage can worsen over time.
- Examine the frame and edges for dents or misalignment, which may indicate prior impact.
- Inspect ports (charging, headphone, SIM tray) for debris, corrosion, or looseness.
- Test button responsiveness—power, volume, and any side-mounted keys should click smoothly without sticking.
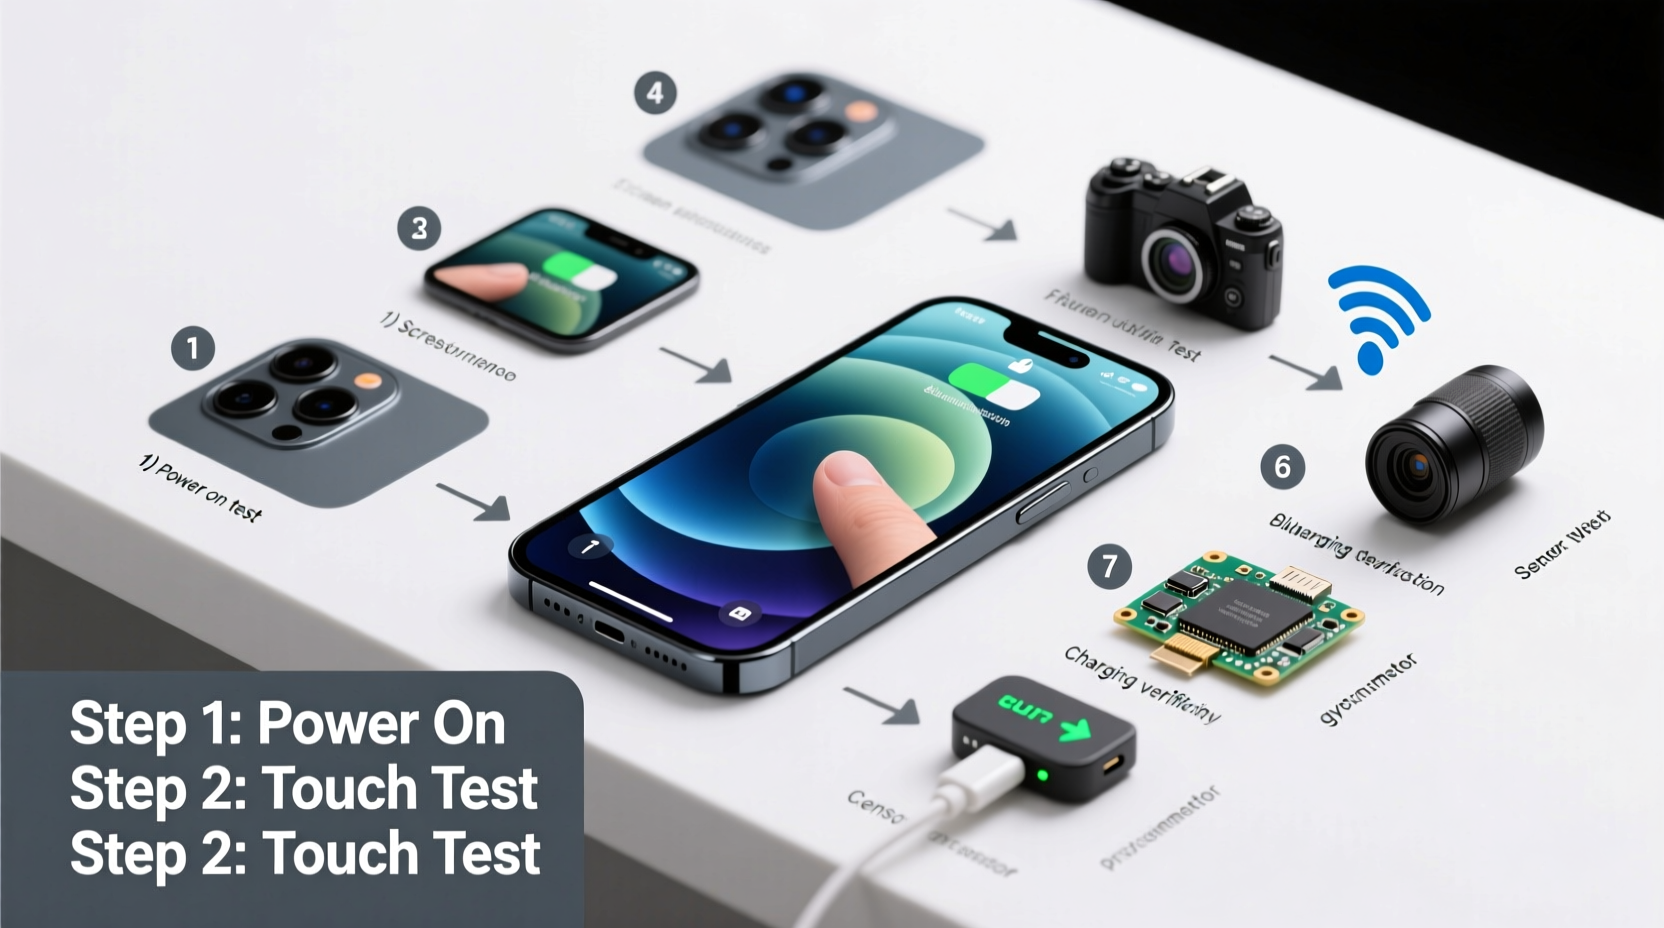
Step 2: Power On and Verify Basic System Functions
Once the physical check is complete, power on the phone. Observe how quickly it boots up and whether it reaches the home screen without freezing or rebooting unexpectedly.
- Press and hold the power button until the logo appears.
- Wait for the device to fully boot. A healthy phone typically takes 30–60 seconds.
- If prompted, skip setup by selecting “Skip” or “Use without account” (on Android), or disconnect from Wi-Fi to avoid activation lock (on iOS).
Look for warning signs:
- Repeated restarts or boot loops
- Stuck on manufacturer’s logo
- Unusual error messages (e.g., “Device corrupted,” “SIM not detected”)
Check for Carrier and Account Locks
A phone may be tied to a carrier or previous owner’s account, limiting usability.
| Platform | Lock Type | How to Check |
|---|---|---|
| iOS (iPhone) | Activation Lock | Sign in to iCloud.com with the Apple ID; check “Find My iPhone” status. |
| Android | Factory Reset Protection (FRP) | After reset, it should prompt for the last Google account used. |
| All Phones | Carrier Lock | Insert a SIM from a different carrier. If it shows “No Service” or “Invalid SIM,” it’s locked. |
“Over 30% of secondhand phones sold online have hidden locks or water damage. Always verify functionality independently.” — David Lin, Mobile Repair Technician with 12 years of experience
Step 3: Test Display and Touchscreen Accuracy
The display is one of the most expensive components to repair. A full assessment ensures no dead pixels, discoloration, or touch lag.
To test effectively:
- Display solid colors (white, black, red, green, blue) using a screen test app or website. Look for inconsistent brightness or dark spots.
- Drag an icon across the screen to detect unresponsive zones.
- Pinch-to-zoom on photos or web pages to confirm multi-touch sensitivity.
- Check auto-brightness by moving the phone between light and dark areas.
Step 4: Evaluate Core Hardware Components
Each hardware feature must be tested methodically. Skipping even one could lead to post-purchase disappointment.
Camera and Flash
Open the camera app and switch between front and rear lenses. Take photos and videos in different lighting conditions. Check for:
- Blurry or distorted images
- Focusing delays or failure to autofocus
- Flash that doesn’t activate or flickers
Battery and Charging
Connect the phone to a known-good charger and cable. Monitor whether it begins charging within 30 seconds. Use built-in battery health tools:
- iOS: Settings > Battery > Battery Health – look for “Maximum Capacity” above 80%.
- Android: Dial
*#*#4636#*#*to access testing menu (if available), or use apps like AccuBattery.
Observe battery drain over 15 minutes of light use. A drop of more than 5% suggests degradation.
Audio Components
Plug in headphones and play audio to test left/right channels. Then remove them and use the speaker:
- Play music or video to assess loudspeaker clarity.
- Make a test call or voice memo to verify microphone input.
- Check the earpiece by calling voicemail or using speakerphone toggle.
Sensors and Connectivity
Modern smartphones rely on multiple sensors for everyday functions.
| Sensor | Function | How to Test |
|---|---|---|
| Proximity Sensor | Turns off screen during calls | Call voicemail; cover sensor near earpiece. Screen should go black. |
| Accelerometer | Screen rotation | Open a video, rotate phone. Screen should switch between portrait and landscape. |
| GPS | Location accuracy | Open Google Maps. Wait for blue dot to stabilize. Move outside if indoors. |
| Wi-Fi & Bluetooth | Wireless connectivity | Pair with a Bluetooth device; connect to Wi-Fi and load a webpage. |
Step 5: Run a Real-World Usage Simulation
Laboratory-style tests don’t always reveal real-world flaws. Simulate typical usage to uncover performance bottlenecks.
Follow this 10-minute stress test:
- Open five apps (browser, camera, messaging, maps, music) and switch between them.
- Load a high-resolution image or video in the gallery.
- Start navigation in a mapping app while playing music.
- Send a message with emoji and attachment.
- Take a photo, then immediately make a call.
Watch for:
- App crashes or freezes
- Overheating (especially around the battery area)
- Delayed responses or long loading times
Mini Case Study: The Bargain That Wasn’t
Jamal bought a “like-new” iPhone for 40% below market price. It passed basic checks—he turned it on, made a call, and took a photo. But after two days, he noticed the battery drained in three hours. When he opened multiple apps, the phone froze constantly. A technician later found degraded battery health (58%) and water damage indicators inside the charging port—issues missed during a superficial inspection. Had Jamal followed a full functional checklist, including battery diagnostics and port inspection, he could have avoided the costly mistake.
Essential Verification Checklist
Use this checklist to ensure no step is skipped when evaluating a mobile phone:
- ✅ No visible cracks, dents, or corrosion
- ✅ Powers on and boots completely
- ✅ Not locked to carrier or previous account
- ✅ Screen displays all colors evenly, no dead pixels
- ✅ Touchscreen responds accurately across entire surface
- ✅ Front and rear cameras focus and capture clear images
- ✅ Flash turns on and provides adequate light
- ✅ Battery charges properly and holds charge (health >80%)
- ✅ Speakers, microphone, and earpiece produce clear sound
- ✅ Wi-Fi, Bluetooth, GPS, and cellular networks function reliably
- ✅ All sensors (proximity, accelerometer, gyroscope) respond correctly
- ✅ Performs smoothly under multitasking conditions
FAQ
Can I trust a phone that passes all these tests?
While no test guarantees future reliability, a phone that passes all functional checks has a high likelihood of being in good condition. However, internal wear (e.g., aging battery cells) may only become apparent over time. Consider purchasing a short warranty if buying used.
Is it safe to test a phone in-store without buying it?
Yes, reputable sellers expect buyers to inspect devices. Politely explain you’re verifying functionality. Avoid excessive handling, and sanitize hands or use gloves if concerned about hygiene.
What if the seller won’t let me run these tests?
This is a major red flag. A legitimate seller should allow reasonable inspection. Declining testing often hides defects. Walk away unless you’re prepared to accept significant risk.
Final Thoughts
Verifying a mobile phone’s functionality isn’t just about avoiding scams—it’s about making informed decisions. A few minutes of careful testing can prevent weeks of frustration and hundreds in repair costs. Whether you’re upgrading, reselling, or helping a friend, applying this systematic approach ensures confidence in the device’s performance.


 浙公网安备
33010002000092号
浙公网安备
33010002000092号 浙B2-20120091-4
Comments
No comments yet. Why don't you start the discussion?