
Wrapping a Christmas tree in lights is one of the most important steps in creating a warm, festive atmosphere during the holiday season. Yet, it’s often done haphazardly—leading to dark patches, tangled cords, or glaring clusters that ruin the visual harmony. Achieving even coverage isn’t just about draping strings randomly; it requires planning, technique, and attention to detail. Whether you're working with a real fir, an artificial tree, or something in between, mastering this skill ensures your tree becomes the glowing centerpiece of your home.
The goal is simple: consistent illumination from base to tip, without visible gaps or overcrowded sections. With the right approach, you can transform any tree into a professionally lit display that radiates warmth and charm. This guide walks you through every phase—from preparation to final adjustments—with actionable advice, expert insights, and real-world-tested methods.
Step-by-Step Guide to Wrapping Your Tree in Lights
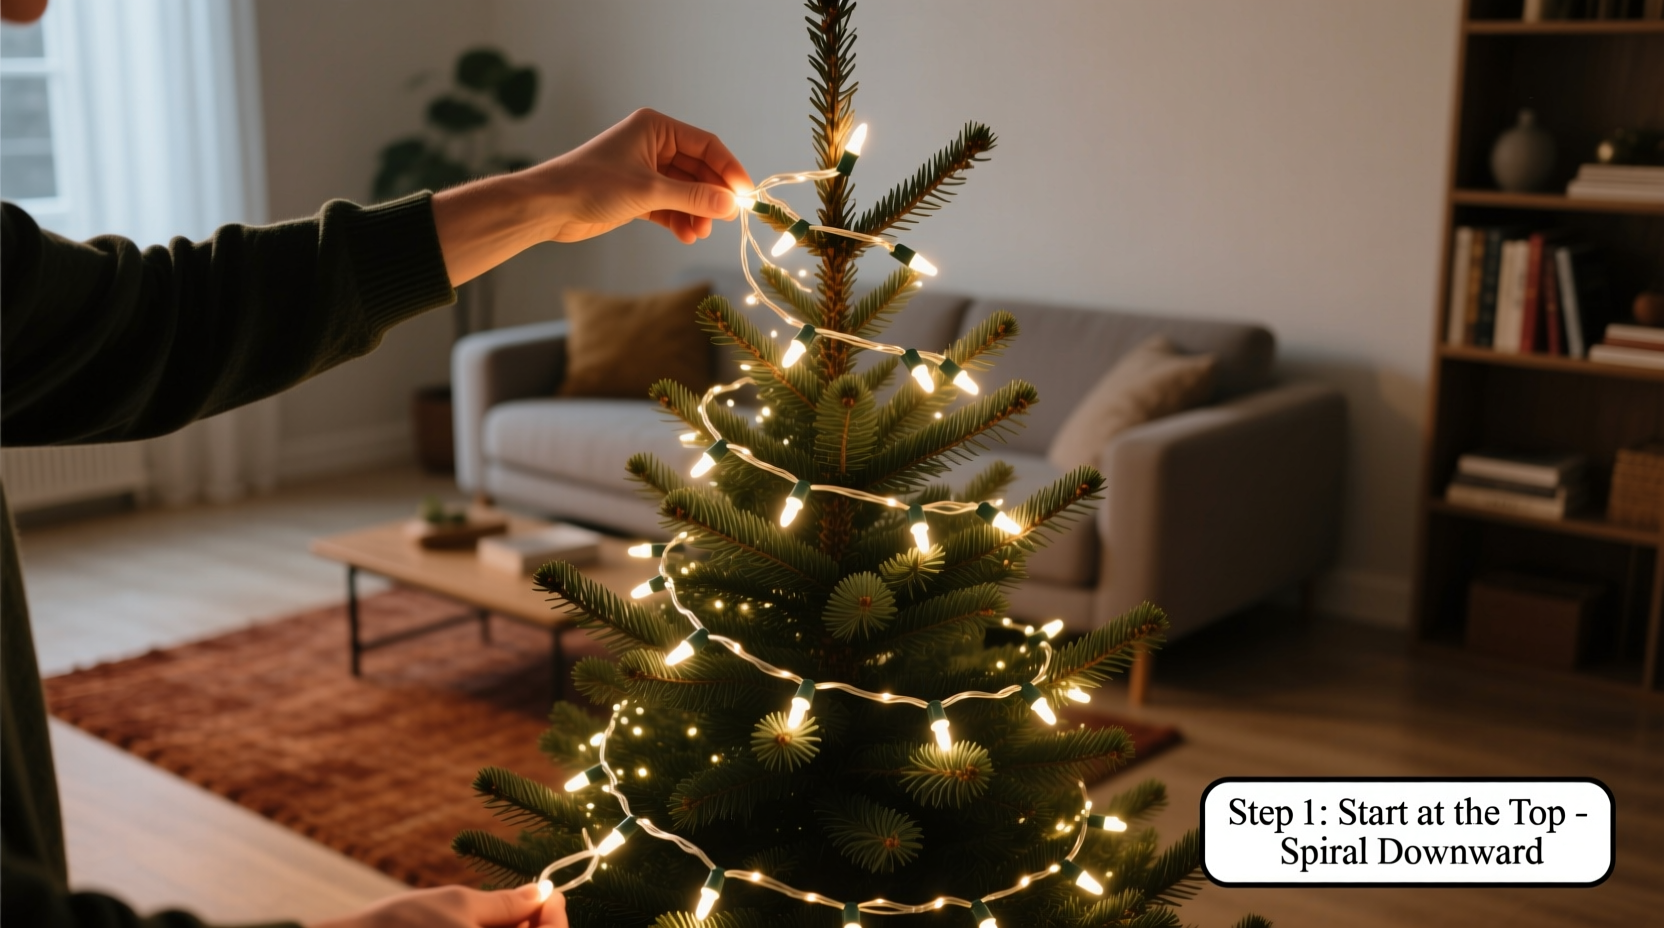
Even lighting starts long before the first bulb touches a branch. The process begins with assessment, continues with strategic placement, and ends with refinement. Follow these seven steps to ensure full, balanced coverage across your entire tree.
- Assess your tree’s size and shape. Measure height and diameter at the widest point. Note areas that are sparse or overly dense. This helps determine how many light strands you’ll need.
- Choose the right type and number of lights. For even coverage, use mini LED string lights—they’re energy-efficient, cool to the touch, and offer more bulbs per foot. As a rule of thumb, use 100 lights per vertical foot of tree. A 6-foot tree needs roughly 600–700 bulbs for solid coverage.
- Test all light strands before installation. Plug each one in to check for dead bulbs or broken wires. Replace faulty sets early to avoid frustration later.
- Start from the bottom and work upward. Begin near the base, attaching the male plug end (the one with the prongs) to an interior branch close to the trunk. This keeps the power source accessible and hidden.
- Weave lights inward and outward—not just around. Instead of wrapping like a barber pole, go deep into the branches, then bring the strand back out. This creates depth and prevents flat, two-dimensional lighting.
- Maintain consistent spacing. Keep about 4–6 inches between passes vertically and horizontally. Use natural branch junctions as anchor points to maintain rhythm.
- Add finishing touches after stepping back. Once fully wrapped, turn off room lights and inspect your work. Fill dark spots with extra strands or reposition existing ones for balance.
Pro Techniques for Depth and Dimension
Most people treat tree lighting as a surface-level task—wrapping lights around the outer edges. But true evenness comes from layering light throughout the tree’s volume. Professional decorators call this “3D lighting,” where illumination emerges from within, not just around.
To achieve this effect, insert the light strand deep into a primary branch, loop it around the trunk or inner support pole, then pull it back out toward the exterior. Repeat this motion up the tree, spiraling inward and outward with each pass. This method ensures that shadows cast by outer branches are filled with soft glow from behind.
For trees with open centers—especially artificial models with metal frames—consider running a vertical “backbone” strand down the central pole before wrapping. This adds core brightness and reduces the hollow look some trees develop when lit only on the perimeter.
“Lighting a tree is like painting with electricity. You want highlights, midtones, and subtle gradients—not just a flat wash.” — Marcus Bell, Holiday Display Designer, Chicago Botanic Garden
Checklist: Pre-Lighting Preparation
Before touching a single strand, complete this checklist to set yourself up for success:
- ☐ Measure tree height and girth
- ☐ Calculate required number of light strands (100 bulbs per foot)
- ☐ Unpack and test all lights
- ☐ Untangle cords completely
- <: Position tree in final location (avoid high-traffic zones during setup)
- ☐ Ensure nearby outlets are accessible or plan for extension cords
- ☐ Gather tools: twist ties, spare bulbs, plug lock clips, ladder (if needed)
Avoid These Common Lighting Mistakes
Even experienced decorators fall into traps that compromise even coverage. Recognizing these pitfalls ahead of time saves time, effort, and disappointment.
| Mistake | Why It’s a Problem | Better Approach |
|---|---|---|
| Wrapping lights too tightly around the trunk | Cuts off side branches from receiving light; creates a bright column but dark limbs | Weave lights through outer branches, using the trunk only as an anchor |
| Starting from the top | Increases risk of sagging, uneven tension, and accidental unplugging | Always start at the base and work upward |
| Using mismatched bulb colors or sizes | Creates visual inconsistency—warm white next to cool white looks unbalanced | Stick to one color temperature and bulb style per tree |
| Overloading circuits | Can trip breakers or create fire hazards | Follow manufacturer guidelines—usually no more than 3–5 connected strands |
| Hiding plugs behind the tree | Makes troubleshooting difficult and risks tripping hazards | Route plugs down the back and connect to a surge protector within reach |
Real Example: Transforming a Sparse Artificial Tree
Sarah from Minneapolis purchased a pre-lit 7-foot artificial spruce, but found the factory-installed lights concentrated at the top third. The lower half looked dull and unfinished. Determined to fix it, she bought three additional 100-bulb warm white LED strands.
She began by turning off the built-in lights and assessing coverage. Using the inward-outward weaving method, she added new strands starting at the base, focusing on filling gaps in the midsection. She angled bulbs slightly upward to enhance the sense of lift and connected all new strands to a smart plug for synchronized control.
After testing, she adjusted several loops where light pooled too heavily. The result? A fully balanced tree that glowed evenly from floor to peak—so impressive her neighbors asked for help with their own displays.
Do’s and Don’ts Summary Table
| Do | Don’t |
|---|---|
| Use consistent bulb color and size | Mix warm and cool white bulbs |
| Weave lights deep into branches | Only wrap around the outer edge |
| Start at the base and move upward | Begin at the top and work down |
| Secure strands with twist ties | Tie knots in the wire |
| Test lights before and after installation | Assume all strands work perfectly |
Frequently Asked Questions
How many strings of lights do I need for a 6-foot tree?
A good baseline is 100 lights per foot of tree height. For a 6-foot tree, aim for 600 bulbs. If the tree is full or bushy, consider adding 100–200 extra for density. This typically means six to seven standard 100-light strands.
Should I put lights on before or after ornaments?
Always install lights before hanging ornaments. Placing heavy decorations over wires can dislodge bulbs or create tension points that lead to breaks. Lights form the foundation of your design—ornaments should complement, not interfere with, the glow.
Can I mix different types of lights on the same tree?
You can—but carefully. Mixing bulb styles (e.g., mini and C9) or effects (steady vs. twinkle) works best when used intentionally. For even coverage, keep the majority of strands uniform and use variation sparingly as accents. Never mix voltages or connection types without proper adapters.
Final Touches and Maintenance
Once your tree is fully lit, spend five minutes evaluating it under low ambient light. Walk around it completely—viewing from multiple angles reveals blind spots cameras or mirrors might miss. Adjust any sections that appear too bright or too dim by redistributing strands or adding supplemental lighting.
If you plan to leave the tree lit for extended periods, consider setting lights on a timer. Most LED strings can run safely for 72 hours straight, but cycling them on for 12 hours and off for 12 conserves energy and extends lifespan. Also, dust bulbs gently every few weeks with a microfiber cloth to maintain brightness.
When takedown time arrives, remove lights carefully. Coil each strand individually and store in labeled containers. Avoid wrapping lights tightly around your hand—a practice that encourages kinks and breaks. Use a spool or cardboard reel for smooth storage.
Conclusion: Light Up the Holidays with Confidence
Wrapping a Christmas tree in lights doesn’t have to be a frustrating chore. With a clear plan, the right materials, and attention to technique, you can achieve professional-grade results that elevate your holiday decor. Even coverage isn’t magic—it’s method. By starting at the base, weaving through branches, maintaining consistent spacing, and avoiding common errors, your tree will glow with warmth and intention.
This year, take pride in transforming your space with thoughtful illumination. Share your results with friends, inspire others with your craftsmanship, and enjoy the quiet joy of a beautifully lit tree casting its gentle glow through the winter nights.


 浙公网安备
33010002000092号
浙公网安备
33010002000092号 浙B2-20120091-4
Comments
No comments yet. Why don't you start the discussion?