
If your laptop is running hot and the fan sounds like a jet engine at takeoff, you're not alone. Overheating and excessive fan noise are common issues across all brands and models. While many assume the only solution is a costly repair or replacement, most of the time, the problem can be resolved with basic maintenance and smart usage habits. Before you consider opening your wallet for a new fan or motherboard, try these proven, non-invasive fixes that target the root causes of heat buildup and noisy cooling systems.
Why Laptop Fans Get Loud and Overheating Occurs
Laptops rely on internal fans to expel heat generated by the CPU, GPU, and other components. When these parts work harder—such as during video editing, gaming, or multitasking—they produce more heat. The fan automatically ramps up speed to cool them down, which increases noise. However, persistent loudness and high temperatures even during light use signal an underlying issue beyond normal operation.
Common culprits include dust-clogged vents, degraded thermal paste, background processes consuming CPU resources, poor ventilation due to surface placement, and outdated power settings. In some cases, malware or software bugs can cause abnormal processor load, tricking the system into thinking it needs constant cooling.
The good news: most of these issues don’t require hardware replacement. With a few targeted steps, you can restore quieter operation and cooler temperatures without voiding your warranty or spending a dime.
“Over 70% of overheating laptop cases we see in service centers could have been prevented with regular cleaning and proper usage.” — Rajiv Mehta, Senior Technician at TechCare Pro Services
Step-by-Step Guide to Diagnose and Fix the Problem
Before reaching for screwdrivers or ordering replacement parts, follow this logical sequence to identify and resolve the source of the noise and heat.
- Check CPU and GPU Usage
Open Task Manager (Windows) or Activity Monitor (Mac). Look for any process using over 50% CPU consistently. High usage from apps like browsers, updaters, or hidden miners will force the fan to run constantly. - Monitor Internal Temperatures
Use free tools like HWMonitor (Windows), Core Temp, or iStat Menus (Mac) to check real-time component temperatures. Idle CPU temps should stay below 50°C; above 70°C under load may indicate cooling problems. - Inspect Air Vents Visually
Shut down the laptop and examine intake (usually bottom/sides) and exhaust (rear/side) vents. If they’re clogged with lint or dust, airflow is restricted—this is one of the top causes of overheating. - Test Fan Noise Under Load
Play a short HD video or open multiple browser tabs. Listen if the fan ramps up smoothly and quiets down when idle. Grinding, clicking, or pulsing noises suggest mechanical wear—but consistent high-pitch whine usually means cleanable blockage. - Evaluate Surface and Environment
Is your laptop on a bed, pillow, or carpet? Soft surfaces block intake vents. Always use a hard, flat surface. Better yet, use a laptop stand or cooling pad for improved airflow.
Simple Fixes You Can Do Today
You don’t need technical expertise to make meaningful improvements. These low-effort actions often yield dramatic results.
1. Clean the Vents and Fans (Without Opening the Laptop)
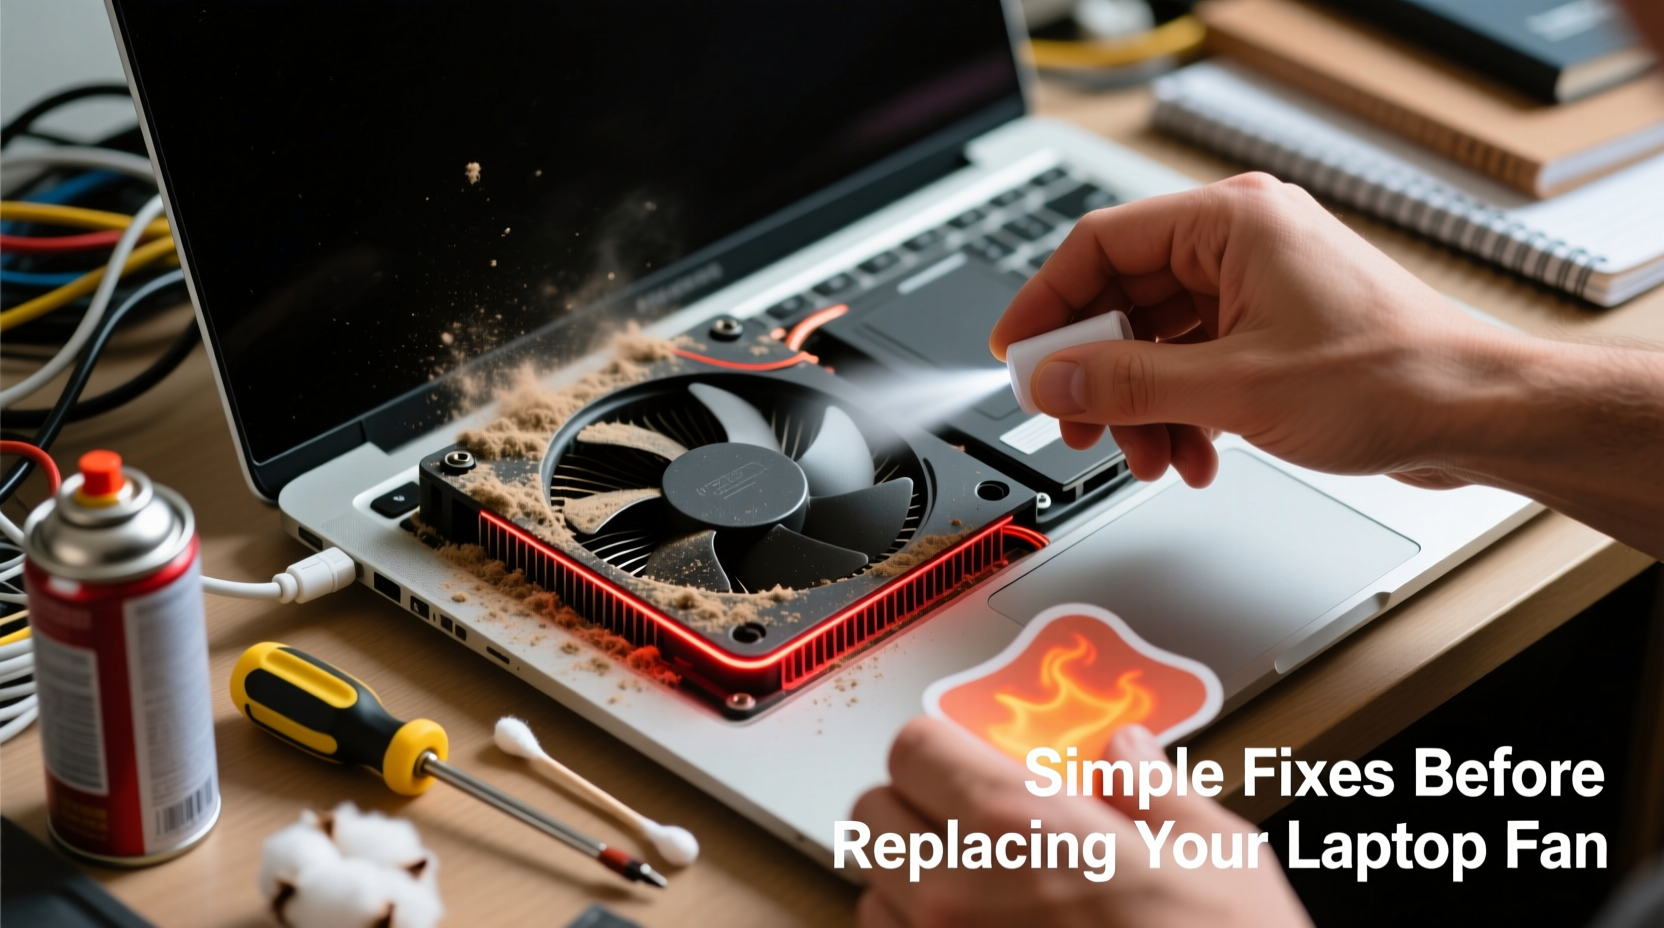
Using compressed air is the safest first step. Hold the can upright and spray short bursts into all visible vents. Focus on intake grills where dust accumulates fastest. Avoid tilting the can, as liquid propellant can damage circuits.
To prevent fan blades from spinning too fast (which risks damaging the motor), gently hold the fan in place through the vent with a toothpick or plastic spudger while blowing air. This protects the bearings during cleaning.
2. Update Power and Thermal Settings
Many laptops default to “High Performance” mode, which keeps processors running faster and hotter than necessary. Switch to “Balanced” or “Power Saver” mode:
- On Windows: Go to Control Panel > Hardware and Sound > Power Options
- On Mac: System Settings > Battery > Power Mode
You can also limit maximum processor state to 90–95% in advanced power settings. This small reduction significantly lowers heat output with minimal impact on performance.
3. Close Background Apps and Disable Startup Programs
Too many apps launching at startup create unnecessary load. Open Task Manager > Startup tab and disable non-essential programs like cloud sync tools, chat apps, or updaters.
Also, check your browser. Multiple tabs with autoplay videos or cryptocurrency miners (yes, they still exist) can consume massive CPU cycles. Use extensions like “The Great Suspender” to freeze inactive tabs.
4. Reposition Your Laptop for Better Airflow
Elevate the back of the laptop slightly using rubber feet, a stand, or even folded cardboard under the rear corners. This improves natural convection and gives exhaust more room to escape. Never block side or bottom vents.
5. Reset BIOS/UEFI Settings
Sometimes corrupted firmware settings cause incorrect thermal behavior. Revert to default BIOS settings by restarting, entering setup (usually F2, Del, or Esc), and selecting “Load Setup Defaults.” Save and exit. This won’t erase files but may reset overclocks or fan control profiles.
Do’s and Don’ts: What to Avoid When Fixing Fan Issues
| Do | Don’t |
|---|---|
| Use compressed air every 3–6 months | Use a vacuum cleaner—it creates static and doesn’t remove deep dust |
| Place laptop on hard, flat surfaces | Use on soft materials like beds or couches |
| Update OS and drivers regularly | Ignore system updates that improve power management |
| Monitor temperatures with free tools | Assume high fan speed always means hardware failure |
| Restart weekly to clear system clutter | Run intensive tasks continuously for hours without breaks |
When to Consider Internal Cleaning or Thermal Paste Replacement
If external fixes don’t reduce heat after several days of testing, it may be time to look inside. This step requires caution and basic tools, but it's often the final fix before replacement.
Dust builds up inside heatsinks and around fan housings over time—especially in homes with pets or carpets. Even if vents look clean, internal components may be coated in insulating debris. Opening the bottom panel (check iFixit guides for your model) allows access to fans and heatsinks.
Once exposed:
- Use compressed air to blow out dust from fan blades and copper fins.
- Clean fan axle gently with a cotton swab dipped in isopropyl alcohol.
- If the CPU/GPU heatsink is packed with lint, disassemble carefully and clean each fin row.
After 3+ years of use, thermal paste between the processor and heatsink dries out and cracks, reducing heat transfer efficiency. Reapplying high-quality thermal paste (like Arctic MX-4 or Noctua NT-H1) can drop temperatures by 10–15°C. Apply a pea-sized amount—too much worsens performance.
“Reapplying thermal paste is one of the most cost-effective upgrades for an aging laptop. It costs under $10 and can feel like a performance refresh.” — Lena Torres, Hardware Engineer at Mobile Compute Labs
Mini Case Study: Reviving a 5-Year-Old Work Laptop
A freelance designer reported her Dell XPS 13 was shutting down during photo edits. The fan ran constantly, and the bottom surface became too hot to touch. She assumed the motherboard was failing.
Instead of replacing it, she followed the diagnostic steps: checked Task Manager (found Adobe Creative Cloud updater using 98% CPU), cleaned side vents with compressed air, and switched to Balanced power mode. Noise dropped immediately.
Two weeks later, she opened the back panel (guided by a YouTube tutorial) and found the fan partially blocked by pet hair. After cleaning and reapplying thermal paste, idle temps fell from 68°C to 49°C, and fan speed stabilized. Total cost: $7 for thermal paste and 45 minutes of effort. The laptop continues to perform reliably two years later.
Checklist: Quick Actions to Silence a Noisy Fan
Follow this checklist before considering professional repair:
- ✅ Restart the laptop to clear temporary processes
- ✅ Check Task Manager/Activity Monitor for high CPU usage
- ✅ Clean all external vents with compressed air
- ✅ Switch to Balanced or Power Saver power plan
- ✅ Disable unnecessary startup applications
- ✅ Ensure laptop is on a hard, elevated surface
- ✅ Update operating system and drivers
- ✅ Monitor temperatures for 24 hours post-fix
- ✅ Open and clean internals if problem persists (after backup)
- ✅ Reapply thermal paste if device is over 3 years old
Frequently Asked Questions
Can a loud fan damage my laptop over time?
Not directly. The fan itself is designed to run at high speeds when needed. However, chronic overheating caused by poor cooling can degrade battery life, throttle performance, and shorten the lifespan of internal components like the CPU and SSD.
Is it safe to use my laptop while it’s hot?
Modern laptops have thermal protection that forces shutdown before critical damage occurs. But prolonged exposure to high heat (above 90°C) accelerates wear. If the case is uncomfortably hot, stop using it until cooling improves.
How often should I clean my laptop’s cooling system?
For most users, every 6 months is sufficient. In dusty environments or homes with pets, clean every 3–4 months. Internal cleaning can be done annually or biannually depending on usage and environment.
Conclusion: Act Now, Extend Your Laptop’s Life
A loud, overheating laptop doesn’t mean it’s time to replace it. More often than not, simple user-level interventions can restore quiet, efficient operation. From managing background software to periodic physical maintenance, these fixes are accessible, affordable, and highly effective.
By understanding how heat builds up and how fans respond, you gain control over your device’s longevity. Instead of reacting to symptoms, you address causes—and that makes all the difference.


 浙公网安备
33010002000092号
浙公网安备
33010002000092号 浙B2-20120091-4
Comments
No comments yet. Why don't you start the discussion?