
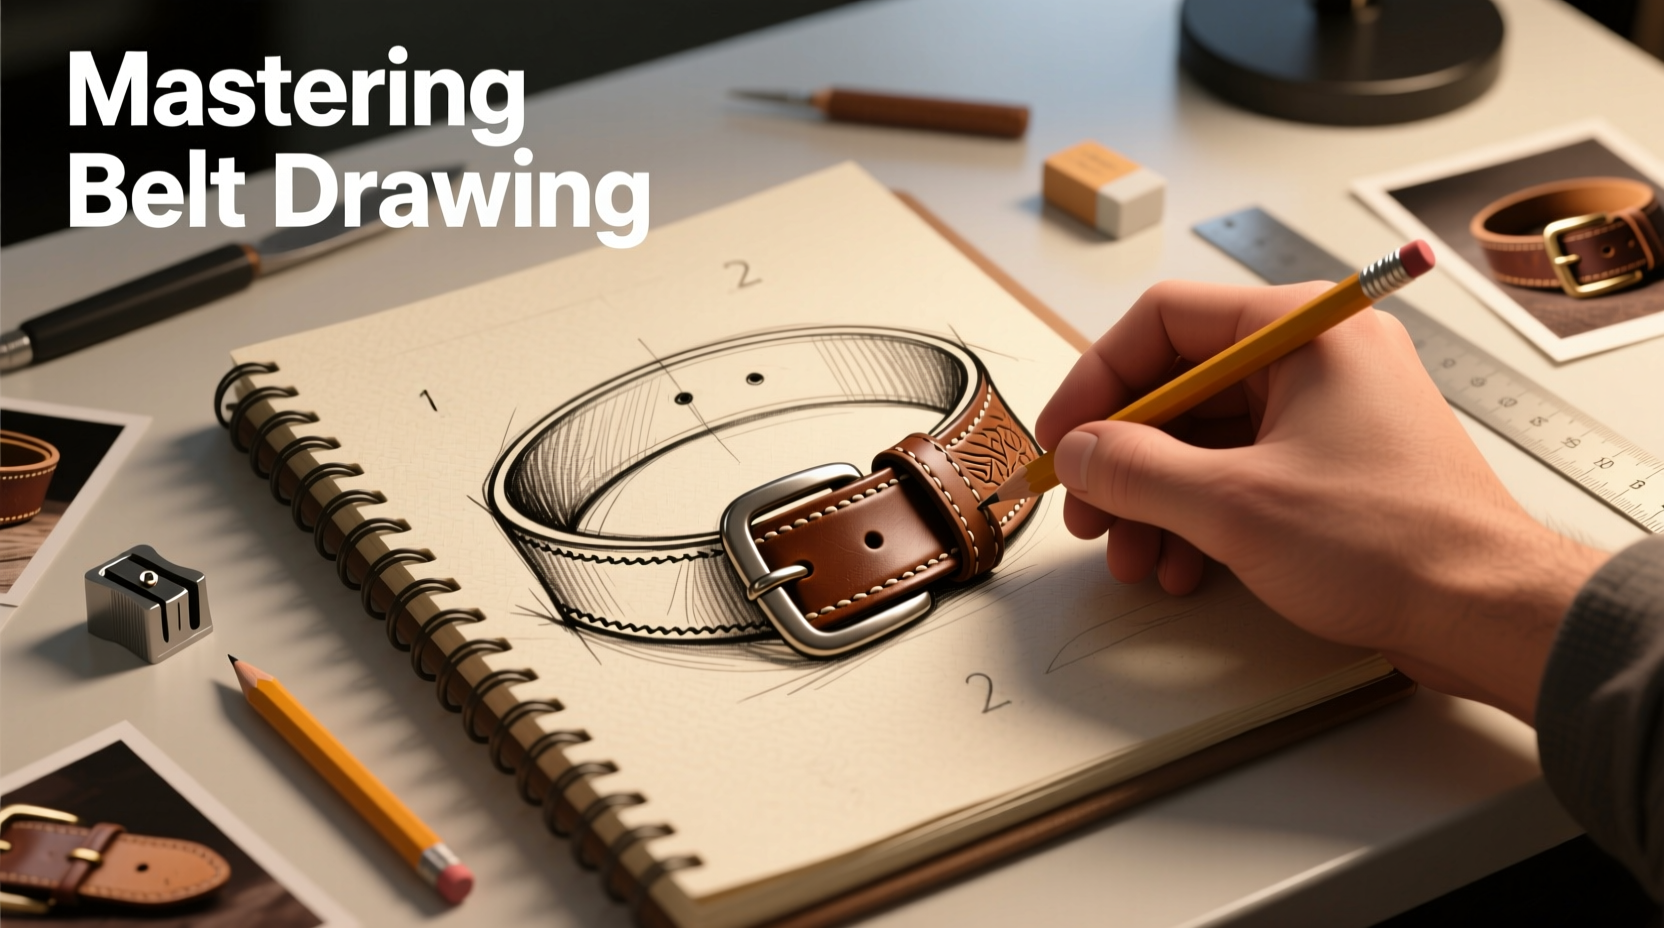
Drawing a realistic belt might seem like a minor detail in character illustration or fashion design, but it can make or break the believability of your artwork. Belts are more than just accessories—they anchor outfits, define silhouettes, and interact dynamically with the body’s movement. Whether you're illustrating a cowboy, a superhero, or a runway model, mastering belt drawing adds authenticity and polish to your work. This guide breaks down the anatomy, structure, and rendering techniques needed to draw belts convincingly, even if you’re starting from scratch.
Anatomy of a Belt: Understanding the Components
A belt is not a single continuous band—it’s a system of parts that work together. To draw it realistically, you must first understand its structural elements:
- Buckle: The metal or plastic fastening mechanism, often detailed with prongs, engravings, or logos.
- Strap: The main body of the belt, usually made of leather, fabric, or synthetic material.
- Holes: Functional perforations that allow adjustment; typically spaced 1–2 cm apart.
- Tongue/Tip: The end of the strap that passes through the buckle.
- Keepers (Loops): Small rings or fabric loops on pants that hold the belt in place.
Each component casts shadows, reflects light differently, and interacts with folds in the clothing. Ignoring any one part can result in a flat or inaccurate rendering.
Step-by-Step Guide to Drawing a Realistic Belt
Follow this structured approach to draw a convincing belt, whether it’s cinched tight or loosely hanging.
- Sketch the Waistline and Hip Structure: Begin with the torso’s basic shape. Mark where the belt sits—usually at the natural waist or slightly below. Use light guidelines to indicate hip curvature.
- Draw the Strap Path: Plot the belt as a continuous loop around the waist. Remember: it follows the body’s contour, so it curves over the hips and dips slightly in front.
- Add the Buckle: Position the buckle centered at the front. For accuracy, align the prong with the second or third hole. Draw the buckle’s outer frame first, then add internal details like ridges or brand insignias.
- Detail the Strap: Lightly sketch evenly spaced holes along the length. Add subtle tapering if the belt narrows toward the tip.
- Define Folds and Tension: Where the belt wraps over the hips, show slight compression. If the character is bending, illustrate slack or overlapping sections.
- Refine and Ink: Go over your sketch with confident lines. Emphasize edges where the belt lifts from the fabric beneath.
- Apply Shading and Texture: Use crosshatching for leather grain, smooth gradients for polished metal, and sharp highlights on the buckle.
Proportional Accuracy Tips
A common mistake is making the buckle too large or the strap too thick. As a rule of thumb:
- Standard belt width: 1.25 to 1.5 inches (3–4 cm).
- Buckle height: roughly matches the belt width.
- Hole spacing: about 1 inch (2.5 cm) apart.
Rendering Materials: Leather, Fabric, and Metal
The realism of your belt hinges on accurately depicting its material. Each has distinct visual properties.
| Material | Texture Cues | Light Behavior | Drawing Technique |
|---|---|---|---|
| Leather | Fine grain, subtle wrinkles | Soft sheen, medium reflectivity | Use stippling or short hatches; blend for smooth transitions |
| Fabric (Webbing) | Woven pattern, matte surface | Dull, absorbs light | Even shading; emphasize weave with fine parallel lines |
| Metal (Buckle) | Smooth, possibly engraved | High shine, sharp highlights | Leave white spots for reflections; use hard edges |
When drawing leather belts, remember they crease where bent—especially near the buckle and over hip bones. These micro-folds catch shadow and add depth.
“Belts aren’t passive straps—they respond to gravity, posture, and motion. Observe how they sag between keepers or tighten during action.” — Rafael Mendez, Fashion Illustrator & Educator
Common Mistakes and How to Avoid Them
Even experienced artists slip up on small details. Here are frequent pitfalls and their fixes:
- Ignoring Body Contour: Drawing a flat circle instead of a 3D wrap-around shape. Fix: Use ellipses that narrow at the sides to suggest perspective.
- Over-detailing Too Early: Adding texture before establishing correct proportions. Fix: Block in shapes first, refine later.
- Uniform Thickness: Making the belt look like a rigid pipe. Fix: Show slight thinning where stretched over hips.
- Flat Buckles: Rendering metal as a dull, lifeless shape. Fix: Add specular highlights and consider light source direction.
- Missing Keepers: Omitting the small loops that hold the excess strap. Fix: Include 5–7 keepers spaced evenly across the waistband.
Mini Case Study: Drawing a Cowboy’s Belt
Consider a scene where a cowboy stands with hands on hips. His wide leather belt supports a holstered revolver. The belt must appear functional and heavy.
The artist starts by sketching the pelvis angle. The belt rides low in front, rises slightly at the back. The buckle—a large silver plate with engraving—is centered, catching sunlight. Holes are visible along the right side, with the tip tucked through the last one. Over the left hip, the leather compresses, creating soft radial folds. The keeper loops are thick and stitched, holding the dangling tail securely. Shading emphasizes the weight: deep shadows under the holster, subtle grain texture, and a bright highlight on the buckle’s curve.
This attention to function and form turns a simple accessory into a storytelling element.
Checklist: Before You Finalize Your Belt Drawing
Run through this checklist to ensure realism and accuracy:
- ✅ Is the belt aligned with the body’s natural waistline?
- ✅ Does the buckle sit flat against the clothing?
- ✅ Are the holes evenly spaced and correctly sized?
- ✅ Have I shown tension over hips and looseness in front?
- ✅ Is the material texture consistent (grain for leather, shine for metal)?
- ✅ Are keepers present and properly placed?
- ✅ Does lighting match the rest of the scene?
Frequently Asked Questions
How do I draw a belt on a sitting figure?
When a character sits, the front of the belt compresses and may wrinkle or lift slightly. The back stretches, pulling taut. Show the strap bunching near the navel and the buckle tilting upward. Keepers remain fixed, but the excess tail may drape over the thigh.
What’s the best way to draw a folded belt tail?
Most belt tails fold once or twice under a keeper. Draw the fold as a soft U-shape, not a sharp angle. Shade the underside darker to imply depth. If multiple keepers are used, show each loop securing the strap in sequence.
Can I use the same technique for futuristic or fantasy belts?
Absolutely. While sci-fi belts may have alien materials or glowing elements, the foundational principles—structure, fit, and interaction with light—remain the same. Start with realism, then stylize from there.
Final Thoughts: Elevate Your Art One Detail at a Time
Mastering belt drawing isn’t about perfection—it’s about intentionality. Every crease, highlight, and alignment choice communicates thoughtfulness. When you render a belt with care, viewers subconsciously trust your entire illustration more. The clothes feel worn, the character lived-in, the world believable.
Don’t rush the details. Practice with reference photos, dissect old belts, and experiment with different styles. Soon, drawing a realistic belt will become second nature—an invisible skill that quietly elevates your craft.


 浙公网安备
33010002000092号
浙公网安备
33010002000092号 浙B2-20120091-4
Comments
No comments yet. Why don't you start the discussion?