
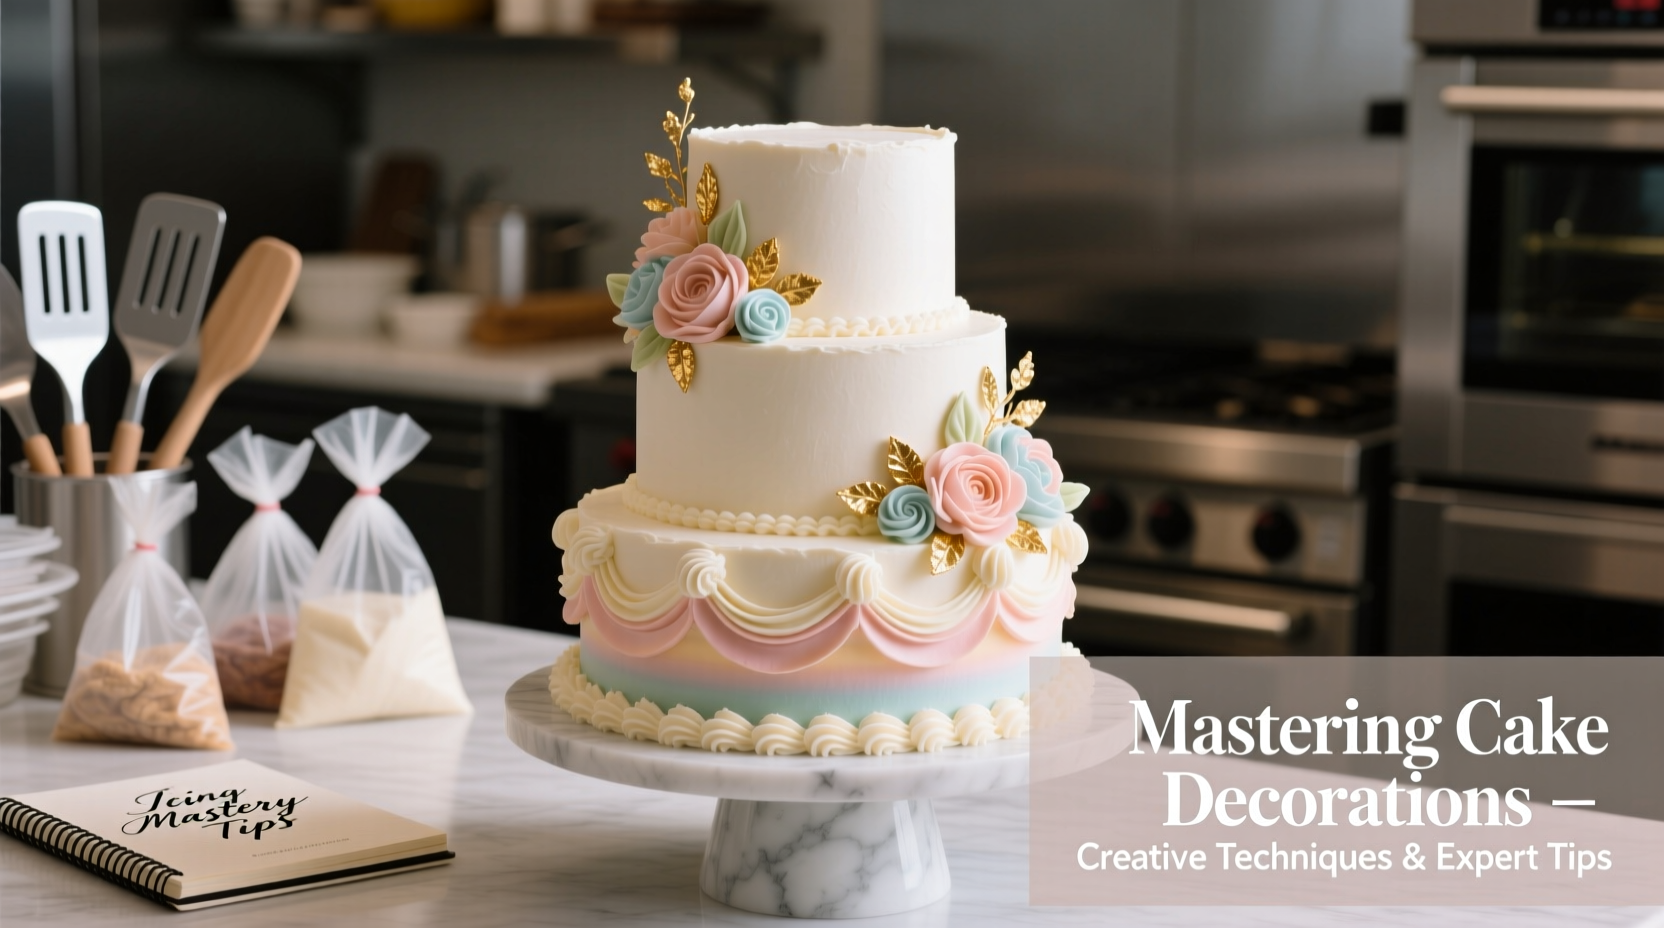
Cake decorating is more than a finishing touch—it’s an expression of creativity, precision, and care. Whether you're preparing for a birthday, wedding, or simply honing your baking craft, mastering icing techniques transforms a simple dessert into a centerpiece. With the right tools, consistency, and confidence, anyone can create stunning designs that taste as good as they look. This guide dives into professional methods, practical advice, and insider secrets to help you refine your skills and elevate your cakes from ordinary to extraordinary.
Understanding Icing Types and Their Uses
Not all icings behave the same way. Choosing the right one depends on the design, texture, and stability you need. The most common types used in decorative work include buttercream, royal icing, fondant, and ganache—each with distinct properties.
| Icing Type | Best For | Consistency Tips |
|---|---|---|
| Buttercream | Piping swirls, rosettes, borders | Soft peaks for spreading; stiff peaks for defined piping |
| Royal Icing | Fine details, lacework, flooding | Adjust thickness: stiff for outlines, runny for filling |
| Fondant | Sculpting, smooth finishes, 3D figures | Knead until pliable; avoid over-drying |
| Ganache | Drip effects, glossy coatings | Cool slightly for controlled drips |
Buttercream remains the favorite for home bakers due to its forgiving nature and rich flavor. Royal icing, made from egg whites or meringue powder and powdered sugar, dries hard and is ideal for intricate patterns. Fondant offers a polished canvas but requires patience to handle without cracking. Ganache brings elegance with its silky texture and deep chocolate finish.
Essential Tools for Precision Decorating
Professional results start with the right equipment. While creativity drives design, tools ensure consistency and control. A basic decorating kit should include:
- Piping bags (reusable cloth or disposable plastic)
- Set of metal tips (round, star, petal, leaf, and writing tips)
- Offset spatula for smooth frosting
- Turntable for even rotation while decorating
- Silicone mats for practicing royal icing work
- Food-safe brushes for dusting or blending colors
Investing in high-quality tips makes a noticeable difference. Stainless steel holds its shape better than plastic, allowing clean lines and uniform textures. Number 1M tips are legendary for creating classic swirls, while petal tips (like #104) enable realistic flower petals with minimal effort.
“Consistency in pressure and angle is what separates amateur piping from professional-grade work.” — Lila Chen, Pastry Chef & Cake Artist
Step-by-Step Guide to Piping Elegant Designs
Mastering piping takes practice, but following a structured approach accelerates progress. Use this timeline to build skill gradually:
- Prepare Your Icing: Adjust consistency based on design. For stars and rosettes, use stiff buttercream. For borders or writing, medium consistency works best.
- Fill the Bag Correctly: Fold the top of the bag over your hand, fill halfway, then twist and secure. Avoid overfilling—it leads to uneven pressure.
- Hold with Control: Grip near the top with your dominant hand, using your other hand to guide near the tip. Keep fingers clear of the nozzle.
- Practice Pressure: Apply steady pressure to start, release to stop. Jerking causes blobs; inconsistent flow ruins symmetry.
- Work on a Turntable: Rotate the cake smoothly as you pipe borders or spirals. Let the turntable do the work, not your wrist.
- Layer Designs: Begin with outlines, then fill in. Use different tips for contrast—e.g., shell borders with a star tip, then accent with fine lines using a round tip.
Start by practicing on parchment or silicone mats. Once confident, transfer skills to chilled cakes—cooler surfaces prevent smudging and help icing hold shape.
Creative Techniques to Elevate Your Cakes
Once fundamentals are mastered, explore advanced methods that add dimension and artistry.
Ombre Blending
Create gradient effects by tinting multiple batches of buttercream in progressively darker shades. Spread lighter tones at the base, layering upward with deeper hues. Use an offset spatula and gentle strokes to blend seams seamlessly.
Texture Effects
Use the back of a spoon or a fork to create rustic swirls. Drag a comb tool through frosting for modern ribbed patterns. For “lace” effects, press patterned stencils against fondant and dust with edible luster powder.
Hand-Painted Details
Mix food-grade gel colors with a drop of alcohol or clear extract to paint directly onto fondant or dried royal icing. Fine-tipped brushes allow delicate floral motifs or metallic accents.
Mini Case Study: Transforming a Simple Birthday Cake
Sophie, a home baker from Portland, wanted to upgrade her daughter’s birthday cake beyond sprinkles and store-bought frosting. She baked two vanilla layers, filled them with raspberry jam, and crumb-coated with American buttercream. After chilling, she applied a final coat and used a bench scraper to achieve a smooth finish. On a turntable, she piped alternating shell borders around the base and top edge using a star tip. In the center, she hand-piped the child’s name with a small round tip. Finally, she added edible pearls and fresh berries. The result? A bakery-quality cake that received rave reviews—and inspired Sophie to launch a weekend cake business.
Common Mistakes and How to Avoid Them
Even experienced decorators face setbacks. Recognizing pitfalls early prevents frustration.
- Air bubbles in piping bags: Tap the bag gently after filling to release trapped air, which causes erratic bursts.
- Crumbs in final coat: Always apply a thin crumb coat and chill for 15–20 minutes before the final layer.
- Sagged decorations: Warm environments soften buttercream. Work in a cool kitchen or use shortening-based recipes for outdoor events.
- Color bleeding: When painting on fondant, ensure previous layers are fully dry before applying new ones.
“Patience is the secret ingredient. Rushing leads to smudges, misaligned layers, and regret.” — Marcus Reed, Award-Winning Cake Designer
Checklist: Preparing for a Decorated Cake Success
- ✅ Bake and level cakes a day ahead
- ✅ Make icing with proper consistency
- ✅ Chill cake layers before assembling
- ✅ Apply crumb coat and refrigerate
- ✅ Prepare all tips and bags before starting
- ✅ Work in a cool, draft-free space
- ✅ Practice designs on paper or mat first
- ✅ Allow decorated cake to set before serving
FAQ
How do I prevent my buttercream from melting in warm weather?
Replace half the butter with vegetable shortening for better heat stability. You can also add meringue powder to strengthen structure. Store the finished cake in the refrigerator until 30 minutes before serving.
Can I make icing ahead of time?
Yes. Buttercream keeps well in an airtight container for up to a week in the fridge or three months in the freezer. Bring to room temperature and re-whip before use. Royal icing dries out quickly—store with a damp cloth over the bowl and plastic wrap pressed directly on the surface.
Why does my piping look uneven?
Inconsistent pressure or angle is usually the culprit. Practice maintaining a 90-degree tip-to-surface angle and steady hand pressure. Using a coupler helps switch tips without changing bags, preserving consistent flow.
Conclusion
Decorating cakes with icing is both an art and a science—one that rewards attention to detail, thoughtful preparation, and a willingness to experiment. From mastering basic piping to painting edible masterpieces, each technique builds upon the last, expanding your creative range. These skills don’t require expensive gear or formal training; they grow through practice, observation, and persistence. Whether you're crafting for loved ones or building a reputation in the baking world, every swirl, dot, and stroke adds meaning to the moment.


 浙公网安备
33010002000092号
浙公网安备
33010002000092号 浙B2-20120091-4
Comments
No comments yet. Why don't you start the discussion?