
Clock escapements are the heartbeat of mechanical timekeeping. Without them, gears would spin freely and time could not be measured. The escapement regulates the release of energy from the mainspring or weight, allowing the gear train to advance in precise increments. Mastering its construction is a rite of passage for serious horologists and watchmakers. This guide walks through the principles, types, design considerations, and hands-on techniques needed to craft a functional, accurate escapement from scratch.
The Role of the Escapement in Mechanical Timekeeping
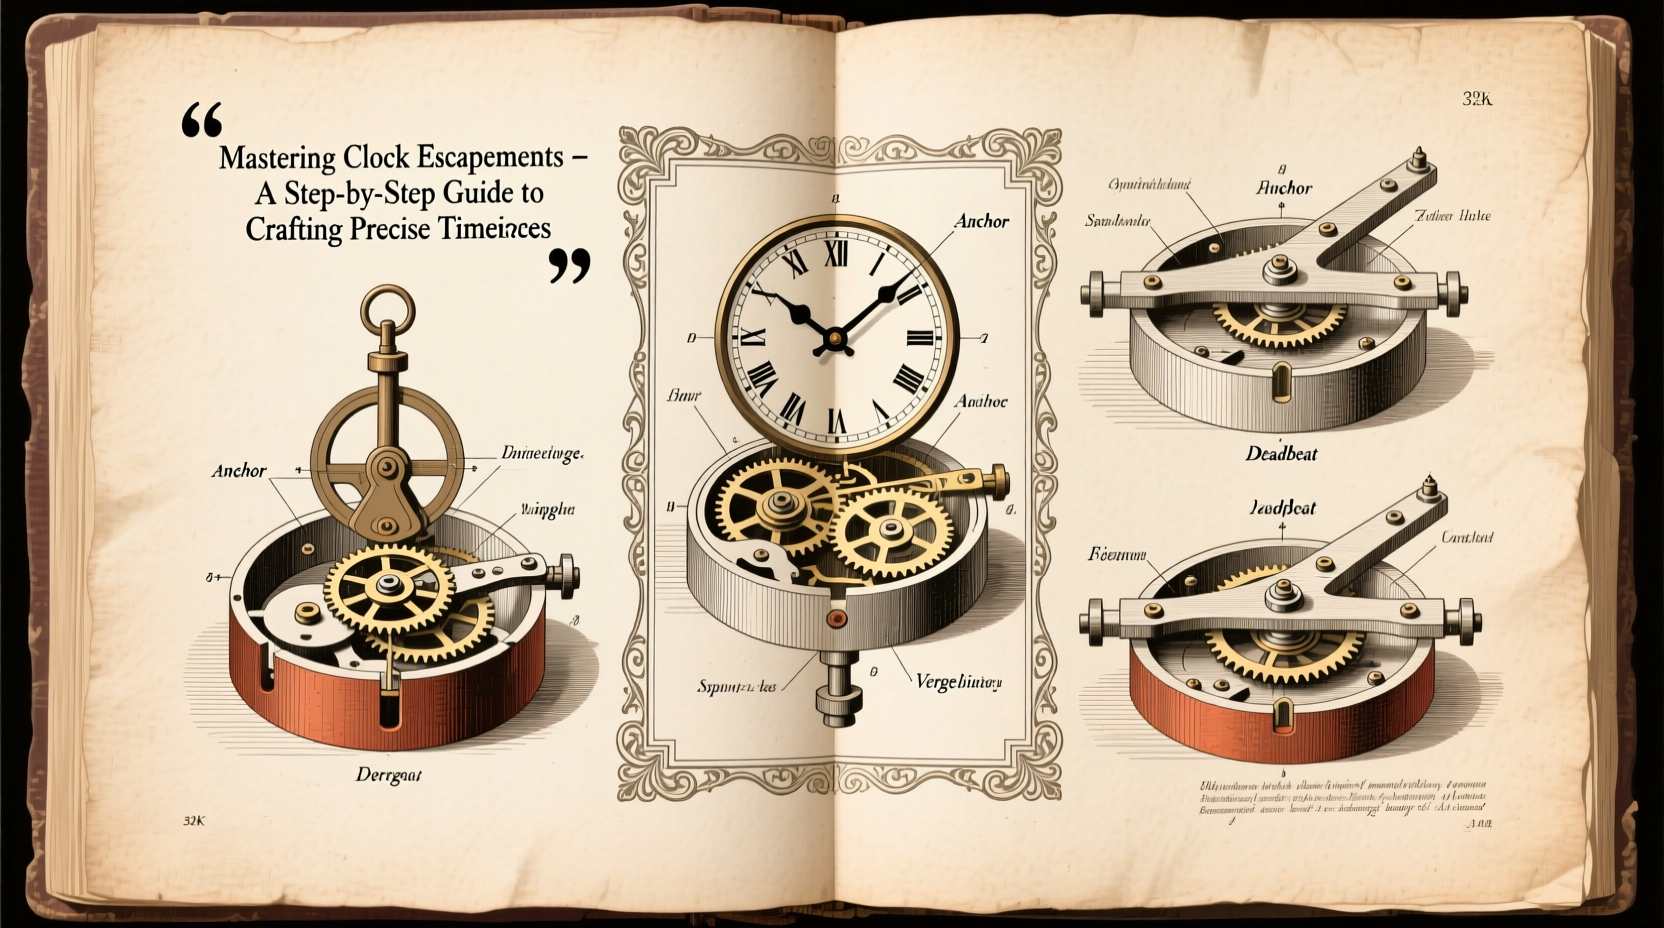
At the core of every mechanical clock lies the escapement—a mechanism that converts stored energy into regulated motion. It works in tandem with the oscillator (typically a pendulum or balance wheel) to ensure consistent timekeeping. Each swing of the oscillator allows the escape wheel to advance one tooth, producing the familiar \"tick-tock\" sound.
The precision of a timepiece hinges on the escapement’s ability to minimize friction, resist wear, and maintain consistent impulse delivery. Even minor imperfections in angle, surface finish, or alignment can cause significant timing errors. Historically, innovations like the anchor, deadbeat, and lever escapements revolutionized accuracy, paving the way for marine chronometers and modern wristwatches.
Common Types of Escapements and Their Applications
Different escapements serve different purposes based on efficiency, accuracy, and complexity. Choosing the right type depends on whether you're building a wall clock, pocket watch, or precision regulator.
| Escapement Type | Efficiency | Accuracy Potential | Best For |
|---|---|---|---|
| Anchorage (Recoil) | Low | Moderate | Traditional pendulum clocks |
| Deadbeat | Medium | High | Precision pendulum clocks (e.g., regulators) |
| Lever | High | Very High | Wristwatches and portable timepieces |
| Graham (Impulse) | Medium-High | High | Astronomical and observatory clocks |
| Detent (Chronometer) | Very High | Exceptional | Marine chronometers |
For beginners, the deadbeat escapement is recommended due to its forgiving nature and widespread use in precision clocks. Its design eliminates recoil, reducing wear and improving consistency.
“An escapement should not fight the oscillator—it must serve it with minimal interference.” — George Daniels, Horologist and author of *Watchmaking*
Step-by-Step Guide to Crafting a Deadbeat Escapement
Building a functional deadbeat escapement requires precision tooling, patience, and attention to geometry. Follow these steps to construct one suitable for a pendulum clock.
- Design the Escape Wheel: Begin with CAD software or hand-drawn plans. A typical escape wheel has 30 teeth with angled flanks optimized for smooth engagement. Use brass or hardened steel; diameter typically ranges from 25–40mm.
- Machine the Wheel: Cut the wheel using a dividing head and milling machine. Ensure each tooth is identical. Polish flanks to reduce friction.
- Create the Pallet Fork: Shape two pallets (entry and exit) from hardened steel. Angles must match the escape wheel's pitch and locking surfaces. The fork arms should allow clean engagement without lateral play.
- Set Locking and Impulse Faces: The locking face holds the wheel momentarily; the impulse face delivers energy to the pendulum. Angles are critical—typically 45° for locking, 70–80° for impulse. Use a protractor jig under magnification.
- Mount and Test: Install the escapement on a test movement. Start with no power, manually advancing the wheel to check for binding. Then apply light spring tension and observe action with a slow-motion camera if possible.
- Adjust Beat and Drop: Equalize the “drop” (the distance the tooth falls onto the pallet) on both sides. Adjust the crutch connection until the pendulum swings evenly—this is known as “setting the beat.”
Essential Tools and Materials Checklist
To build an escapement successfully, gather the following tools and materials before beginning:
- Dividing head or rotary table
- Miniature milling machine or lathe with gravers
- Files and burnishers (jeweler’s grade)
- Dial indicator for measuring runout
- Optical loupe or microscope (10x–20x magnification)
- Brass or steel stock (0.5–3mm thickness)
- Precision calipers and surface gauge
- Hardening oven or access to heat treatment
- Light drive spring or test weight system
Without proper tooling, even the best designs fail. Invest time in mastering your equipment before cutting final parts.
Real Example: Building a Wall Clock Escapement from Scratch
Horologist Clara Mendez spent six months designing and constructing a deadbeat escapement for her first longcase clock. She began with a textbook design but encountered excessive lock—where the escape wheel teeth wouldn’t release cleanly. After reviewing high-speed footage, she realized the pallet angles were off by just 3°.
She re-cut the impulse faces, polished contact surfaces with diamond paste, and adjusted the pallet depth using shims. The second iteration ran smoothly, losing only 15 seconds per week. Her key insight? “The difference between failure and success was less than the width of a human hair—but it made all the difference.”
Avoiding Common Pitfalls
Even experienced makers encounter setbacks. Here are frequent issues and how to resolve them:
- Excessive Backlash: Caused by loose pivots or oversized bearing holes. Re-bush pivot holes or replace arbors.
- Inconsistent Beat: Pendulum doesn’t swing symmetrically. Adjust the crutch wire or reposition the pallet fork.
- Over-Slipping: Escape wheel jumps multiple teeth. Reduce drive force or increase pallet locking depth.
- Friction Burnishing: Surfaces polish unevenly during operation. Use harder materials or apply lubricant sparingly.
Always document changes methodically. A logbook noting adjustments, materials used, and performance metrics is invaluable for refinement.
Frequently Asked Questions
Can I 3D print an escapement for a working clock?
While 3D-printed models are excellent for prototyping, most consumer-grade resins lack the durability and dimensional stability required for long-term operation. Metal or machined brass remains the standard for functional escapements.
How often should an escapement be serviced?
In a well-built clock, servicing every 5–7 years is sufficient. Clean, inspect for wear, and re-lubricate pallet jewels if present. Avoid over-oiling, which attracts dust and causes gumming.
Is it possible to make an escapement without specialized tools?
Basic versions can be made with hand files and patience, but precision suffers. A small lathe and microscope dramatically improve results. Consider joining a horology workshop or maker space for access to shared equipment.
Conclusion: From Craft to Mastery
Mastering clock escapements is not merely about assembling parts—it’s about understanding the delicate balance between energy, resistance, and rhythm. Each component must act in harmony, guided by centuries of horological wisdom and refined through personal experimentation. Whether you’re restoring an antique movement or designing a new timepiece, the escapement remains the soul of mechanical timekeeping.


 浙公网安备
33010002000092号
浙公网安备
33010002000092号 浙B2-20120091-4
Comments
No comments yet. Why don't you start the discussion?