
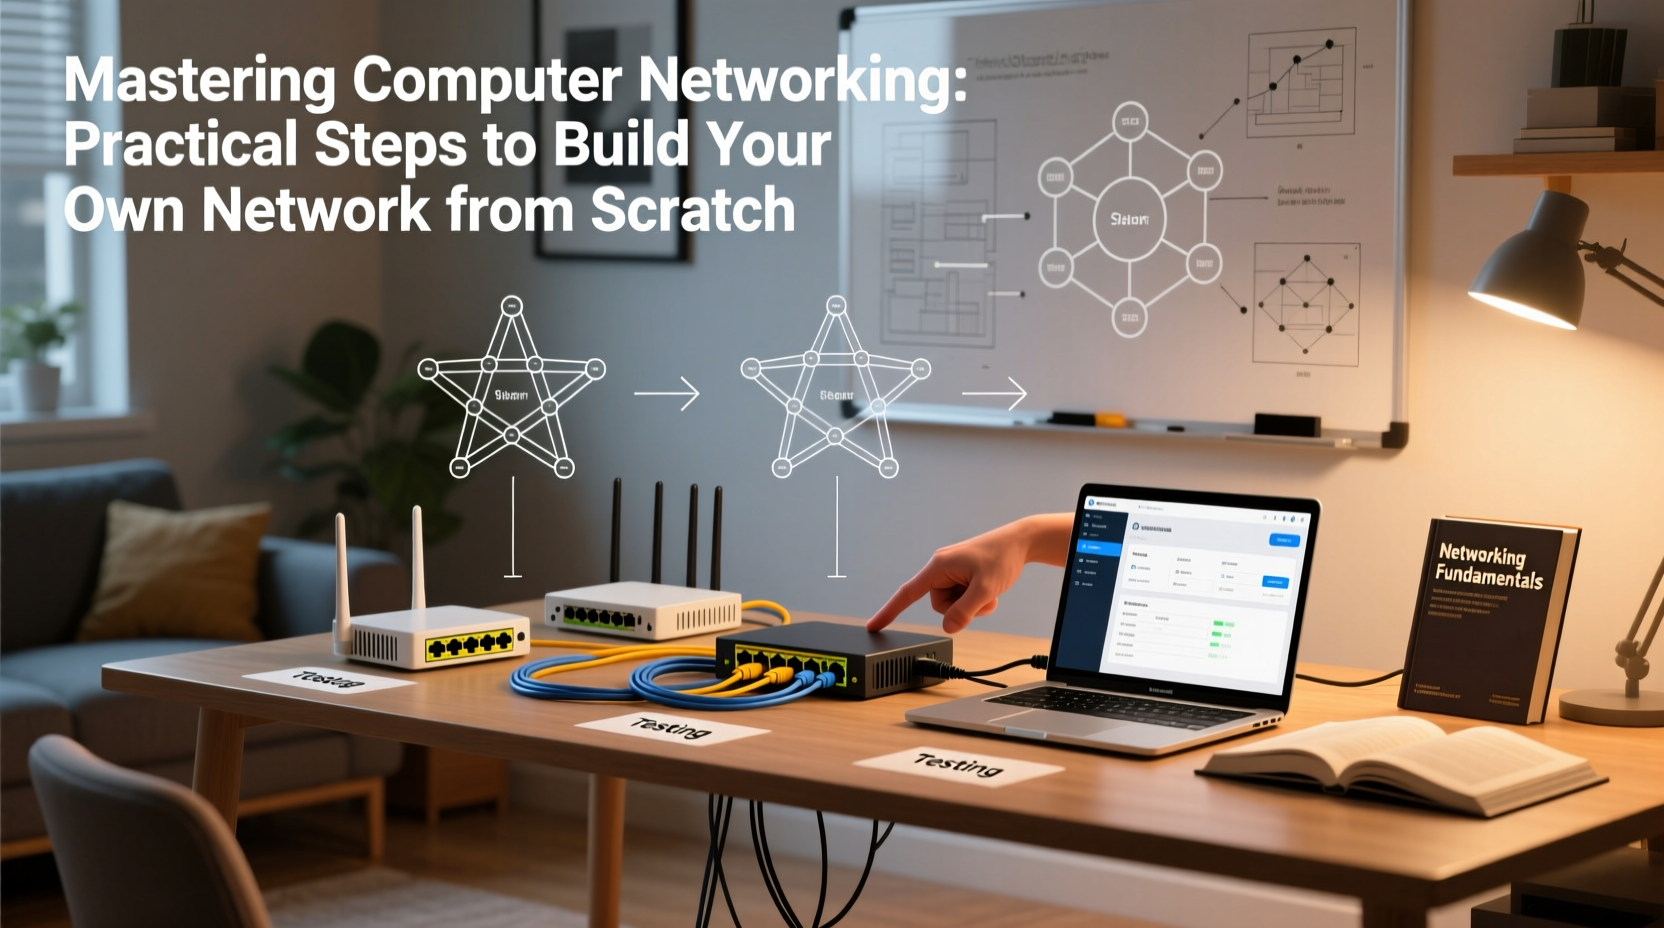
Building a functional computer network from the ground up is both a foundational skill and a powerful confidence booster in today’s digital world. Whether you're setting up a home lab, preparing for an IT certification, or exploring career opportunities in networking, understanding how devices communicate—and how to make them do so efficiently—is essential. This guide walks through the core concepts, tools, and hands-on steps required to design, assemble, and troubleshoot a working network without relying on preconfigured systems.
Understanding Network Fundamentals
Before connecting cables or configuring routers, it's crucial to understand what a network actually does. At its core, a network allows multiple devices—computers, printers, smartphones, servers—to share data and resources using standardized communication protocols. The most common protocol suite is TCP/IP, which governs everything from addressing to error handling.
Key components include:
- Nodes: Any device connected to the network (e.g., PC, laptop, IP camera).
- Media: Physical (Ethernet cables) or wireless (Wi-Fi) transmission channels.
- Network Devices: Routers, switches, access points that manage traffic flow.
- IP Addressing: Unique identifiers assigned to each device for routing data.
Start small: A basic local area network (LAN) typically consists of a switch or router, two or more computers, and Ethernet cables. As you scale, introduce subnets, VLANs, and firewalls for segmentation and security.
“Networking isn’t magic—it’s logic layered with standards. Master the OSI model and IP addressing, and you’ve already won half the battle.” — Raj Patel, Senior Network Engineer at NetForge Labs
Step-by-Step Guide to Building Your First Network
Follow this structured approach to create a fully operational wired LAN. This process assumes no prior configuration and emphasizes learning by doing.
- Gather Equipment: Obtain a consumer-grade router or managed switch, at least two PCs or laptops, Cat6 Ethernet cables, and optionally a patch panel for cable management.
- Connect Physical Components: Plug one end of each Ethernet cable into a computer’s NIC (Network Interface Card), and the other into available ports on the switch or router.
- Power On Devices: Turn on all hardware. Most modern equipment uses auto-negotiation to establish link speed and duplex settings.
- Verify Link Lights: Check for blinking green or amber lights near each port—these indicate active physical connections.
- Assign IP Addresses: Use DHCP (Dynamic Host Configuration Protocol) enabled on your router to automatically assign IPs, or manually configure static addresses within the same subnet (e.g., 192.168.1.x).
- Test Connectivity: Open Command Prompt and use
ping 192.168.1.1(router IP) and thenping [other_device_IP]to verify reachability. - Share Resources: Enable file sharing on one machine and access shared folders from another via
\\\\[IP_ADDRESS]in Windows Explorer.
Essential Tools and Software for Network Management
Effective networking requires more than just hardware. You need diagnostic tools to validate performance and isolate issues.
| Tool | Purpose | Platform |
|---|---|---|
| Wireshark | Capture and analyze network packets in real time | Windows, macOS, Linux |
| PuTTY / Terminal | Access CLI on routers and switches via SSH or serial | All platforms |
| Advanced IP Scanner | Discover active devices and open ports on your LAN | Windows |
| NetStat | List active connections and listening ports | Built-in (cmd/netstat) |
| Packet Tracer (Cisco) | Simulate complex networks before deployment | Windows, macOS |
Use these tools not only to monitor but also to deepen your understanding of traffic patterns. For example, capturing a ping request in Wireshark reveals ICMP packet structure and round-trip timing—valuable insight into latency and reliability.
Real-World Example: Home Office Lab Setup
Jamal, an aspiring network technician, wanted hands-on experience without enterprise gear. He repurposed an old desktop as a server, added a second NIC, purchased a used Cisco SG350 managed switch, and connected his laptop, desktop, and Raspberry Pi.
He configured VLANs to separate IoT devices from workstations, set up a static route between subnets, and installed Pi-hole as a DNS sinkhole for ad blocking. By documenting each step and testing after every change, he built a resilient mini-network that mirrored professional environments.
This project helped him pass the CCNA exam and land an internship at a managed service provider—all because he started with simple cabling and grew systematically.
Do’s and Don’ts of Beginner Networking
Avoid common pitfalls that delay progress and compromise stability.
| Do’s | Don’ts |
|---|---|
| Use consistent IP addressing schemes (e.g., .1 for gateway, .2 for server) | Assign random IPs without planning subnets |
| Enable port security on switches if supported | Leave default passwords on networking devices |
| Keep firmware updated on routers and switches | Ignore physical layer issues like damaged cables |
| Document configurations and topologies | Make multiple changes at once without testing |
| Use full-duplex mode whenever possible | Overlook DNS settings when troubleshooting connectivity |
Expanding Beyond the Basics
Once your initial network works reliably, consider advanced features:
- Subnetting: Divide large networks into smaller ones to reduce broadcast traffic and improve security.
- VLANs: Logically segment users or departments even on the same switch.
- Static Routing: Manually define paths between subnets instead of relying solely on dynamic protocols.
- Firewall Rules: Filter incoming and outgoing traffic based on ports, IPs, or applications.
To practice safely, use emulators like GNS3 or Cisco Packet Tracer. These allow you to simulate multi-router topologies, test BGP or OSPF, and experiment with configurations without risking downtime on live systems.
Frequently Asked Questions
Can I build a network without a router?
Yes, for a simple peer-to-peer connection between two computers, you can use a direct Ethernet cable (preferably crossover or modern auto-sensing cable). However, a router is necessary for internet access, DHCP services, and connecting more than a few devices efficiently.
What’s the difference between a hub and a switch?
A hub broadcasts data to all connected devices, creating unnecessary traffic and collisions. A switch learns MAC addresses and forwards frames only to the intended recipient, improving speed and security. Always use switches in modern networks.
Why can’t my devices communicate even though they’re connected?
Check three layers: physical (cables, link lights), data link (same switch/VLAN), and network (IPs in same subnet, correct subnet mask). Misconfigured firewalls or disabled network discovery can also block communication.
Final Checklist Before Going Live
- ✅ All cables securely plugged in and labeled
- ✅ Power cycling completed for all network devices
- ✅ IP addresses assigned and tested with ping
- ✅ Default gateway reachable from each node
- ✅ File or printer sharing tested across devices
- ✅ Administrative passwords changed from defaults
- ✅ Backup configuration saved for critical devices
Conclusion: Start Small, Think Big
Building a network from scratch demystifies the invisible infrastructure that powers our digital lives. What begins as a few blinking lights on a switch evolves into a deep understanding of how information travels, transforms, and reaches its destination. Every command issued, every packet captured, and every successful ping builds competence and confidence.


 浙公网安备
33010002000092号
浙公网安备
33010002000092号 浙B2-20120091-4
Comments
No comments yet. Why don't you start the discussion?