
Decoupage is more than a craft—it’s a form of artistic expression that transforms everyday objects into personalized works of art. Among the most delicate and visually striking materials used in this technique are paper serviettes, often referred to as napkins. Their thinness, vibrant prints, and layered structure make them ideal for creating seamless, professional-looking finishes on wood, glass, ceramics, and more. When mastered, decoupage with serviettes opens up endless possibilities for home décor, gift customization, and artistic experimentation.
Unlike heavier papers or printed transfers, serviettes offer a translucent quality that blends beautifully with surfaces when applied correctly. The key lies not just in the materials but in the precision of technique, layering, and finishing. This guide explores practical, tested methods to help you achieve refined results every time.
The Art of Choosing the Right Serviette
Serviettes designed for decoupage vary widely in quality and composition. Most decorative napkins consist of three pliable layers, but only the top layer—often printed with intricate designs—is used in the process. Selecting the right serviette impacts both the ease of application and the final appearance.
Look for napkins labeled “decoration paper” or “decoupage napkins.” These are typically made from high-quality tissue paper with vivid, fade-resistant dyes. Avoid recycled or heavily textured napkins, as they may tear easily or obscure fine details. Floral patterns, vintage illustrations, and geometric motifs are popular choices, but thematic relevance to your project should guide your selection.
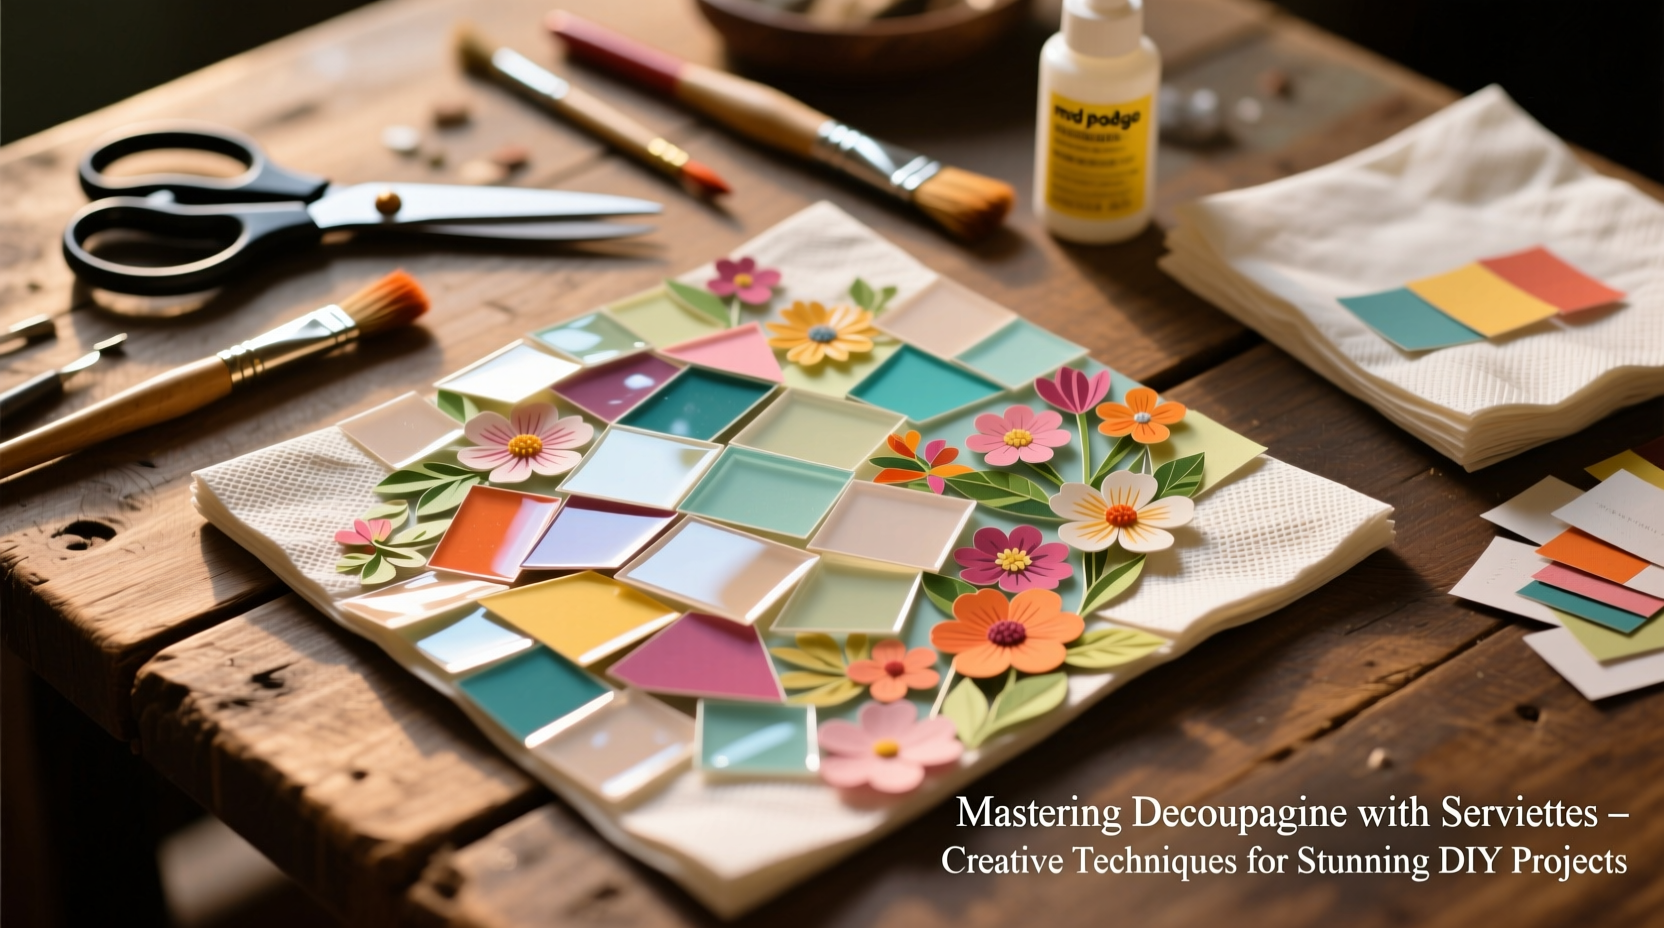
Essential Materials and Tools
Successful decoupage begins with proper preparation. Gather these core supplies before starting any project:
- High-quality serviettes (single-layer top sheet only)
- Decoupage glue or medium (matte or gloss finish)
- Fine-bristle brush or foam applicator
- Scissors or precision craft knife
- Sanding paper (fine grit: 220–400)
- Clean cloth or sponge
- Sealer (varnish or polyurethane)
- Base object (wood box, ceramic vase, picture frame, etc.)
The choice between water-based and solvent-based adhesives affects drying time and clarity. Water-based mediums like Mod Podge are beginner-friendly and non-toxic, while acrylic-based glues offer stronger durability and resistance to moisture.
Step-by-Step Guide to Flawless Application
Applying a serviette without wrinkles or bubbles requires patience and a methodical approach. Follow this sequence for optimal results:
- Prepare the surface: Lightly sand wooden or ceramic items to ensure adhesion. Wipe clean with a damp cloth and allow to dry completely.
- Separate the layers: Gently peel apart the three-ply napkin. Use only the top printed layer, discarding the plain underlayers.
- Cut the design: Trim around the desired image with sharp scissors. For detailed work, cut slightly larger than needed to allow for trimming after application.
- Apply base adhesive: Brush a thin, even layer of decoupage glue onto the surface where the serviette will go.
- Position the serviette: Carefully lay the napkin face-up onto the glued area. Do not stretch or press down yet.
- Smooth gently: Using a soft cloth or squeegee, start from the center and work outward to eliminate air pockets. Avoid excessive pressure.
- Seal the surface: Once dry (after 1–2 hours), apply 2–3 thin coats of decoupage medium over the serviette, allowing each layer to dry fully.
- Final sealing: Finish with a clear varnish or satin sealer to protect against wear and moisture.
Rushing the drying process can cause cloudiness or lifting. Allow at least 24 hours before handling the finished piece.
Innovative Techniques for Visual Impact
Once comfortable with the basics, experiment with advanced methods to add depth and texture:
- Layered Decoupage: Apply multiple serviette fragments with slight overlaps to create dimension. Seal between layers for stability.
- Distressing Effect: After sealing, lightly sand edges to reveal the base material beneath, giving an aged, shabby-chic look.
- Color Integration: Paint background areas in complementary tones before applying the serviette to enhance contrast.
- Transferred Texture: Press the serviette into wet gesso or modeling paste for a tactile, embossed finish.
- Backlighting on Glass: Use transparent serviettes on lampshades or glass panels; when lit, the design glows softly.
“Serviette decoupage rewards subtlety. Less glue, slower drying, and finer brushes yield gallery-worthy results.” — Lila Moreau, Textile Artist & Craft Instructor
Do’s and Don’ts: A Quick Reference Table
| Do’s | Don’ts |
|---|---|
| Use a single layer of the serviette | Apply all three napkin layers |
| Apply glue in thin, even coats | Flood the surface with excess adhesive |
| Let each layer dry completely | Rush drying with heat tools |
| Seal with UV-protective varnish for sun-exposed items | Leave the piece unsealed |
| Store unused serviettes flat and away from moisture | Fold or crumple napkins before use |
Real Project Example: Reviving a Vintage Wooden Box
Maria, a hobbyist from Portland, inherited a plain pine keepsake box with chipped varnish. She wanted to personalize it for her daughter’s birthday. She selected a floral serviette with soft pinks and greens, matching her daughter’s room theme.
After sanding and priming the box with white acrylic paint, Maria carefully applied the top layer of the napkin to the lid using a foam brush and matte decoupage glue. To avoid edge lifting, she extended the design slightly over the sides and trimmed it flush after drying. She added a second serviette fragment to the front panel, aligning the pattern seamlessly.
Three light coats of satin varnish followed, with 4-hour intervals between layers. The result was a cohesive, elegant box that looked professionally decorated. Her daughter later reported it became her favorite jewelry storage piece.
FAQ: Common Questions Answered
Can I use regular paper towels or printer paper instead of serviettes?
No—standard paper lacks the thinness and print integrity of decorative serviettes. They tend to wrinkle, obscure detail, and degrade faster. True serviettes are engineered for visual clarity and flexibility, making them irreplaceable for fine decoupage.
How do I prevent the serviette from tearing during application?
Handle the top layer like tissue paper: use tweezers if necessary, avoid wetting it directly, and always work on a stable, dry surface. Applying adhesive to the base—not the napkin—reduces saturation and tearing risk.
Is decoupaged furniture durable enough for daily use?
Yes, if properly sealed. Multiple coats of polyacrylic sealer create a resilient barrier against scratches and moisture. However, avoid placing hot items directly on the surface or exposing it to prolonged water contact.
Checklist: Preparing for Your Next Serviette Project
- ☐ Choose a smooth, clean base object
- ☐ Sand and prime the surface if needed
- ☐ Select a high-quality, three-layer serviette
- ☐ Separate and cut the top layer precisely
- ☐ Prepare brushes and adhesive in advance
- ☐ Work in a dust-free, well-lit area
- ☐ Allow ample drying time between steps
- ☐ Seal with protective varnish after completion
Conclusion: Turn Craft into Keepsake
Mastering decoupage with serviettes is less about perfection and more about intention. Each project becomes a narrative—whether reviving heirlooms, crafting meaningful gifts, or expressing personal style through home décor. With attention to detail, the right materials, and deliberate execution, even simple objects gain emotional weight and aesthetic distinction.


 浙公网安备
33010002000092号
浙公网安备
33010002000092号 浙B2-20120091-4
Comments
No comments yet. Why don't you start the discussion?